Process

Individual process is something that is a bit of a conglomerate of many thoughts, ideas and experiences learned over time. Many times, we derive our process from our teachers, our peers, history and the experiences of these. My process is important to me and it is important to how my pots appear. My hope in sharing my process is not to let others copy my work but to give an understanding to what I am interested in and how I do it.
Clay Body and Slip Formulation

The basis of my process is the materials that I use. I begin with clays that will work well for the potter’s wheel and for hand building. The clays that I use are a combination of porcelain, stoneware and ball clays mixed with a fluxing material and filler. I use clays that I coat in slip and ones that are high in alumina which I leave bare. I formulate my clay bodies and slips to be reactive to the making and firing process and to capture memories as they transition from maker to user.
Making

Most of my pots will start out as forms on my treadle wheel which I then manipulate and facet. Some of my wares are carved from a solid block of clay while others utilize hand building techniques such as slab construction and hump molds. As I work with the material, small pieces of brick, clay or rock are pulled along the surface leaving expressive making marks. Fingerprints are left behind while working with the wet clay or dipping the pieces in slip. Each ware is left with a bare clay or slip surface on the exterior while the inside is coated with a blue Celadon liner glaze to seal things up.
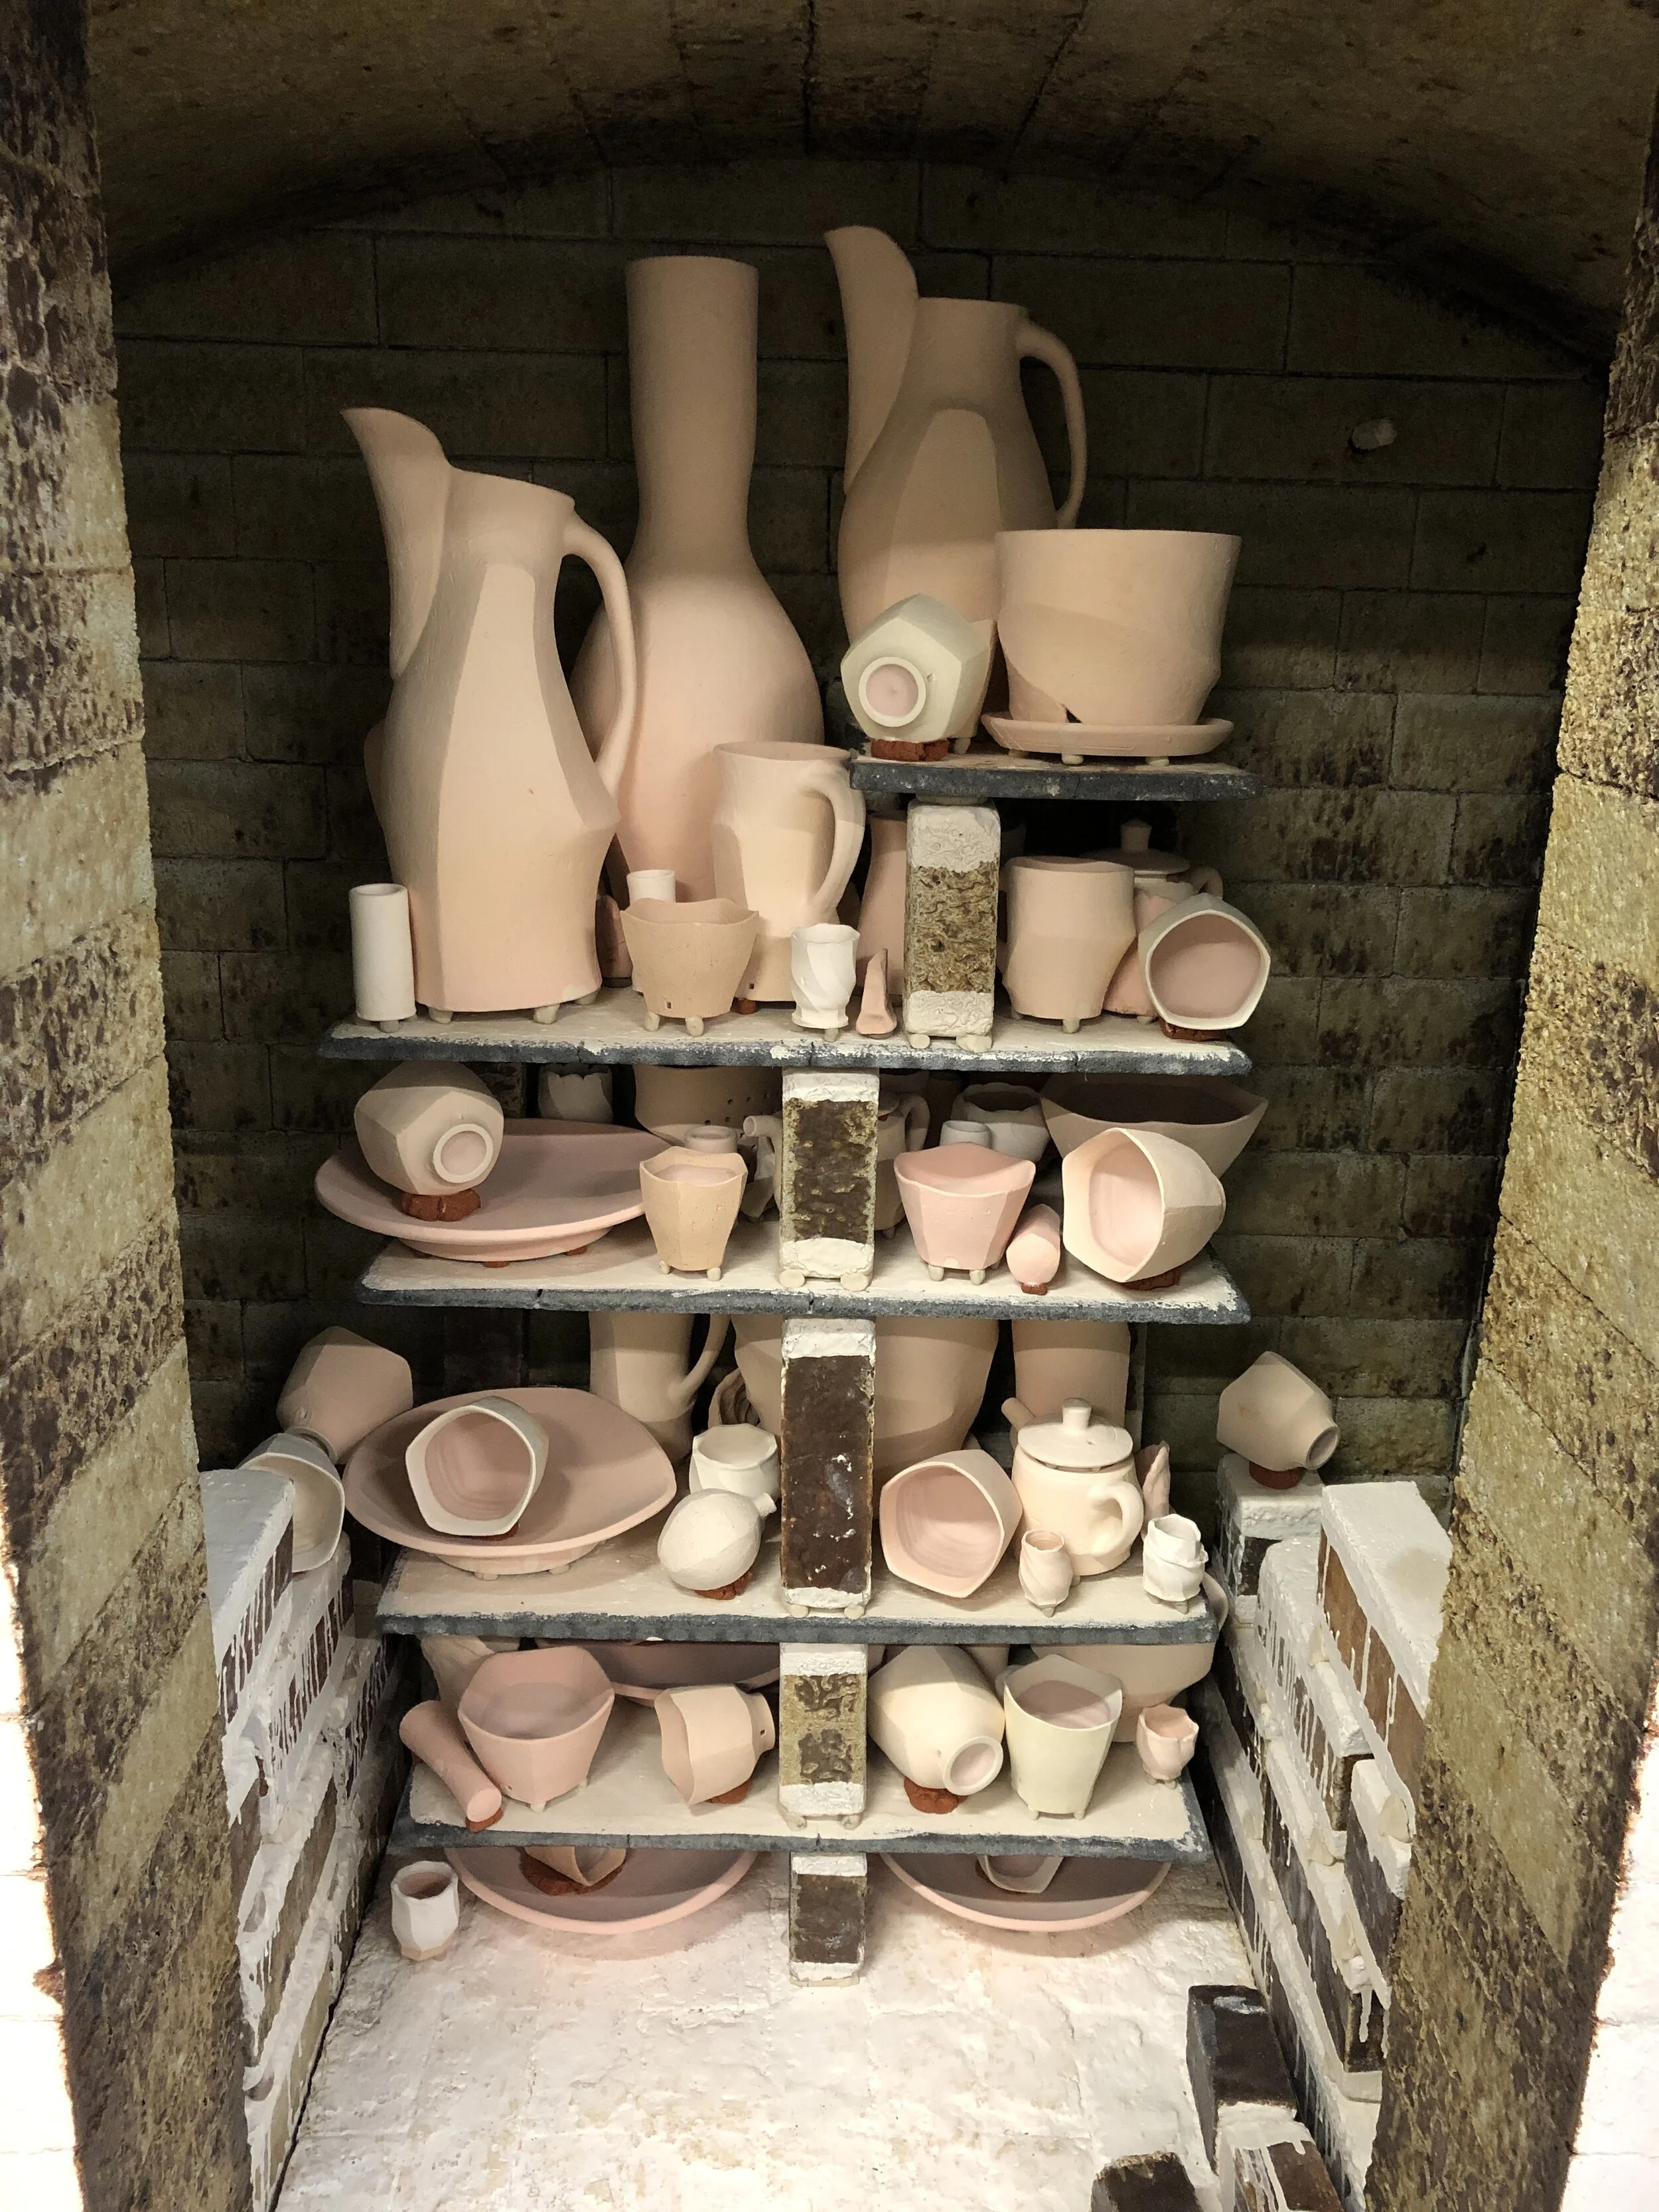
Loading the Kiln

I look at loading the kiln as an aesthetic choice. The goal with my work is to create a dynamic appearance with a variety of surfaces on each piece. I choose to place my work into the kiln in ways that will influence the flame and atmosphere to meander among the wares, painting its path. The materials that I use help with this but so does the proximity to other pieces and the use of wadding to create marks on the surfaces. On each shelf of wares, I choose pots with a variety of heights and place the tallest ones the farthest away from where the atmosphere is coming from. In the downdraft kiln that I fire at Northern Clay Center (NCC), I place the tallest wares in the middle of the shelf as the atmosphere and soda ash is coming from either side. While I was in undergrad at the University of Wisconsin-River Falls and firing a cross draft kiln, I would place the taller pieces towards the wall of the exit flue while shorter pieces would be closer to the fire box and burners. By placing wares in this way, it allows for the atmosphere to get to each piece on the shelf. I place the shorter pots close to or touching taller ones which will create a mark of how the proximity of the two pieces influenced the flame. I am comfortable with my pots touching as the refractory clays or slips that I use in combination with the dynamic patterns of soda firing will not flux out the areas where they are touching. The flame will typically simply meander around those areas. I also choose to use two different types of wadding. I use the classic alumina hydrate / kaolin wadding for the bottoms of my pots. However, I choose to stack many pots on top of each other, side fire wares and utilize hanging wads to create marks on the pots and influence the flame. For these, I will use a wadding consisting of Newman Red fireclay and brick grog. This wadding mixture will leave a red mark which is more dynamic and not as stark as the bright white of the alumina / kaolin wadding.

Up-Firing
Recently I have been pretty relaxed with how the up-firing of my kilns go. I typically try to fire the kiln to ^1 overnight. When I come in in the morning, the kiln is typically around ^08-^1 depending on the firing and turn up the previous evening. I am not so worried about creating a body reduction as my clays are primarily kaolin and ball clay based but I do try to give my blue Celadon liner glaze a bit of reduction around this time so that it turns out blue. The rest of the firing is done in a slightly reduced atmosphere typically as I work with keeping things even from top to bottom. I am not so worried about the up-firing because the surfaces of my pots are from what I have observed directly reflective of the atmosphere of the kiln from the time soda is introduced to when the kiln is shut off.
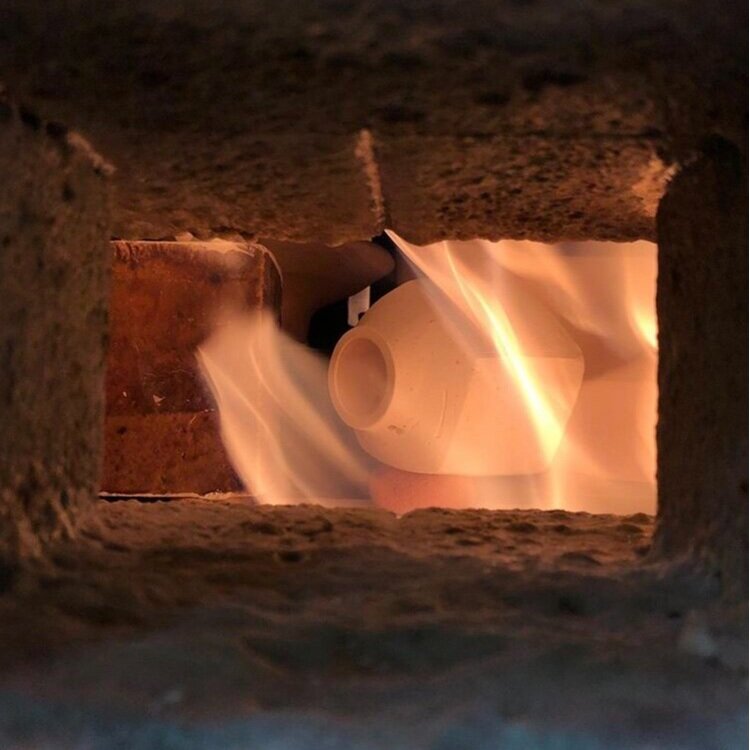
Soda Introduction and Soaking
When I first began soda firing, I was introduced to spraying the soda ash mixed with hot water into the kiln. This was really the only way that I knew how to soda fire in undergrad and the only way that I am allowed to do so at NCC making all of my research based on this method. The kiln that I currently fire at NCC is well seasoned and about 40 cubic feet; for this kiln I will typically spray about 3 pounds of soda ash in during two cycles. I divide this amount into two piles and mix each with about 1 - 1.5 gallons of hot water just before it is sprayed which will happen at about ^9 and ^10. Before spraying the soda into the kiln, I will close the damper a couple of inches creating a moderate - heavily reduced atmosphere. As the soda ash is sprayed into the kiln, the soda ash will trap carbon in the atmosphere onto the surfaces of the pots creating a black or grey soda glaze. During the spraying, the kiln will drop in temperature which I will allow to be regained afterwards. Once the kiln has regained this temperature, I will spray the remaining 1.5 pounds of soda ash and then let the kiln soak for around an hour to regain that temperature once again and melt the soda glaze well. I have noticed that soaking the kiln at this temperature will help heal any blistering that may be included in the soda glaze.

Down-Firing
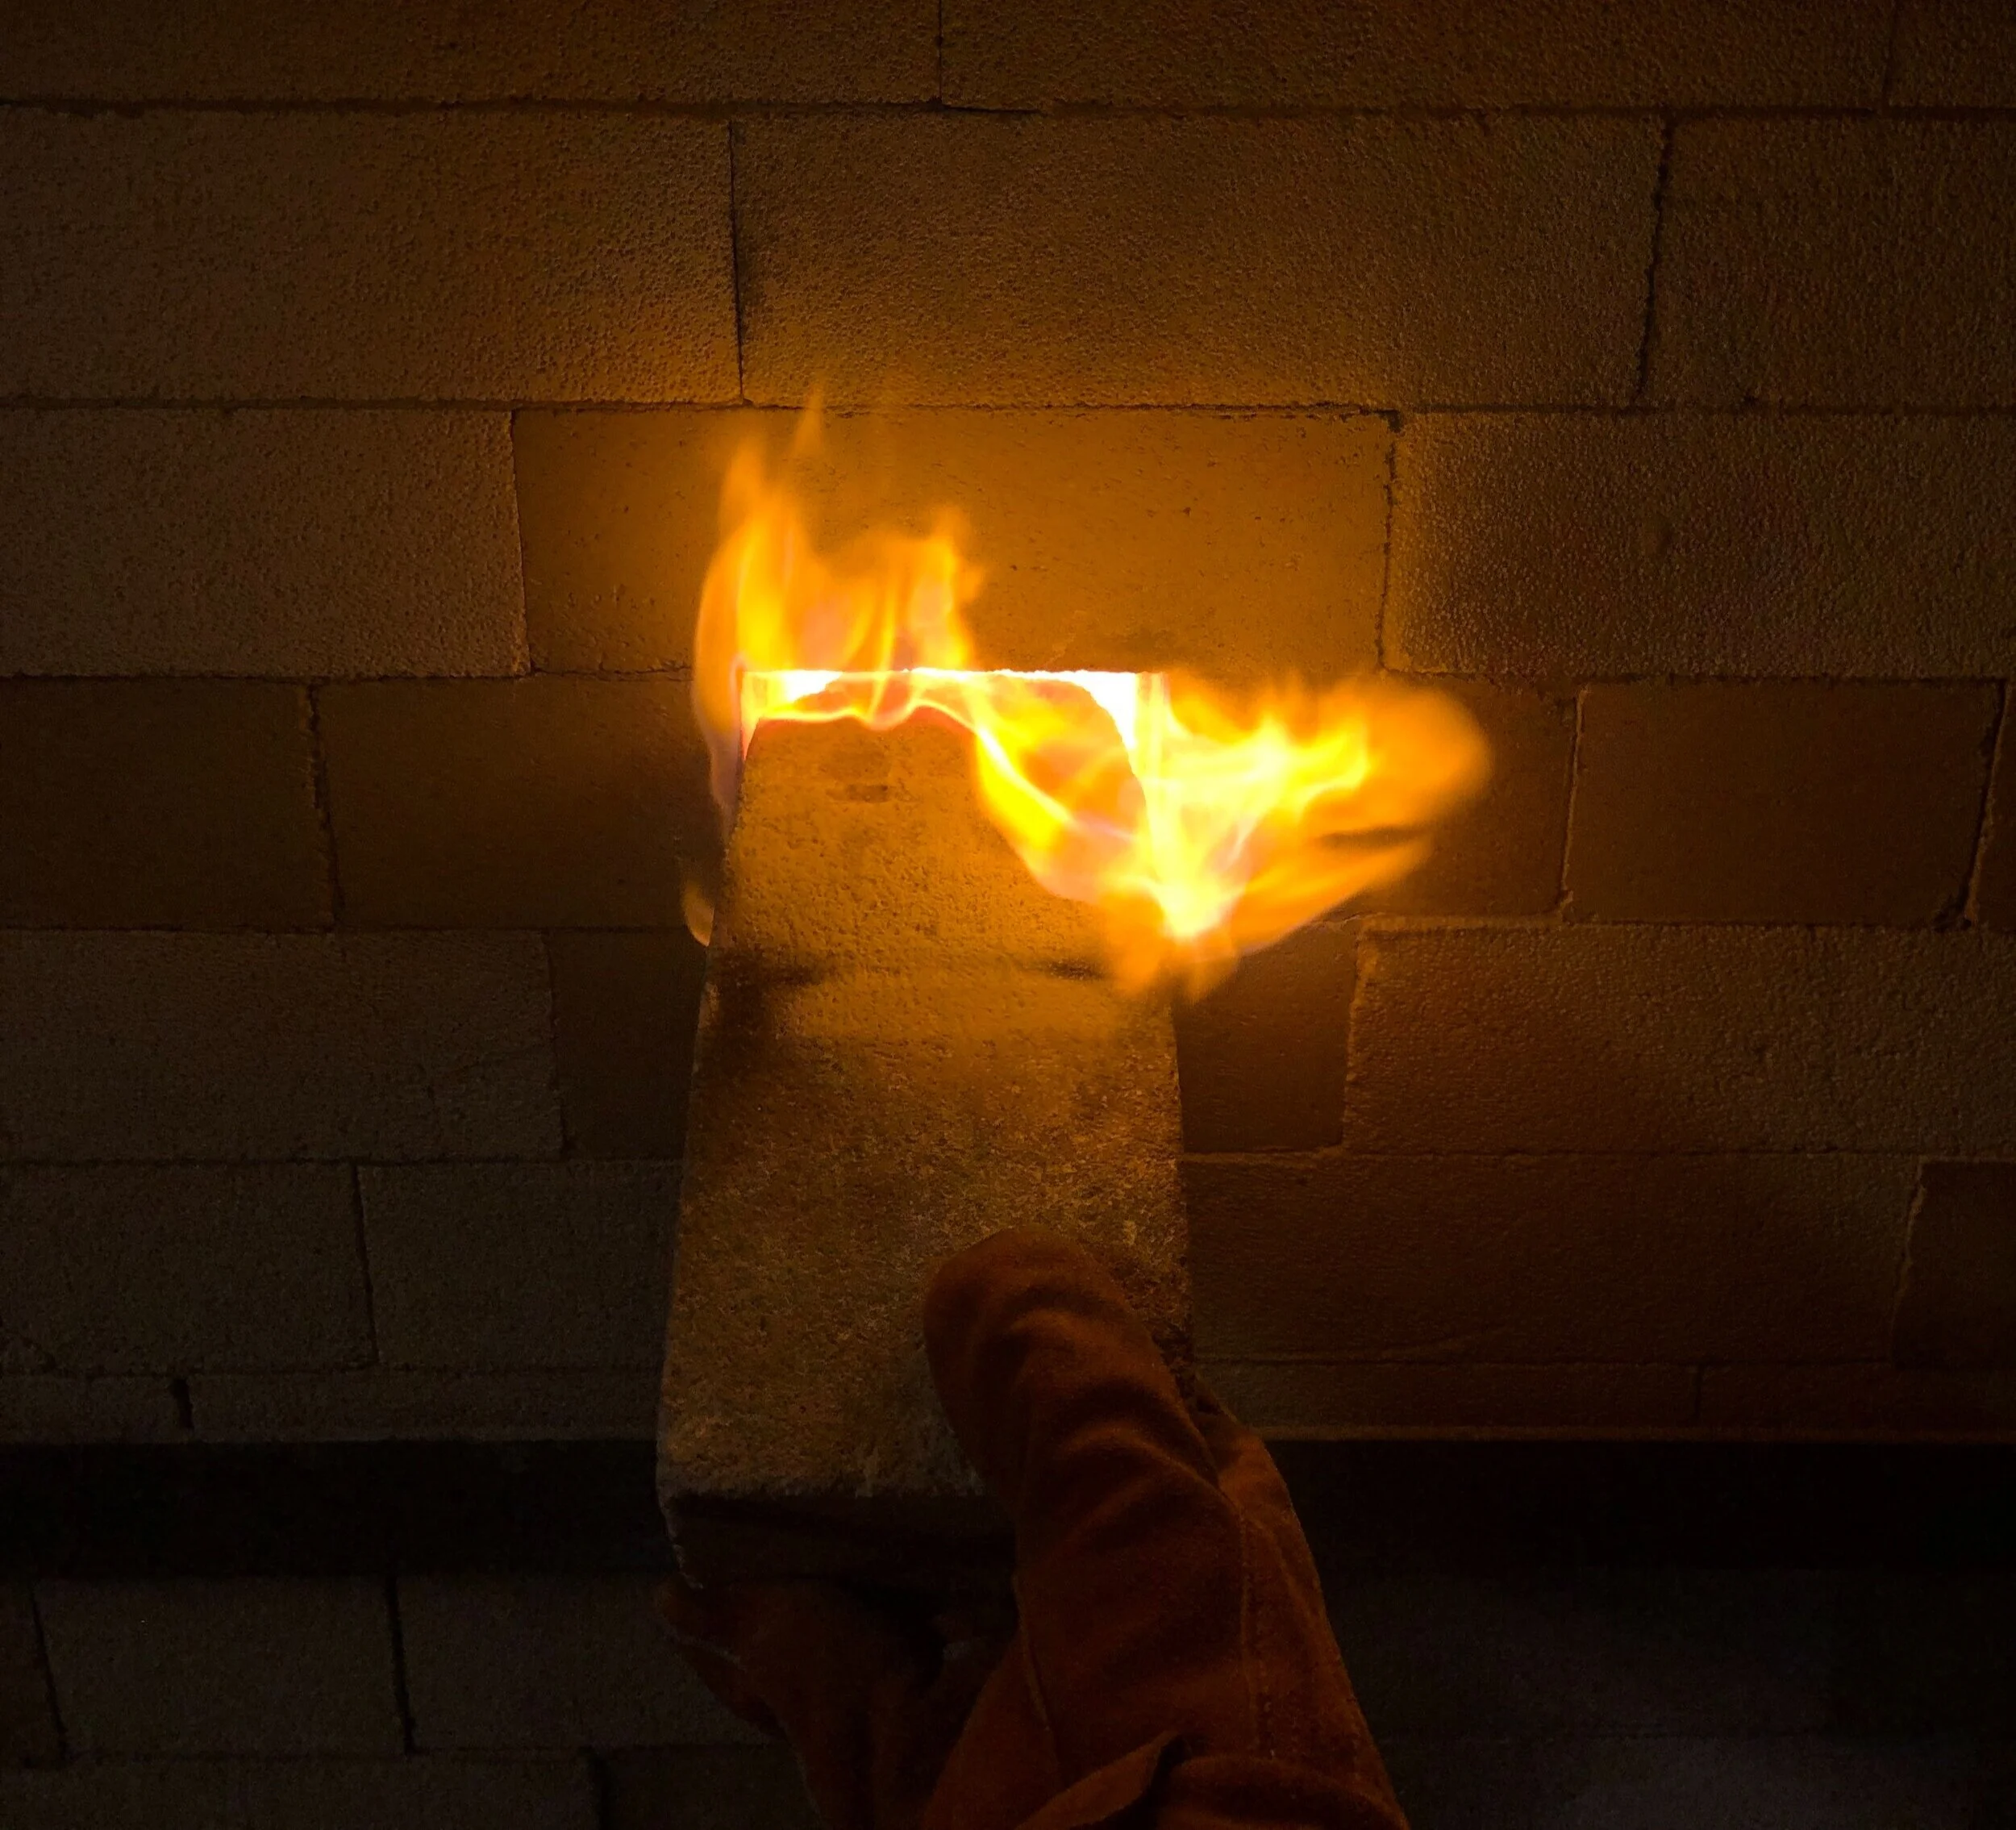
Oh, yeah! This is where the magic happens and my favorite part of the firing process and my research. My down-firing process has heavily evolved over the years. It first began as a thought of mimicking the reduction cooling that I was doing as a part of firing with Zac Spates in his small Anagama. In undergrad, I began playing with reduction cooling with wood which opened a whole new door of color and surface in the soda firing. Once I graduated and began firing at NCC, I was no longer allowed to put wood or charcoal into the kiln. I knew that I still needed to practice with slowness and an atmosphere during the cooling and took to using the gas, air and damper settings to down-fire the kiln.
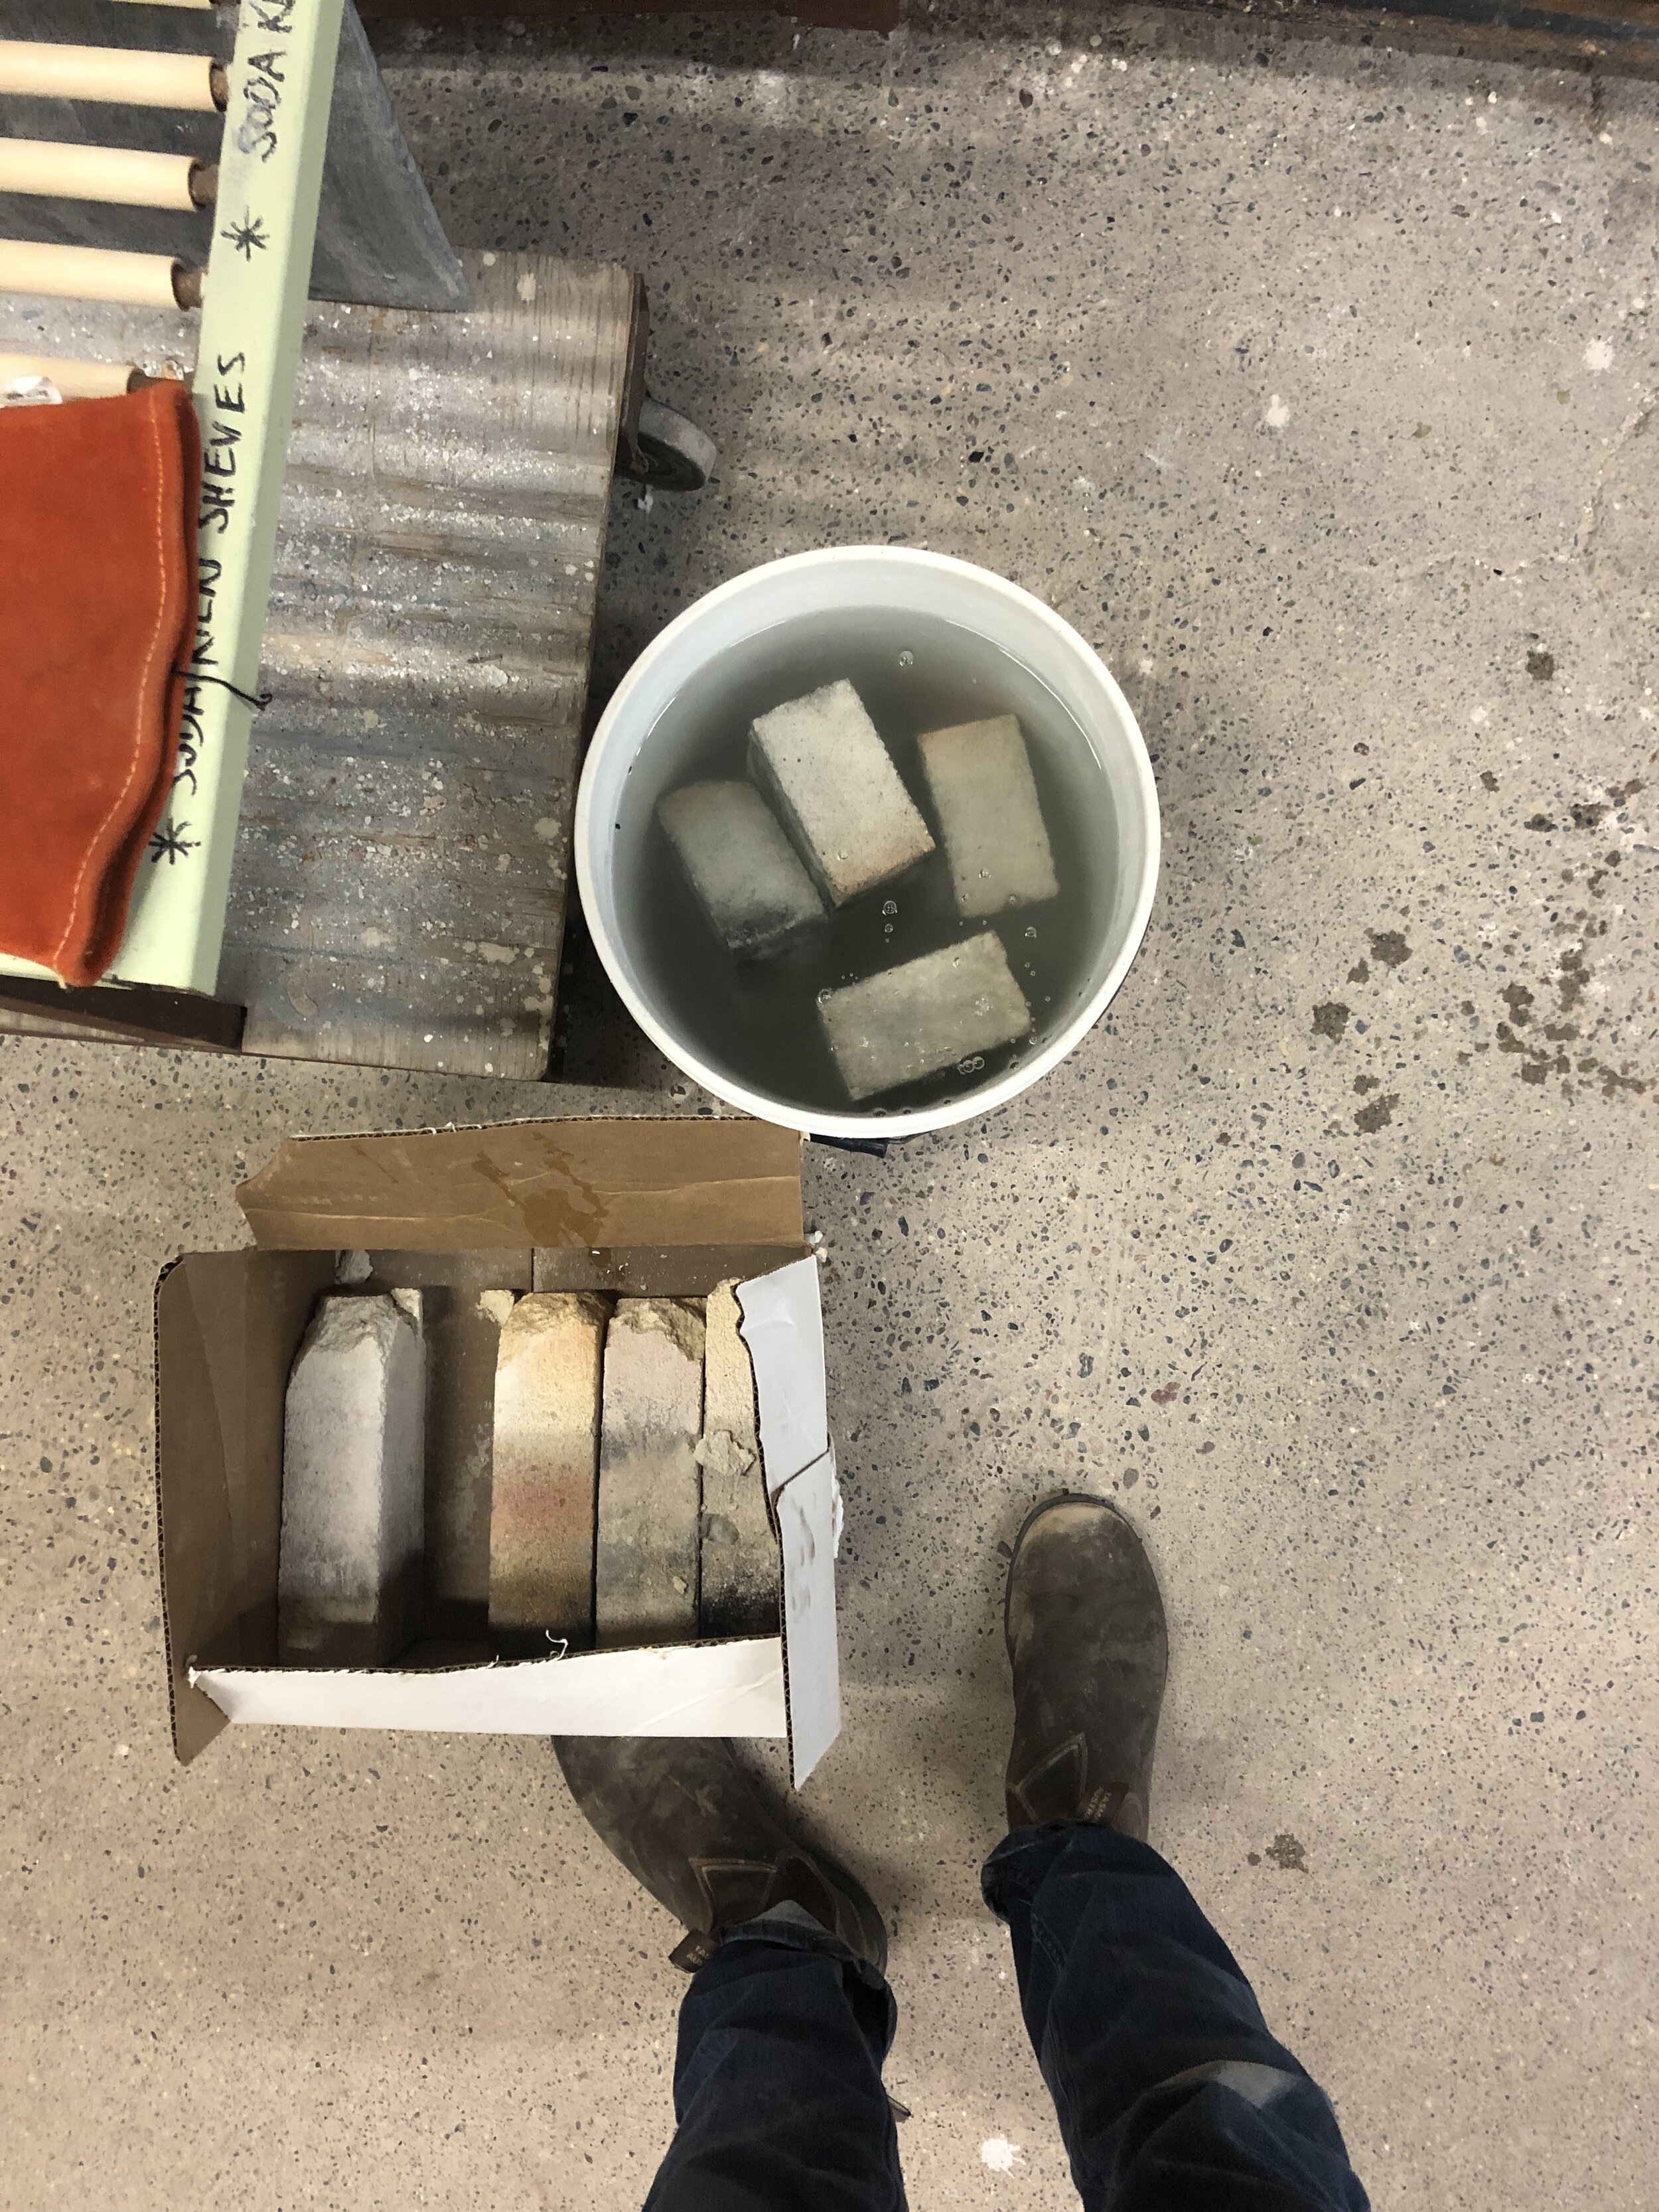
Over a year of firing the NCC Small Soda kiln, my down-firing has evolved from a short 3 hour down-firing to 6, 7 and 8 hours. To see this progression, please refer to my 2020 Jerome Ceramic Artist Project Grant page which is located under Process. Recently, I have been interested in down-firing the kiln for 6-8 hours in a reduced atmosphere down to about 1600°F - 1550°F I clear the kiln at about 1900°F on the way down which I believe quickly reoxidizes the surfaces and brings out some brighter iron tones in the flashing. I have also been utilizing steam reduction - the thought on this is to introduce steam into the kiln which will (hopefully) offset the oxygen and create more pressure in the kiln. To do this, I soak soft brick in water and exchange the spray port bricks with this every half hour. I have noticed that when I first put the wet bricks in, the atmosphere does become more dramatic and the numbers on my oxygen probe jump up slightly. I have noticed a difference in almost identical firings in which steam reduction was and was not utilized during the down-firing. It seems to create more dramatic, dynamic surfaces all throughout the kiln. I have noticed a greater variety in the in between (flashing and soda glaze) areas when water is used too. It seems to bring out more brown tones. I have also noticed a direct correlation with how matte the surface is with a longer cooling; the longer it is, the more matte. This is due to the surface growing small crystals which reflects and refracts the light differently than something fired in a non-down-fired kiln. As the down-firing goes along, I must slightly adjust the gas, air and damper settings to allow the kiln to continuously lose temperature slowly. I believe that this is putting the kiln into slightly different states of reduction and changing the states of the metal oxides in the slip and clay bodies ever so slightly producing a variety of tones. I have noticed a wider variety of tones in the flashing, soda glaze and in between areas with a longer cooling cycle. I cannot pinpoint where each tone is happening in the down-firing but hope to at some point!

My down-firing research is ever changing. With each firing, I tweak things slightly to learn and understand the mechanisms at play. I have so many questions and am constantly learning about more questions that I can ask the process. This is my favorite part of the firing and I know that it contains a vast wealth of knowledge undiscovered by myself and others. It is exciting to know this and keeps me coming back time and time again to learn and attempt to understand.
Here are some of my many questions:
What is the impact of reduction on surface color and texture?
How does an oxidized, neutral and reduced soak after spraying soda into the kiln affect the color and surface?
How can reducing the kiln on the way down and reoxidizing it at certain temperatures or vice versa change the surface color and texture?
How does a longer soak after spraying soda ash into the kiln affect the soda glaze melt? Will it become fluid and run after time?
What if the kiln is down-fired for as long as it was fired up in temperature?
How does holding the kiln in various atmospheres at various temperatures and for various times affect the surfaces and crystal growth?
How does the amount of steam inside the kiln during the down-firing affect the drama of the surfaces and their colors?

More information regarding my oxygen probe, issues that I have encounter and acknowledgements coming soon. For now, enjoy these images of pots!

Yunomi, Stoneware, Soda Fired, 2020

Yunomi, Porcelaneous Stoneware with Applied Slip, Soda Fired, 2020
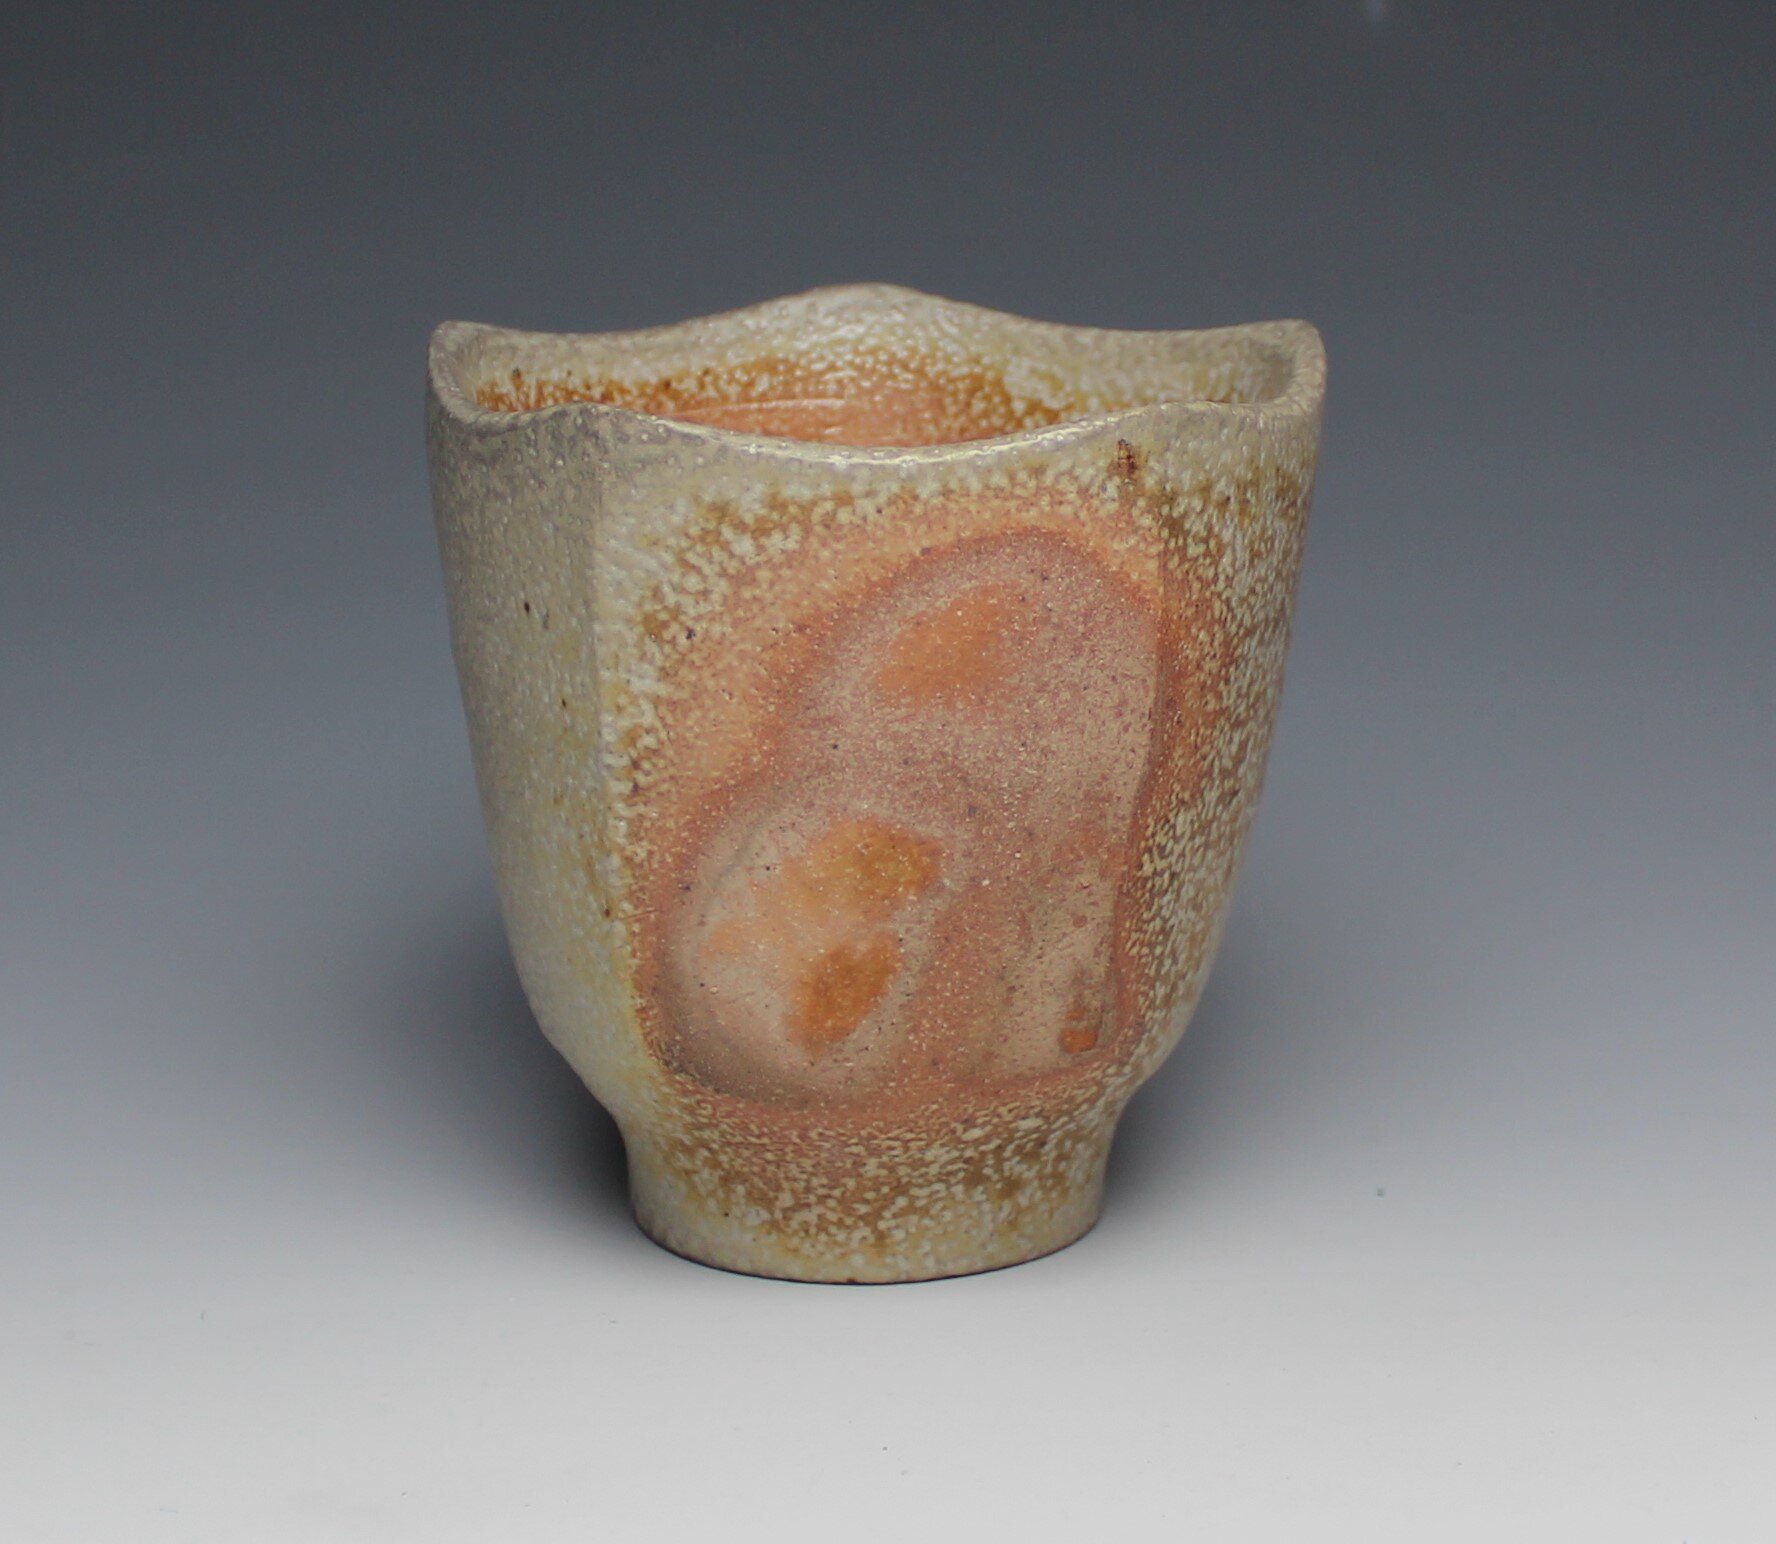
Yunomi, Stoneware, Soda Fired, 2020

Diner Mug, Porcelain with Applied Slip, Soda Fired, 2020

Dog Dish, Porcelaneous Stoneware with Applied Slip, Soda Fired, 2020

Garlic Box, Porcelaneous Stoneware with Applied Slip, Soda Fired, 2020

Envelope Vase, Porcelaneous Stoneware with Applied Slip, Soda Fired, 2020

Jar, Porcelaneous Stoneware with Applied Slip, Soda Fired, 2020

Pitcher, Porcelaneous Stoneware with Applied Slip, Soda Fired, 2020

Dinner Plate, Porcelaneous Stoneware with Applied Slip, Soda Fired, 2020
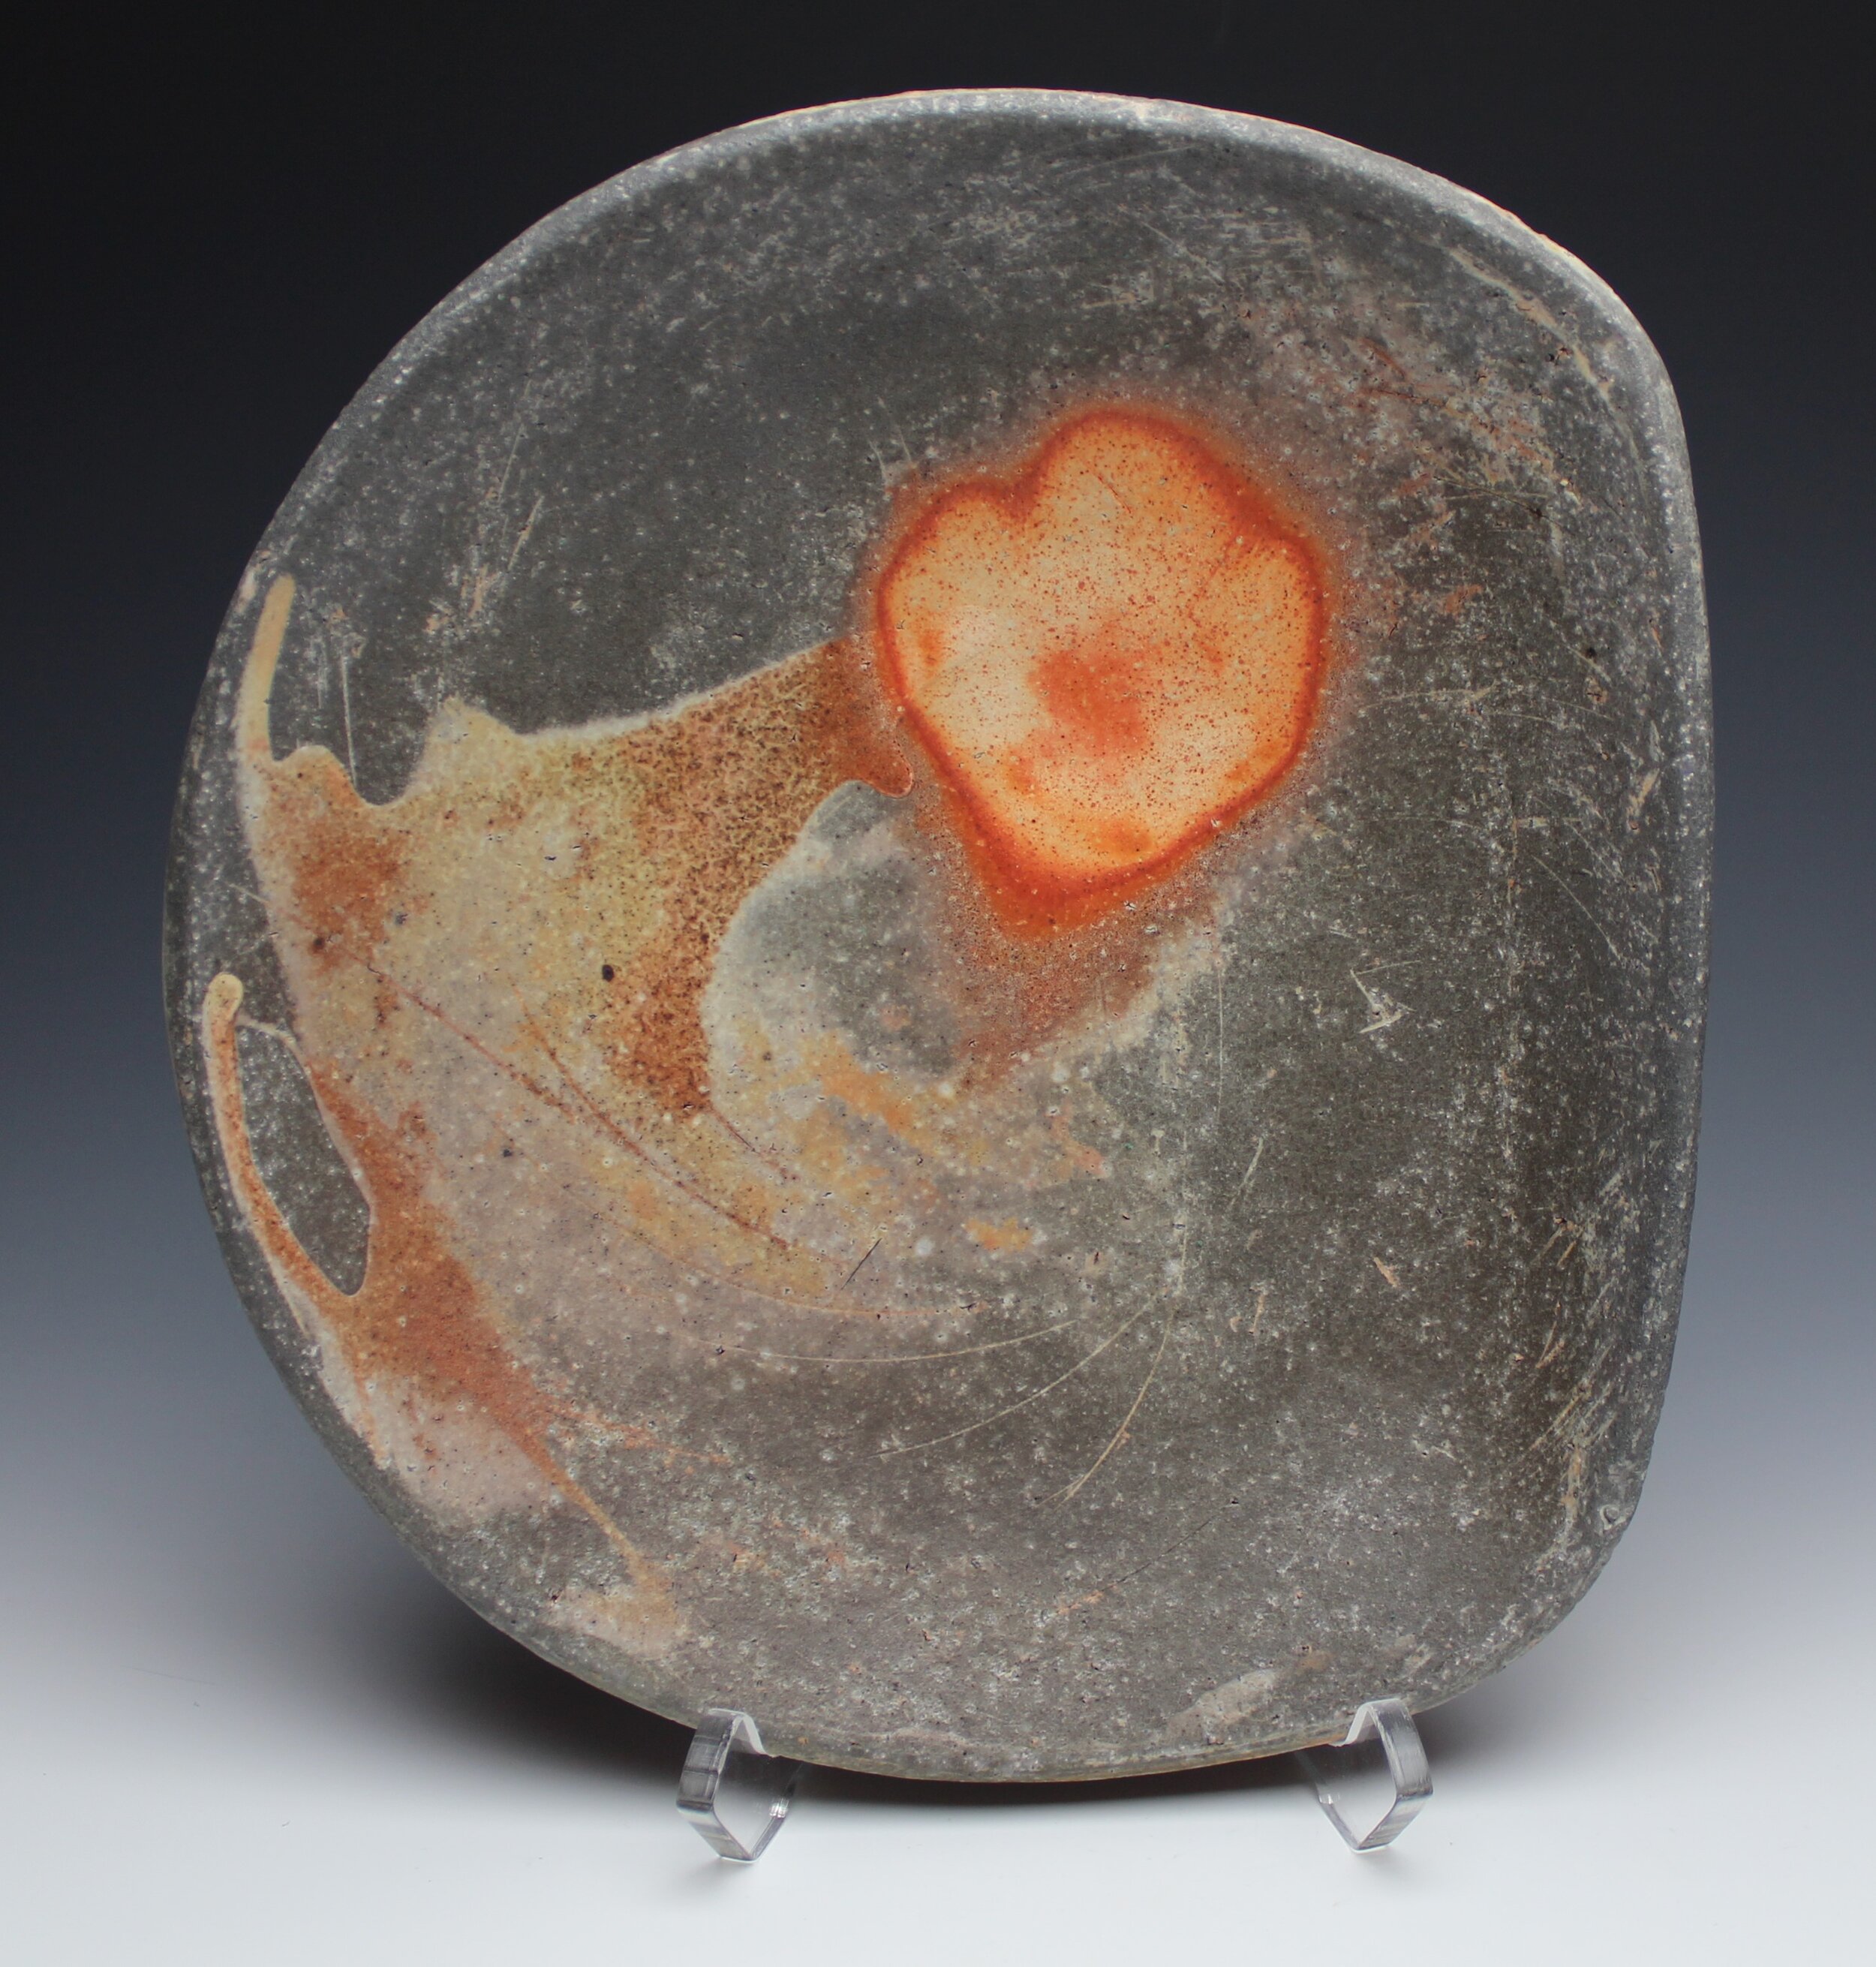
Plate, Porcelaneous Stoneware with Applied Slip, Soda Fired, 2020