2020 Jerome Ceramic Artist Project Grant Blog
After graduating from the University of Wisconsin-River Falls, I moved to Minnesota to be closer to the bustling twin cities art community, move into a studio and pursue artist opportunities that only Minnesotans are offered. I was so glad that I did this because after spending much time submitting proposals, I was awarded the Jerome Ceramic Artist Project Grant from Northern Clay Center. I had written this grant to continue researching the soda firing process and how atmosphere, soda glaze and ceramic materials all interact with one another.
While unloading my most recent soda firing at NCC in March of 2020, I was notified that I had just been awarded the grant. I was already excited about my firing and the results that I had produced with it, but this news made me ecstatic! Here I will share my research and how it has evolved as I continued to further understand the process of soda firing and the interaction of soda ash, atmosphere and ceramic materials.


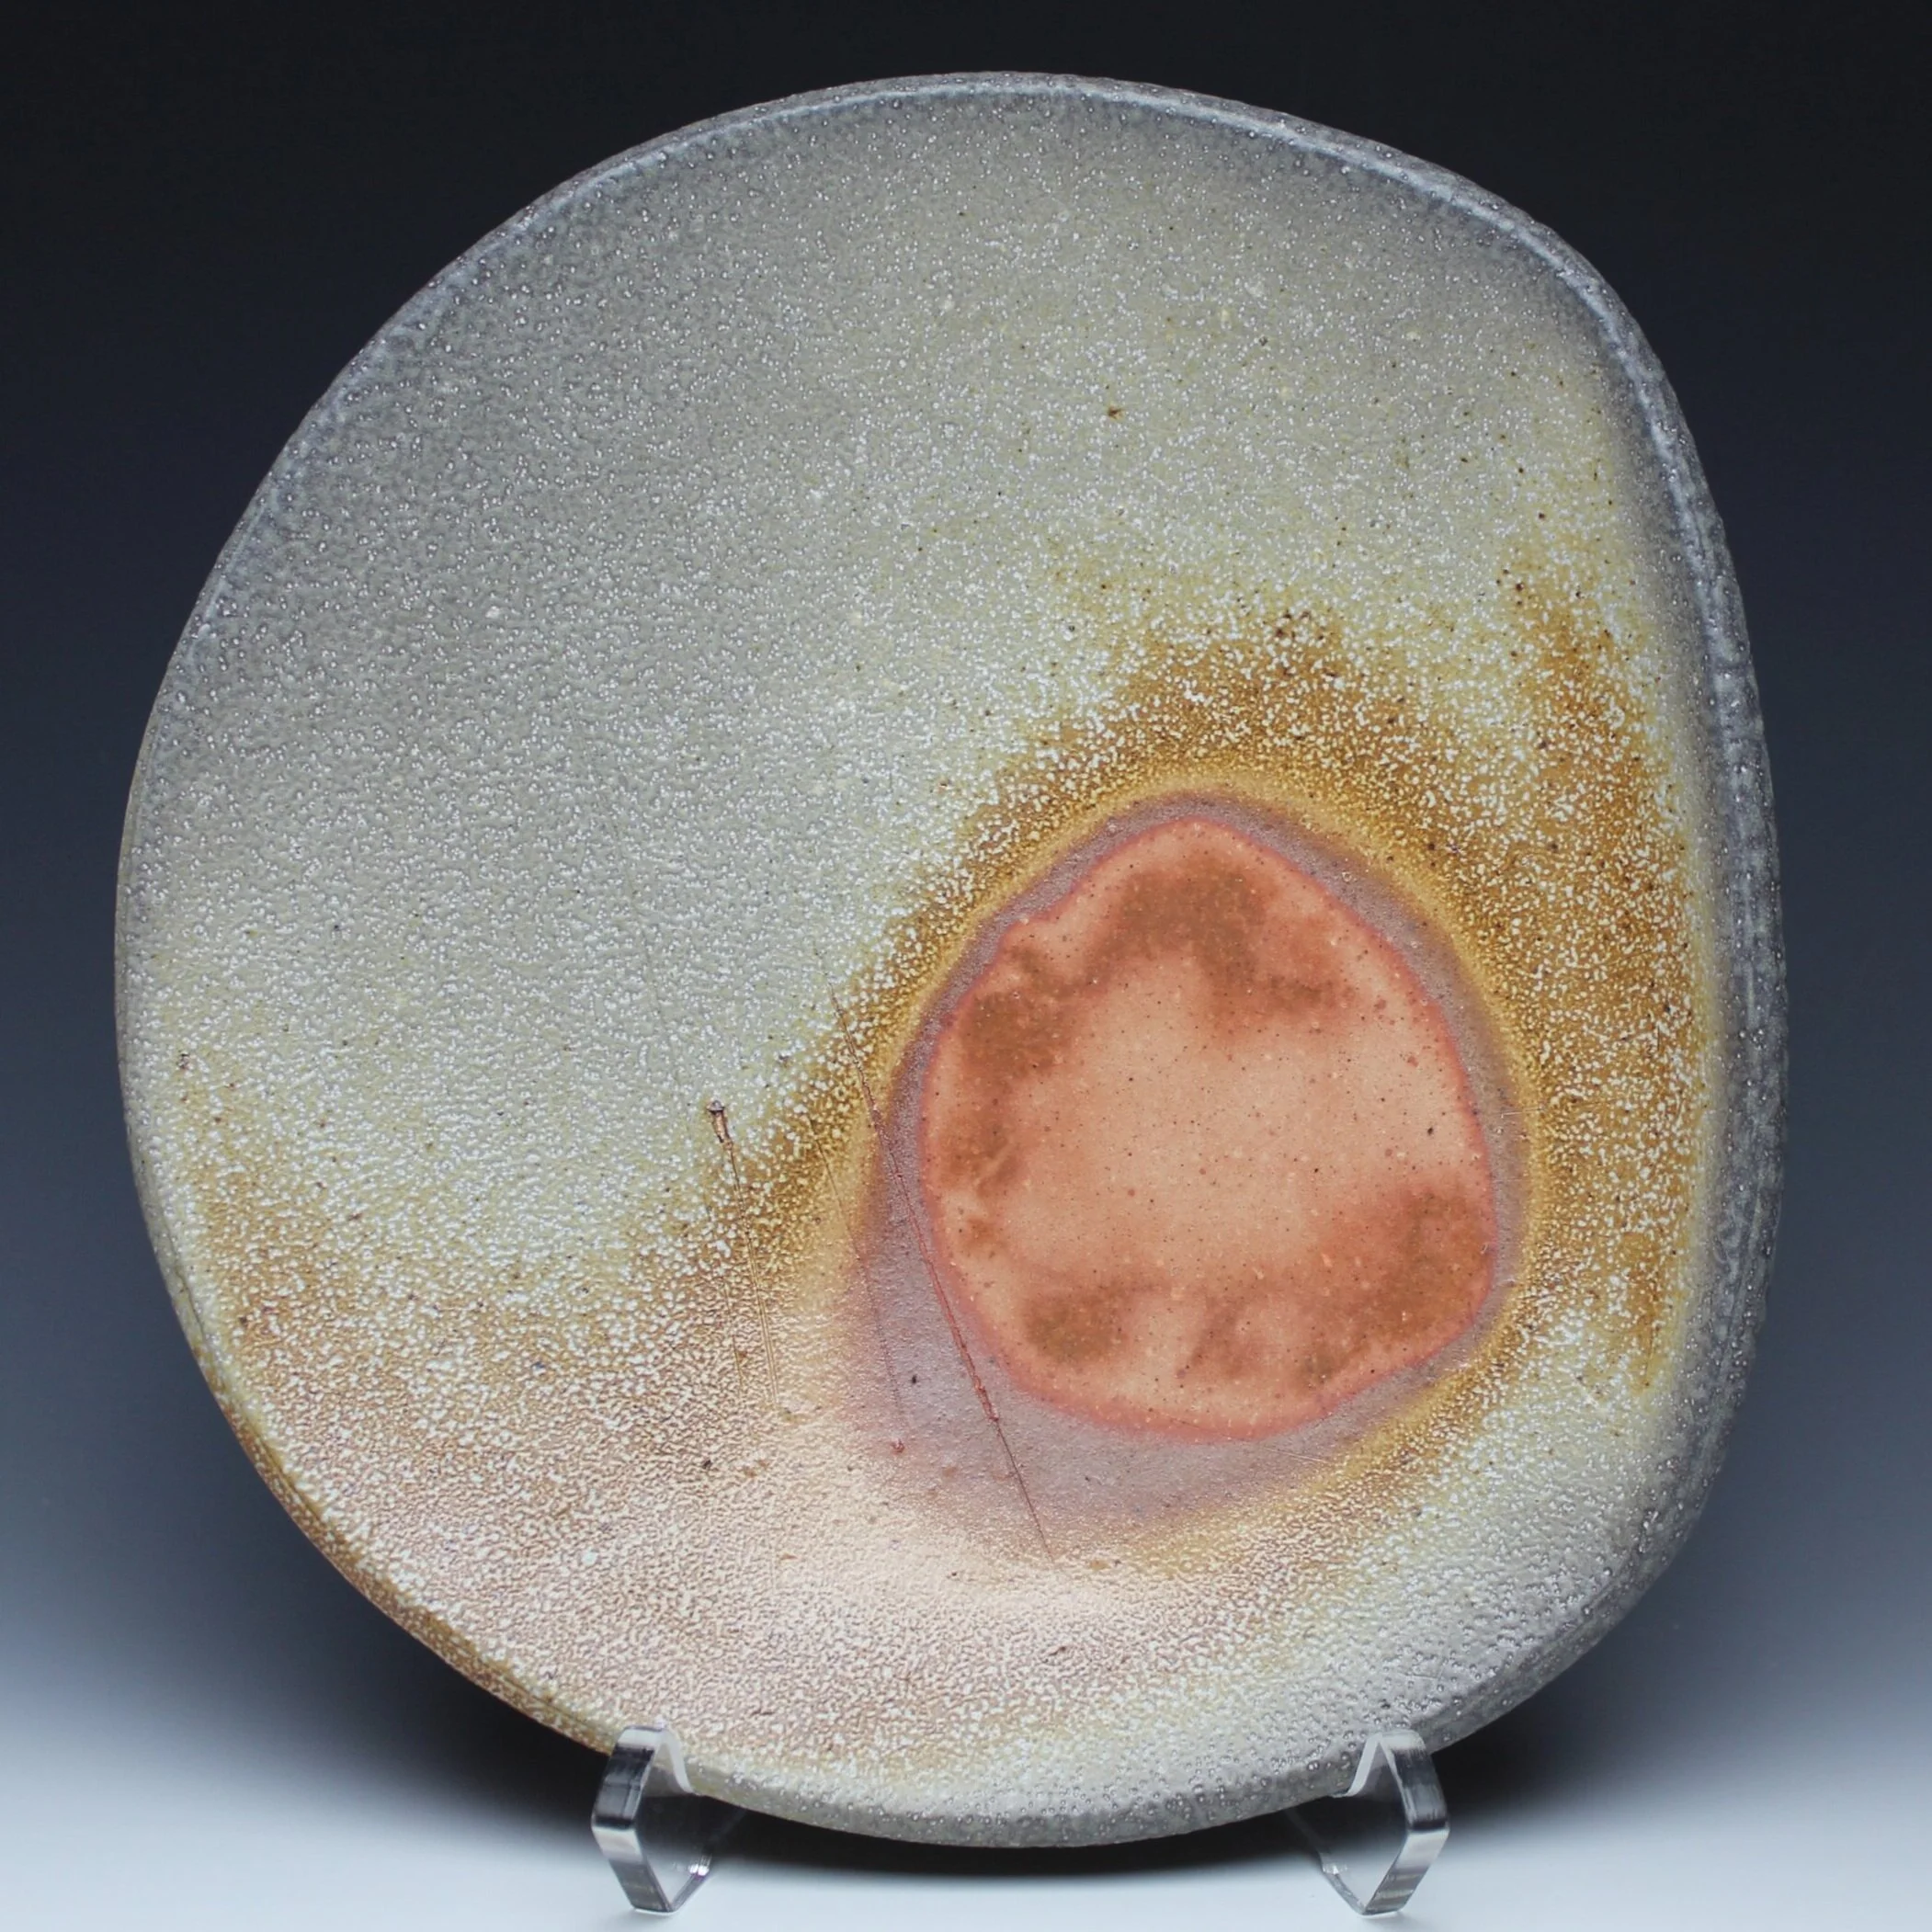
Plate, Porcelaneous Stoneware with Applid Slip
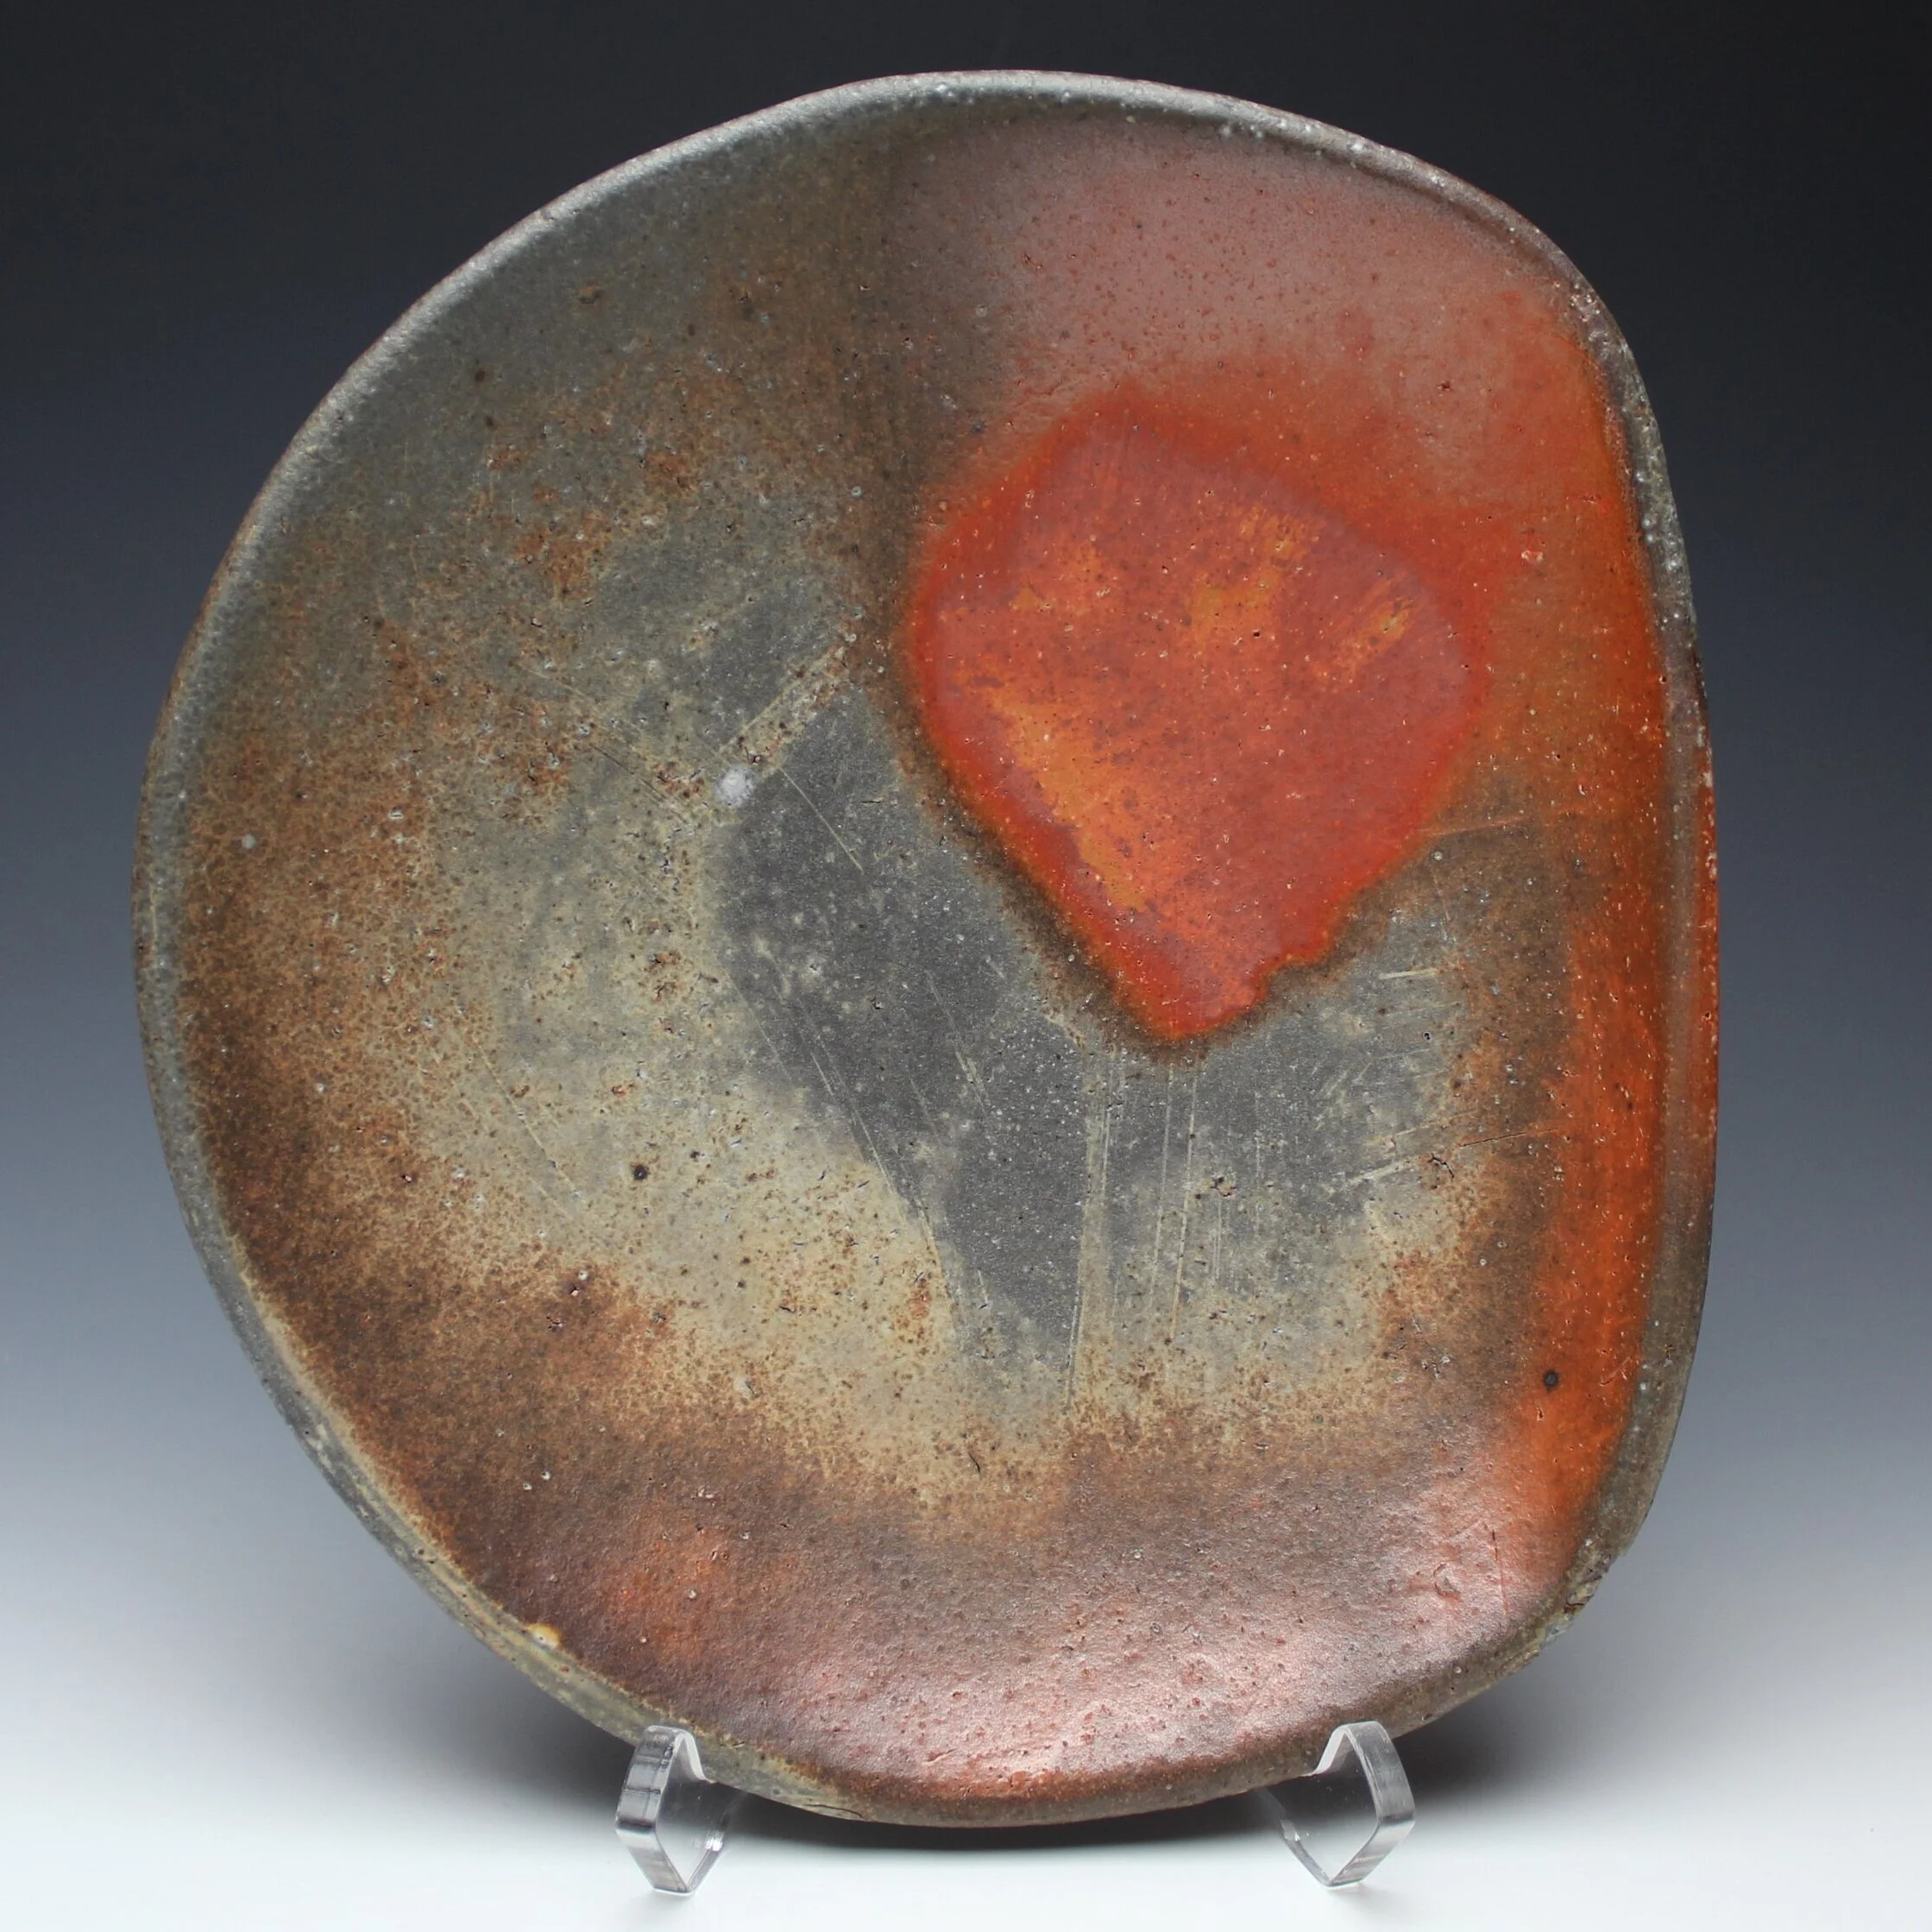
Plate, Stoneware
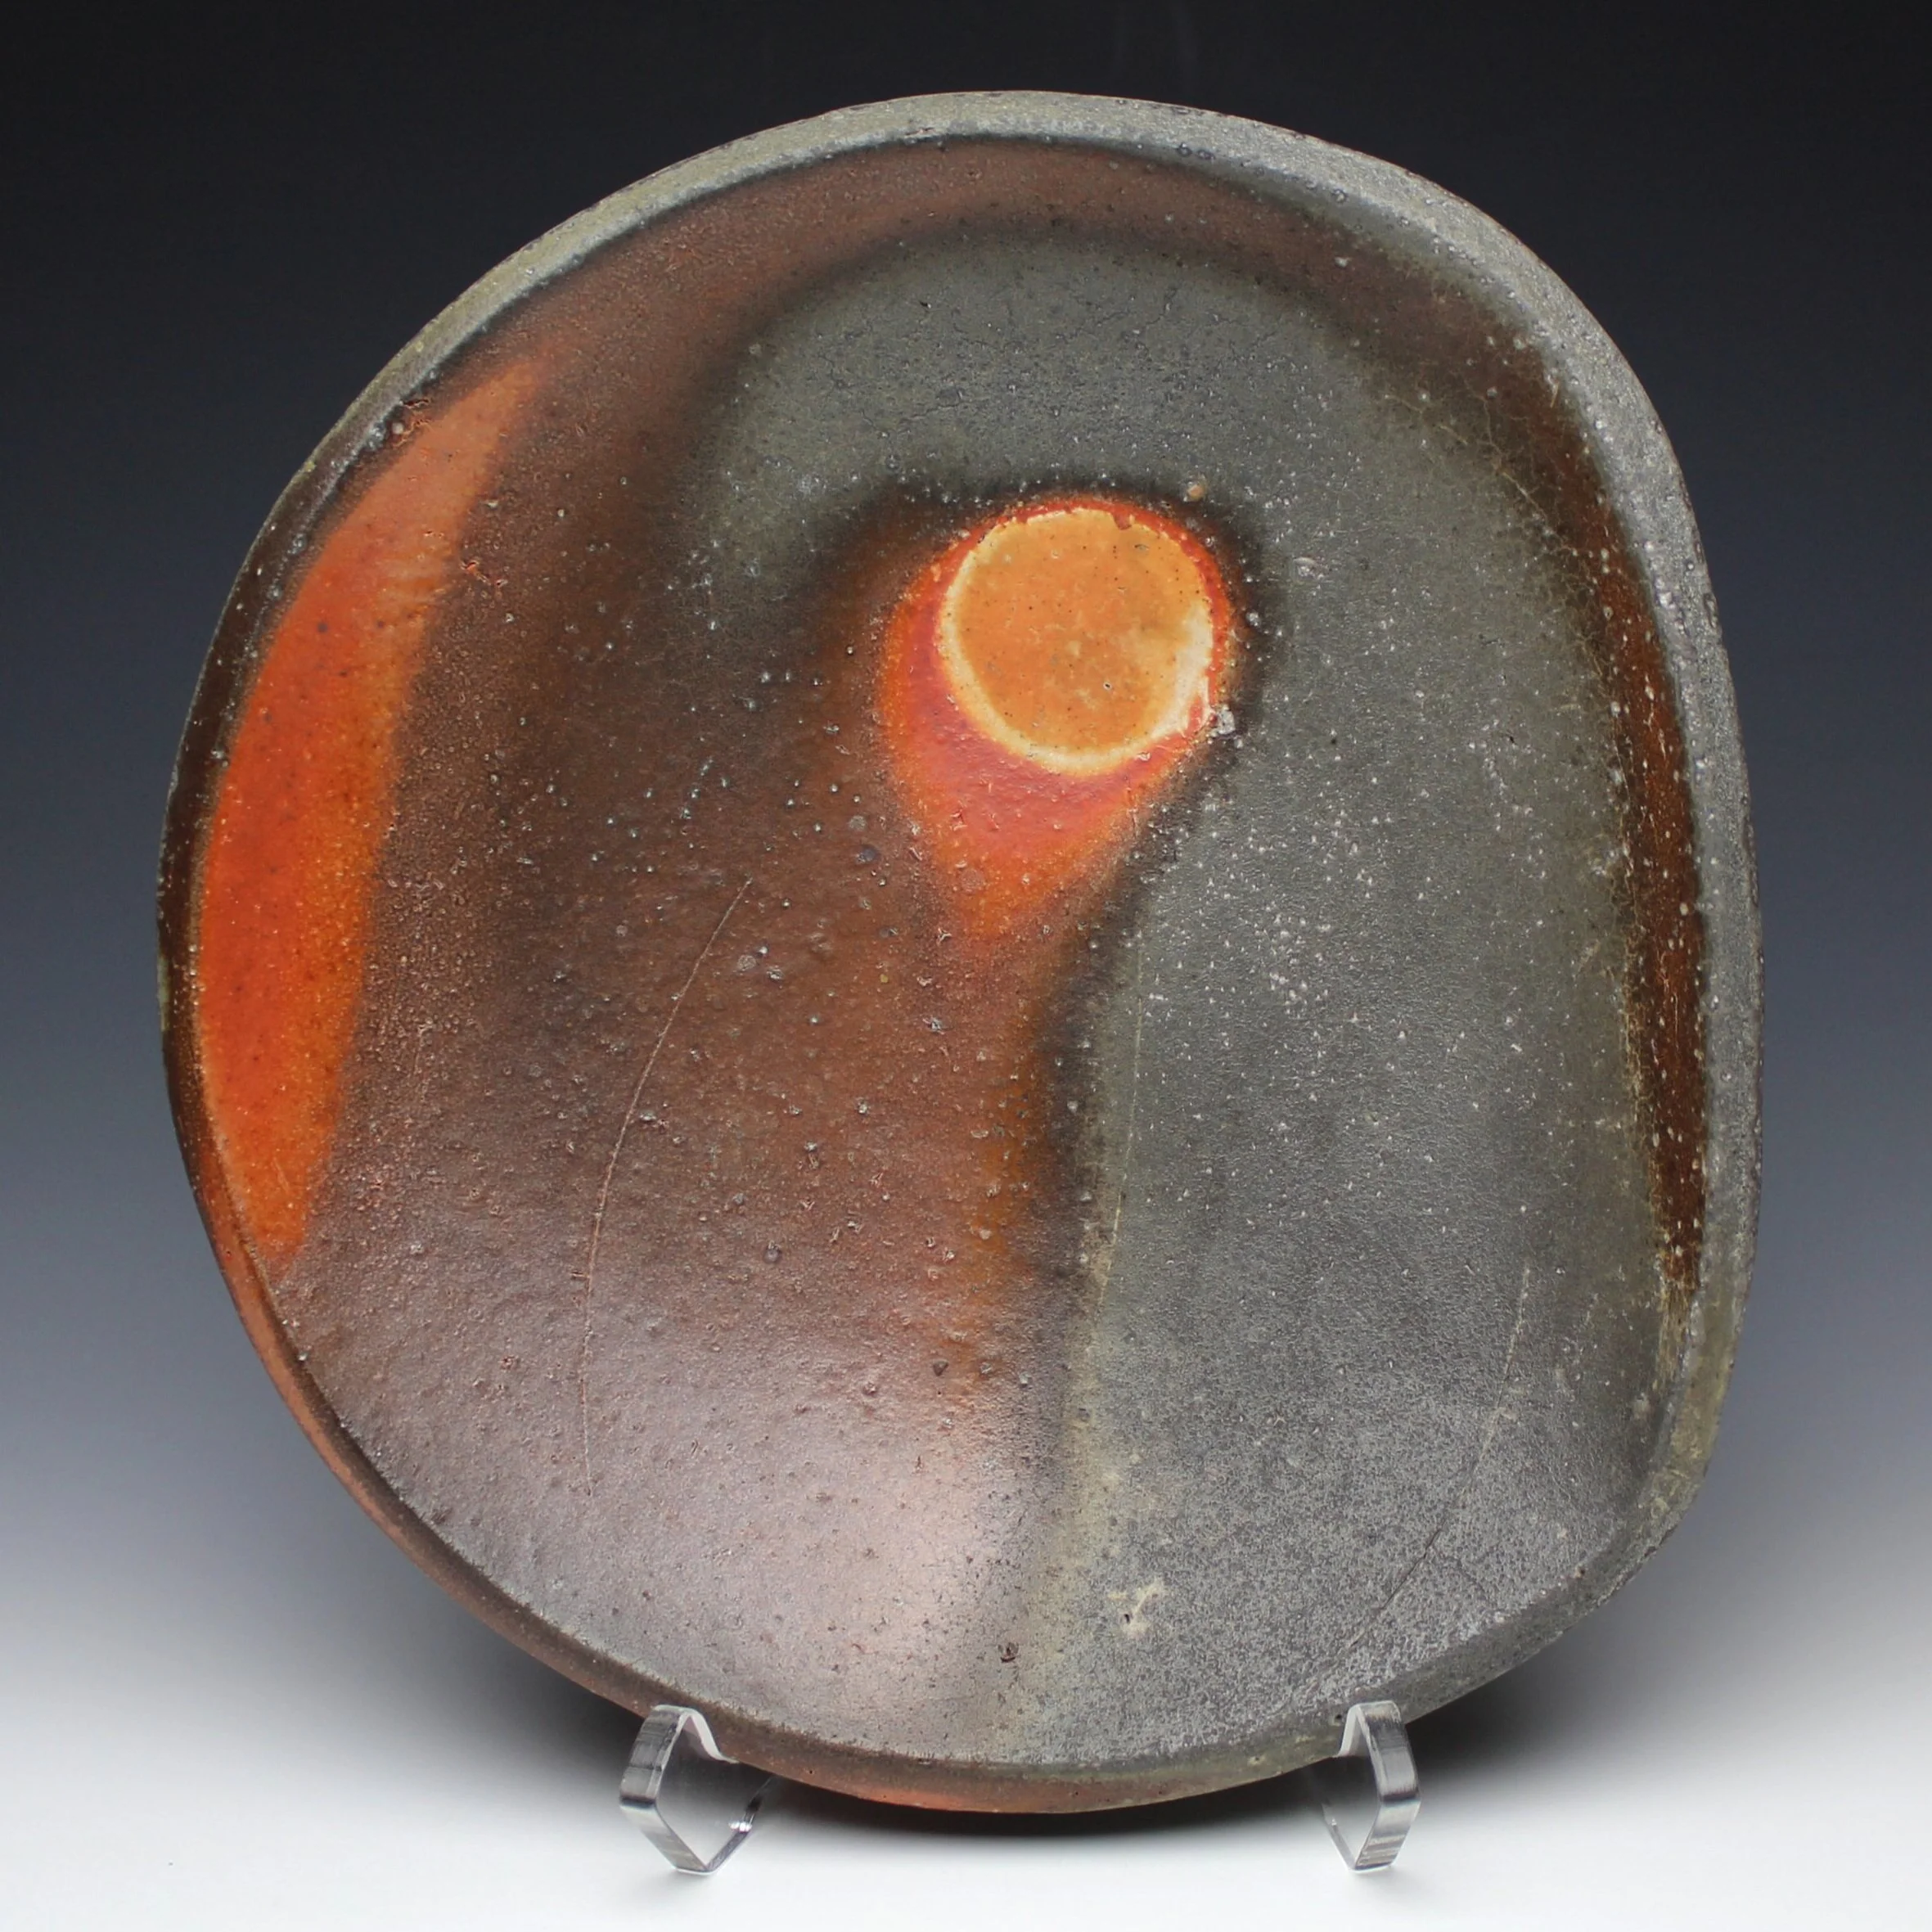
Plate, Porcelaneous Stoneware with Applid Slip

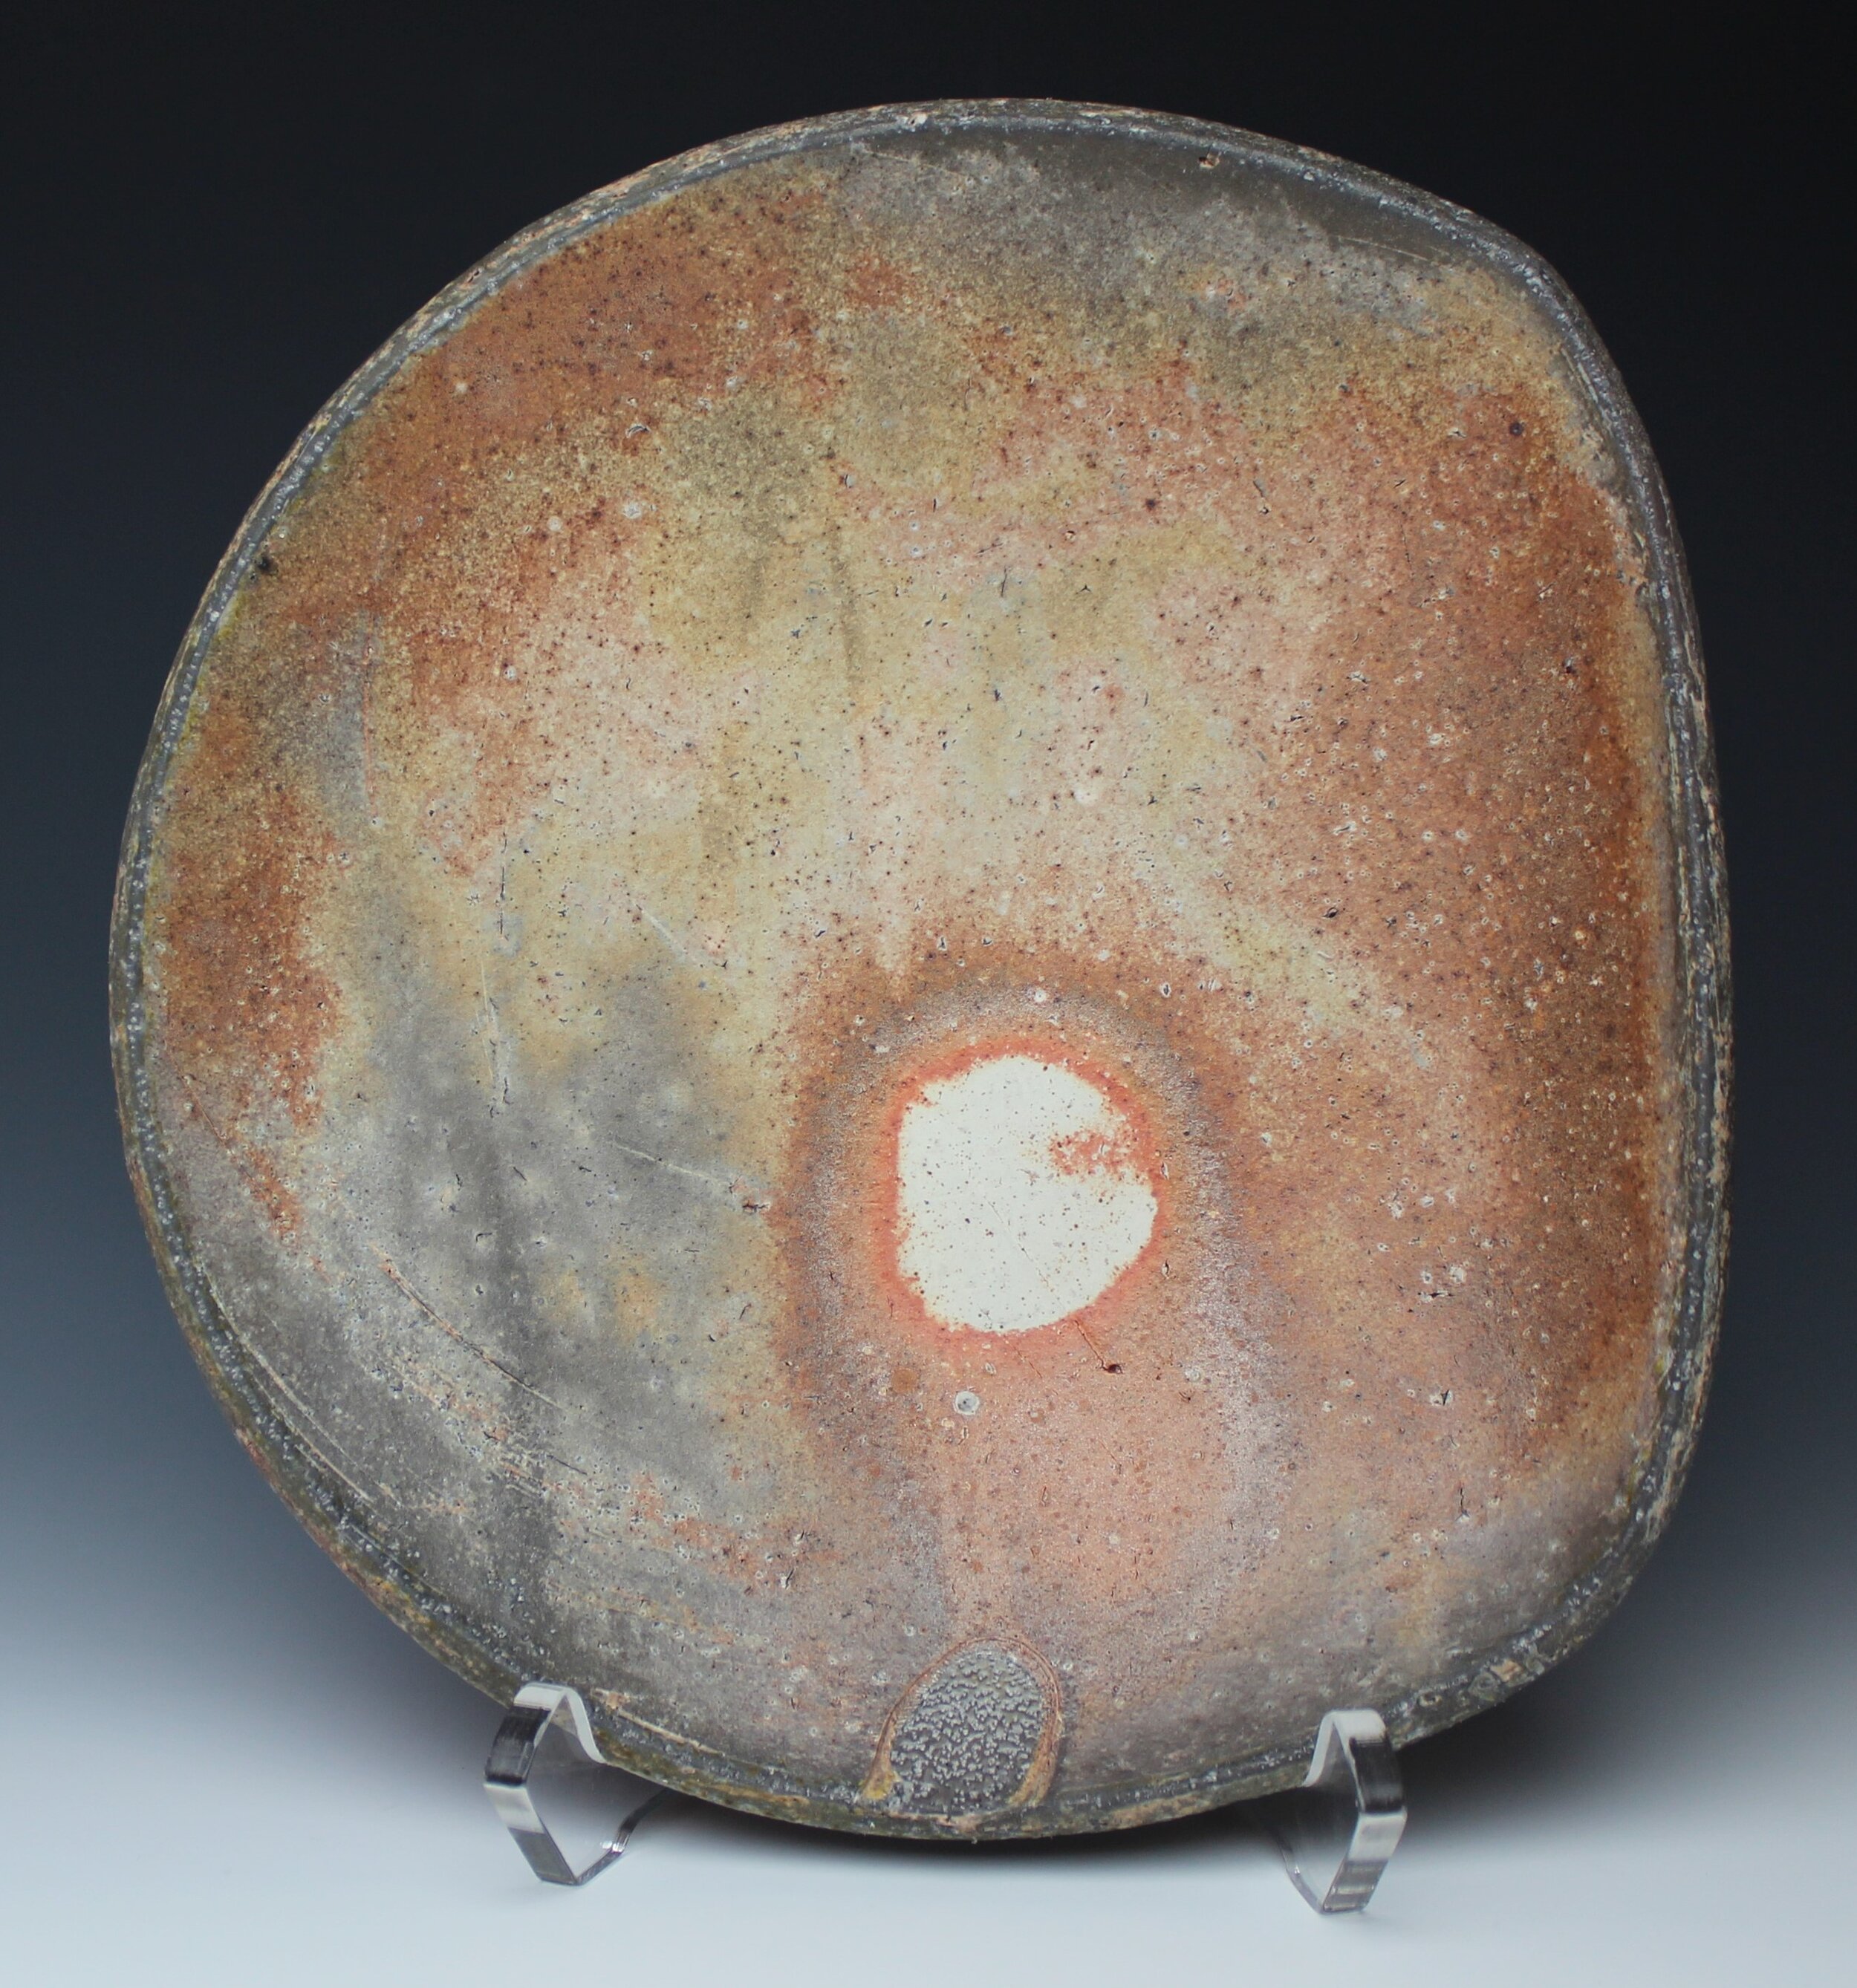
Plate, Stoneware
Plate, Porcelaneous Stoneware with Applid Slip
To begin with, I am going to take a step back to my first firings at NCC; I had three of them before beginning my grant research. I am sharing them because these firings’ research seamlessly transitions into the ones in which I was performing my grant research.
My first firing at NCC was in December of 2019. This was my first time ever firing an atmospheric kiln in doors which I was so very thankful for as it was now winter in Minnesota – brrrr. This was also my first time utilizing forced air burners and a kiln that I was not allowed to reduction cool with wood. I was a little nervous but fired anyways and utilized the burners to down-fire the kiln. The firing turned out far better than I had expected, and I found some new and exciting colors in my clay body and slip that I was not getting in my previous reduction cooled soda and wood firings. I knew that I was on to something with this style of cooling!
Notes:
Sprayed 1,125 grams of soda ash into the kiln during three sessions beginning at ^9 in reduction.
30-minute soak after spraying.
3 hour down-firing to 1774°F in reduction.
Plate, Porcelaneous Stoneware with Applied Slip

Diner Mugs, Porcelaneous Stoneware with Applied Slip

Garlic Box, Porcelaneous Stoneware with Applied Slip
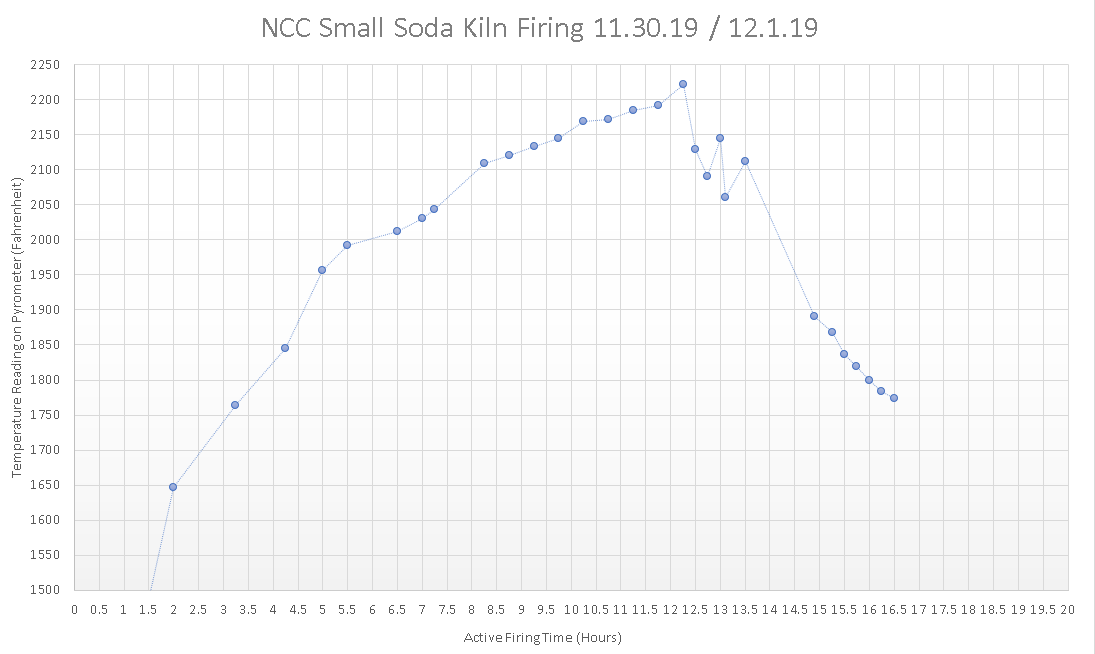
Kiln log of active time firing.
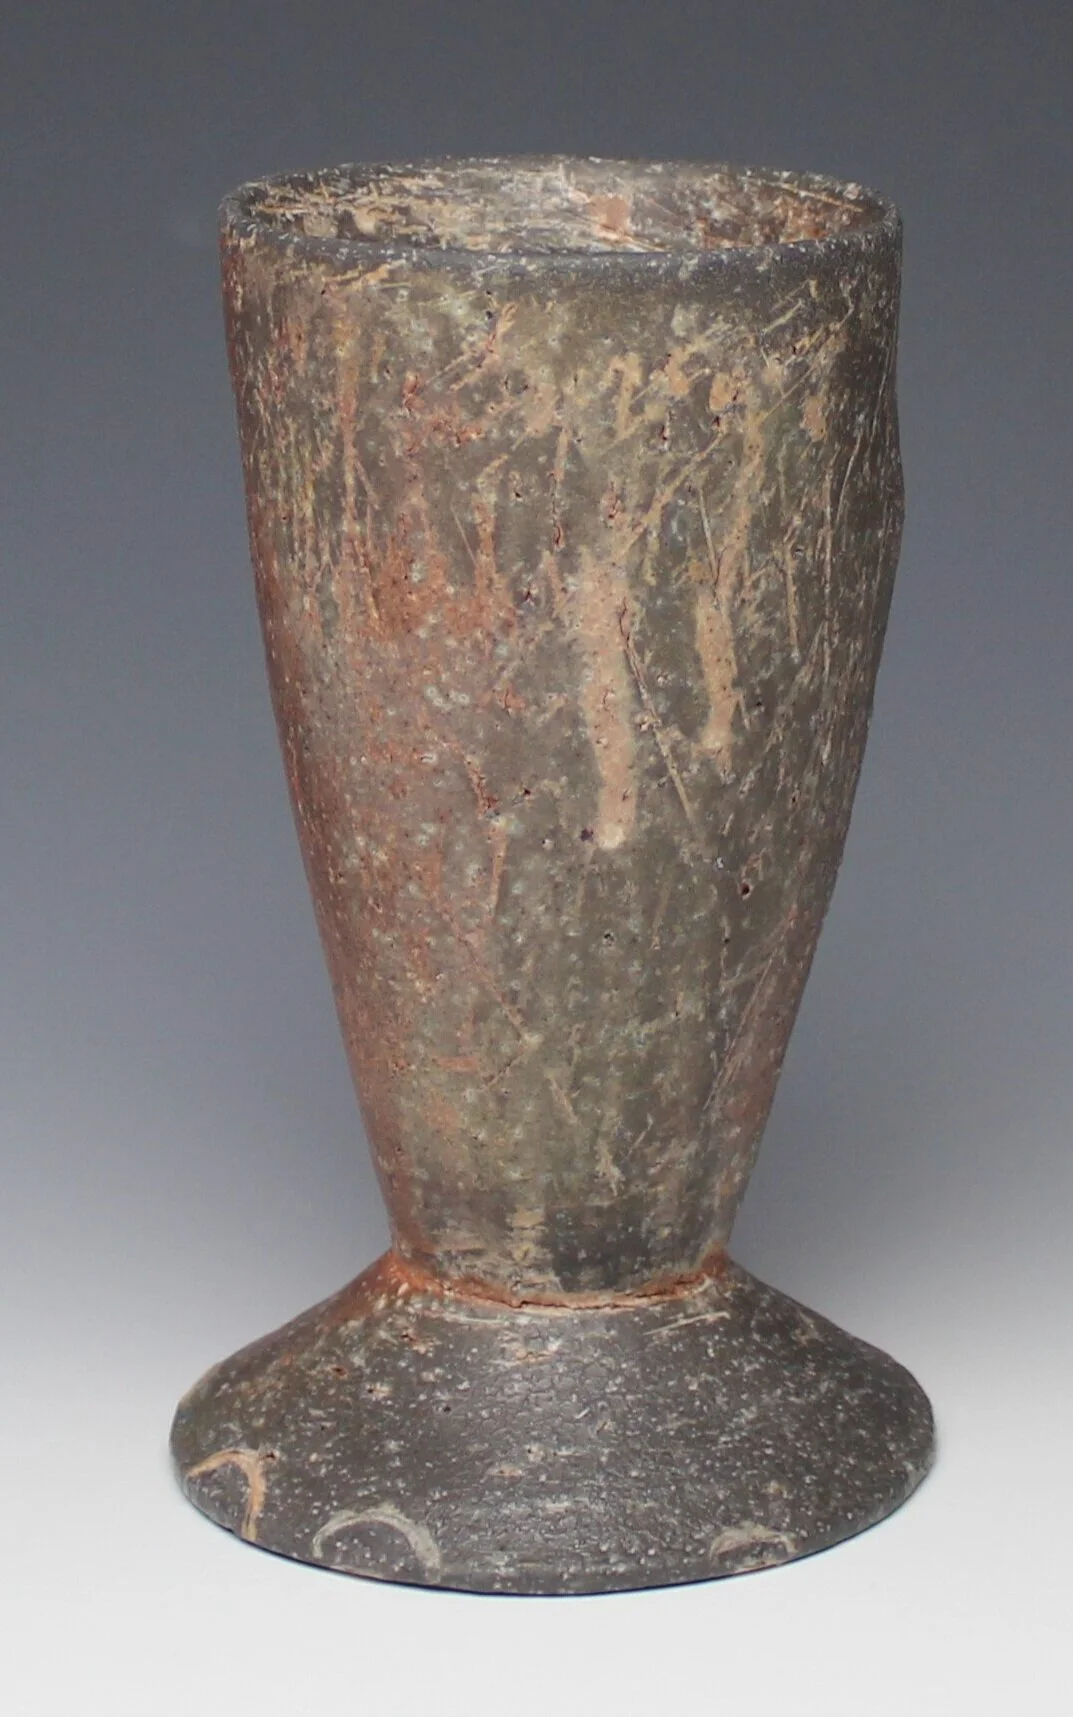
Root Beer Float Cup, Porcelaneous Stoneware with Applied Slip
My second firing at NCC was not as good; I had reoxidized the kiln too much during the down-firing and lost some of the exciting colors that I had previously seen. I was however left with some intense and bright flashing. This was one of those firings that I had learned a lot about what I am not going for! I had also stacked the bag walls and stack differently which pushed more of the atmosphere to the top of the kiln and help it fire more evenly which I had troubles with in my first firing at NCC.
Notes:
Sprayed 1,125 grams of soda ash into the kiln during 3 sessions beginning at ^9 in reduction.
One hour of soaking after spraying.
4.75 hour long down-firing to 1708°F in reduction.

Tea Mug, Porcelaneous Stoneware with Applied Slip
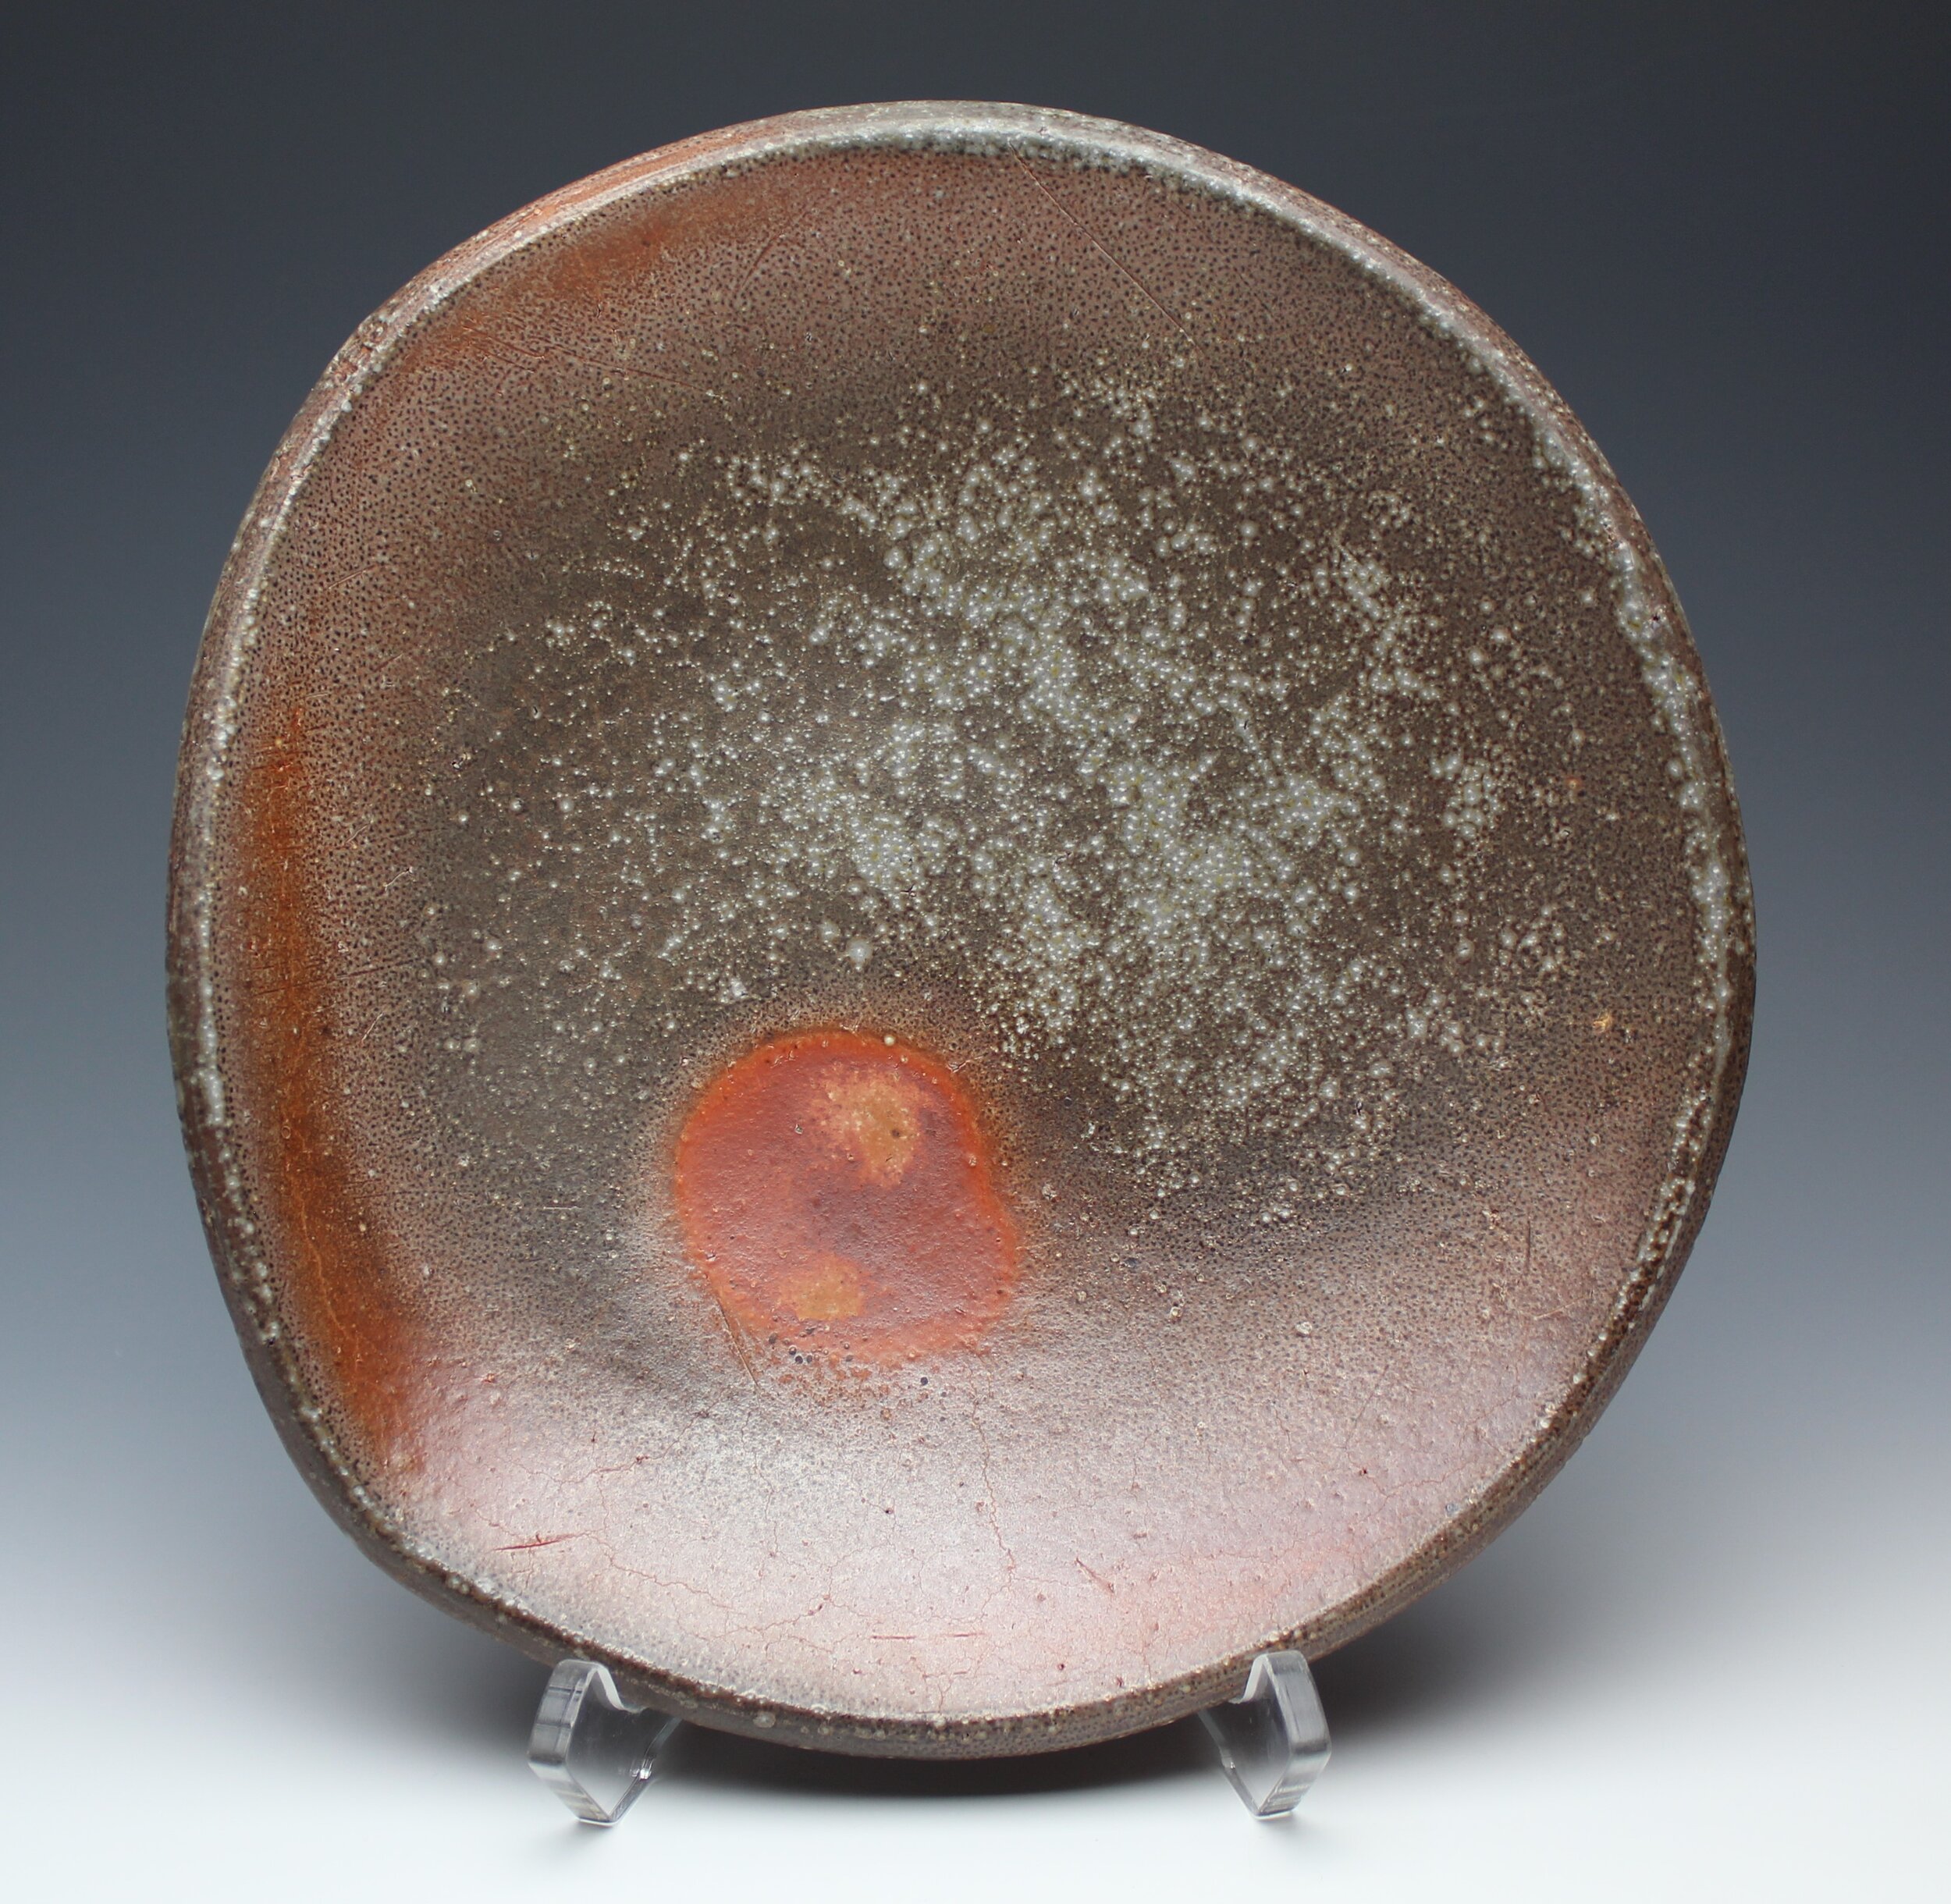
Plate, Porcelaneous Stoneware with Applied Slip

Tumbler, Porcelain with Applied Slip
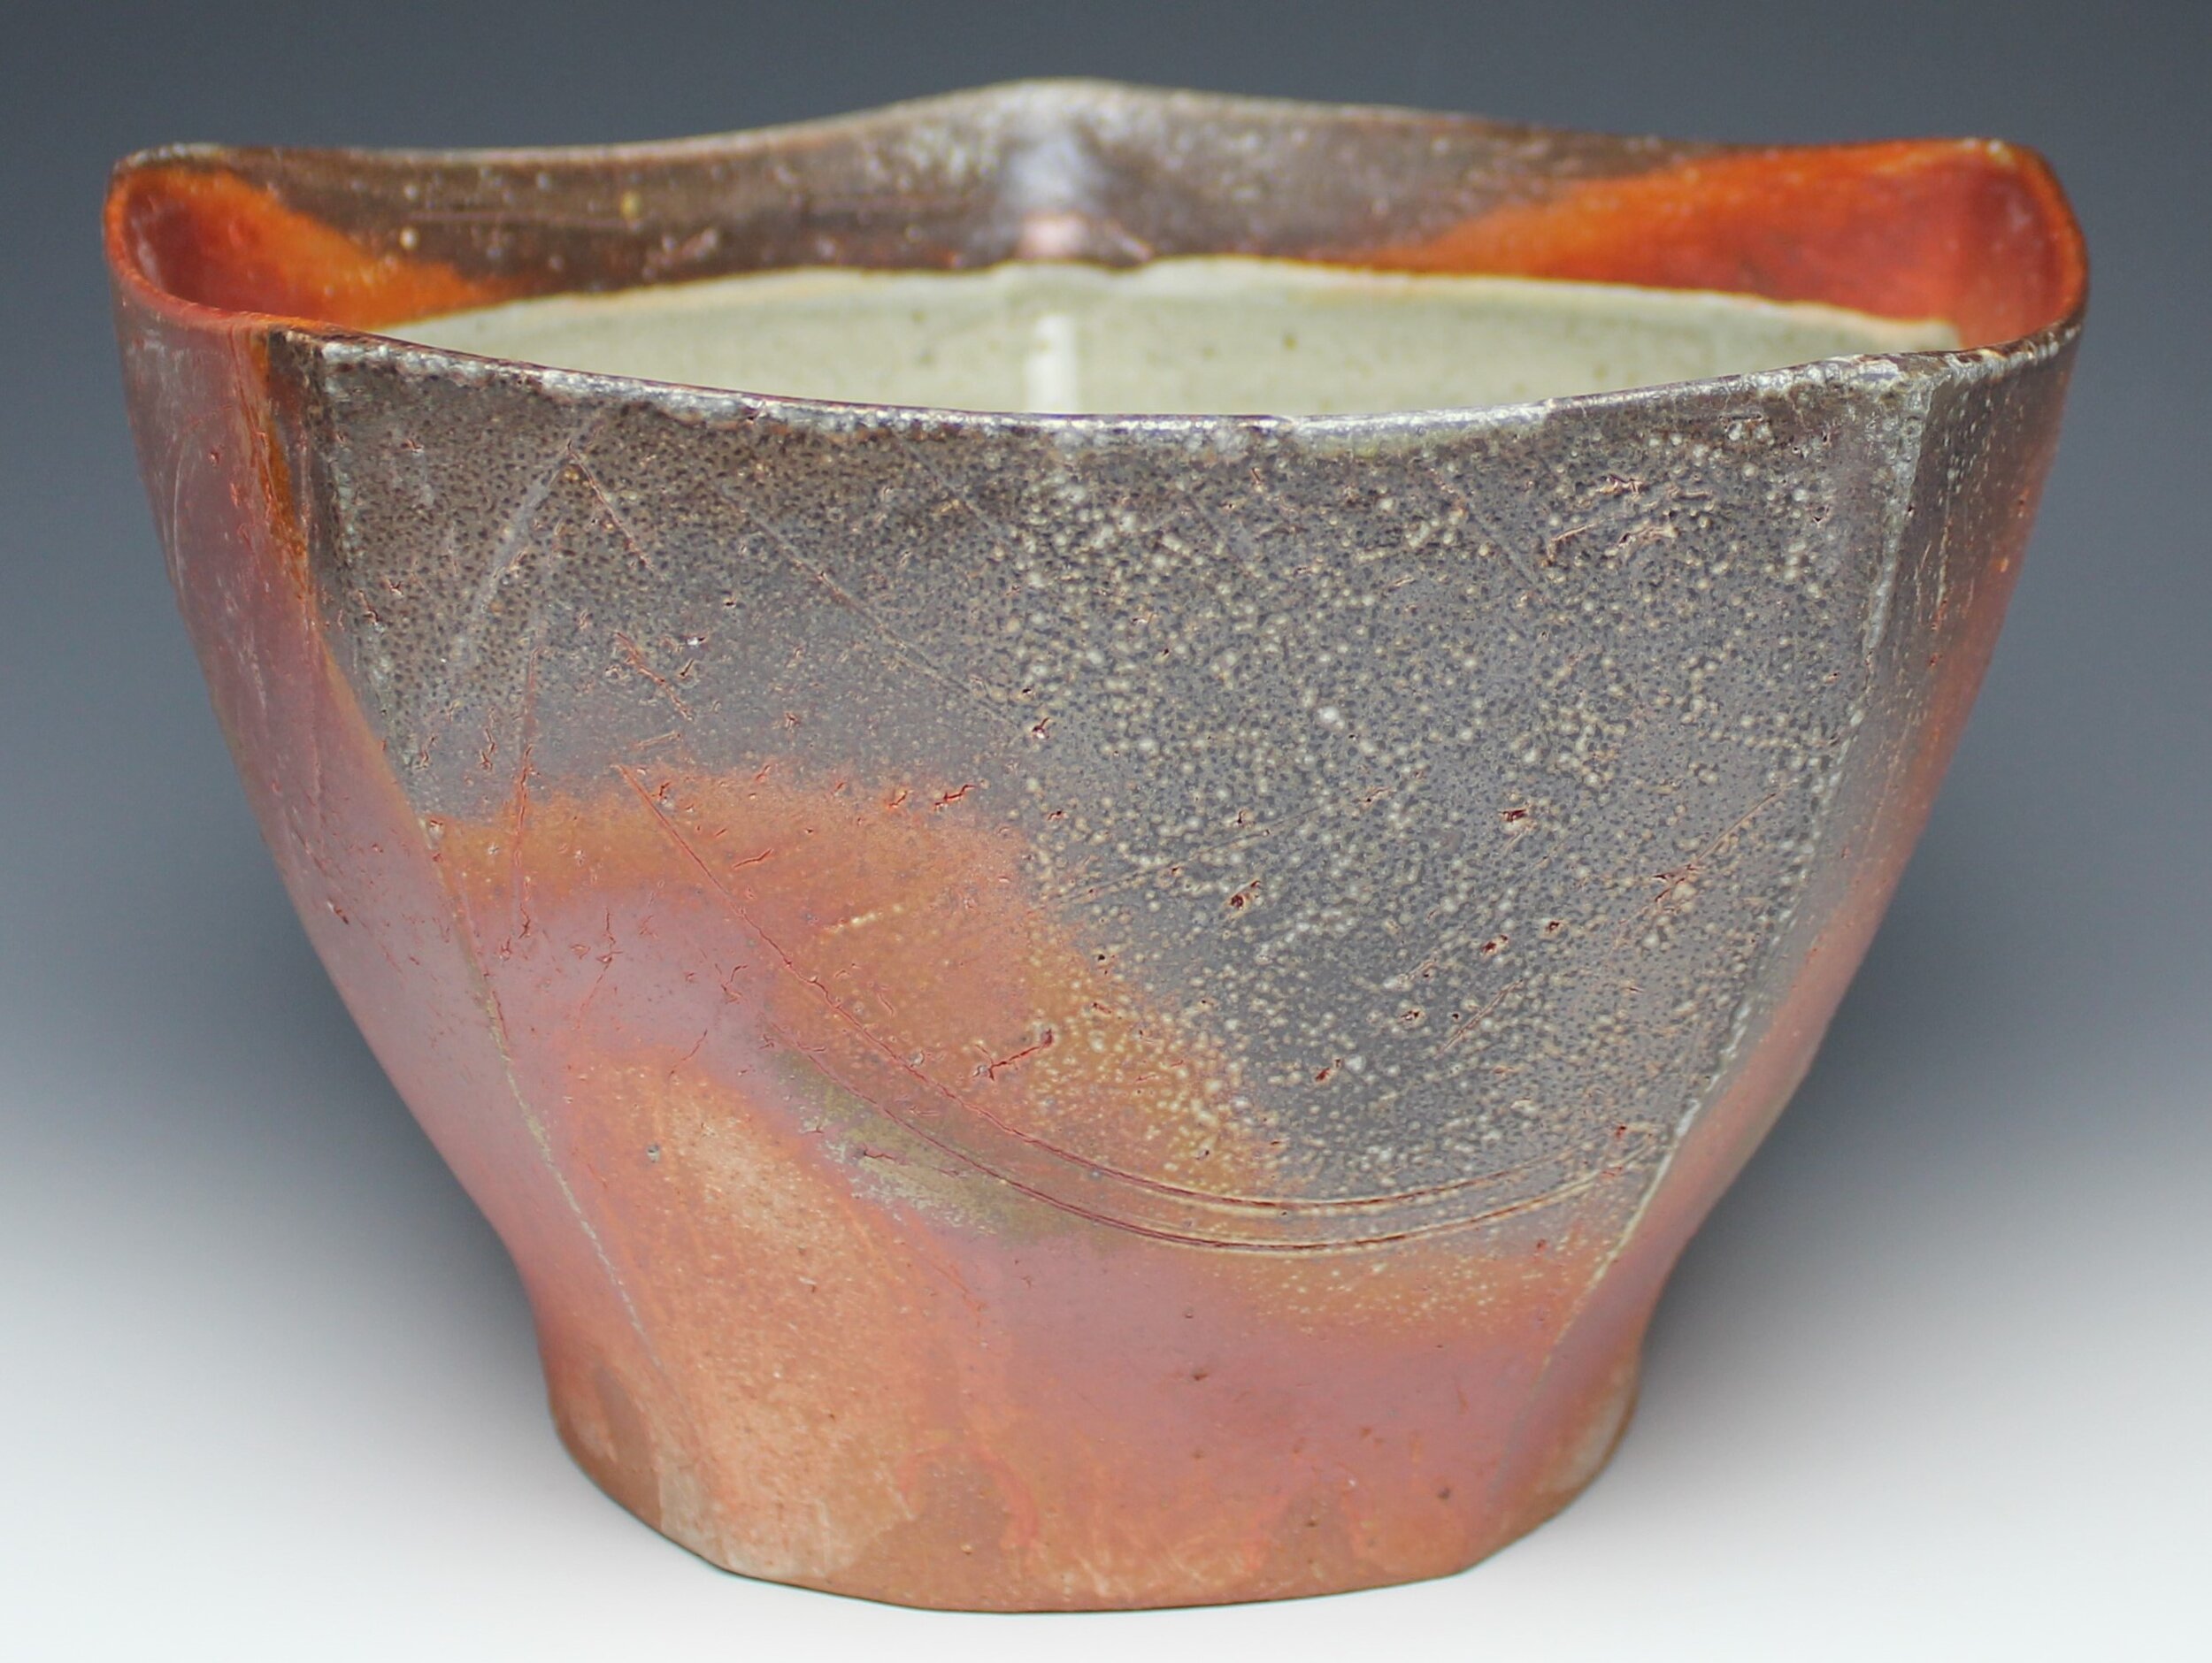
Serving Bowl, Porcelaneous Stoneware with Applied Slip

Kiln log of active time firing.

Root Beer Float Cup, Porcelain with Applied Slip
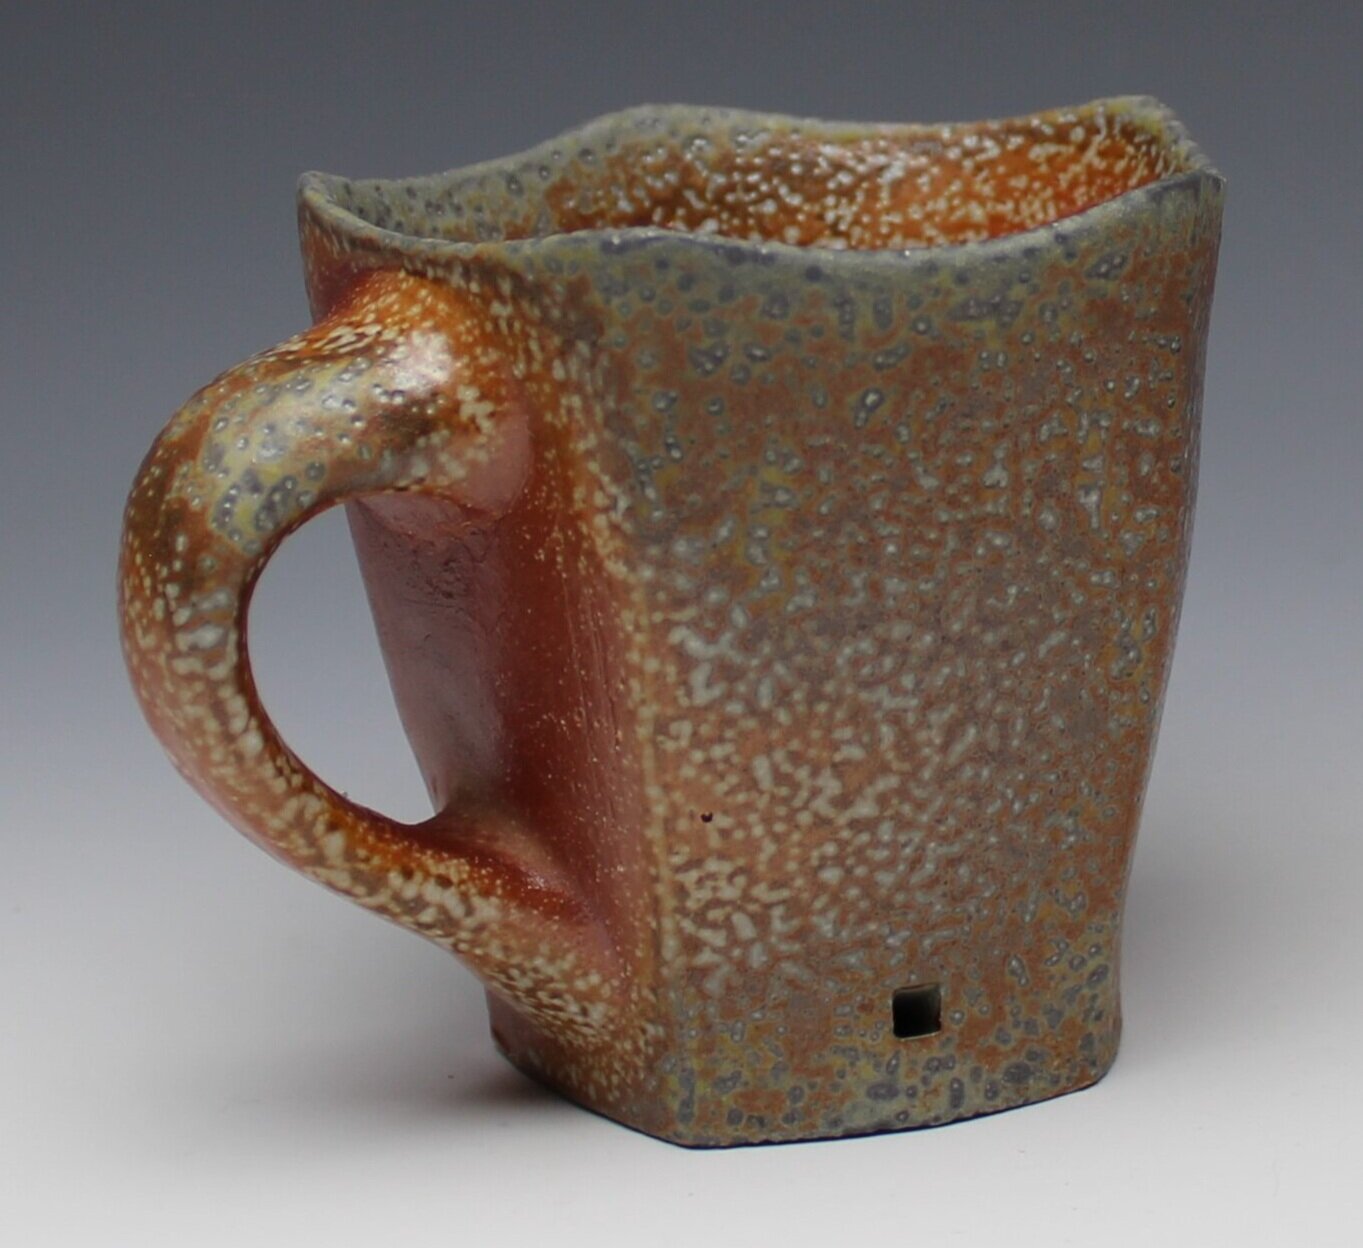
Now onto my March firing that I had mentioned above! This firing was greatly successful and gave me a glimpse at some dark and exciting possibilities from the soda kiln. During the down-firing of this firing I had kept the kiln in a pretty reduced atmosphere while also misting water into the kiln through the spray ports every 15 minutes. I had recently learned about water reduction and my understanding of it is that when water enters the kiln, it produces stream which expands and creates more pressure. I certainly saw more continuity in surfaces from top to bottom in the kiln and intensely reduced flame marks. Something new that I saw in this firing were browns in the in between areas. Barbara Allen, another pottery working in down-firing soda kilns and utilizing steam for reduction had mentioned that she also saw browns when water was introduced into the kiln. I am not sure the mechanisms at play here but there seems to be some correlation. I can assume that is allowing less oxygen to the wares and creating a type of oxygen deprived surface. I also noticed a lot of blistering in the carbon trapping and heavier soda glaze. I believe that this is a result to heavy reduction while spraying and down-firing and not much of a hold after spraying. I have been able to remedy this by holding the kiln for longer after spraying soda.
Notes:
Sprayed 1600 grams of soda ash into the kiln between 2 sessions beginning at ^9 / ^10 in reduction.
15-minute soak after spraying. This needs to be prolonged to prevent soda glaze blistering.
5.5 hour long down-firing to 1615°F in reduction with introduction of steam.

Mug, Porcelaneous Stoneware with Applied Slip

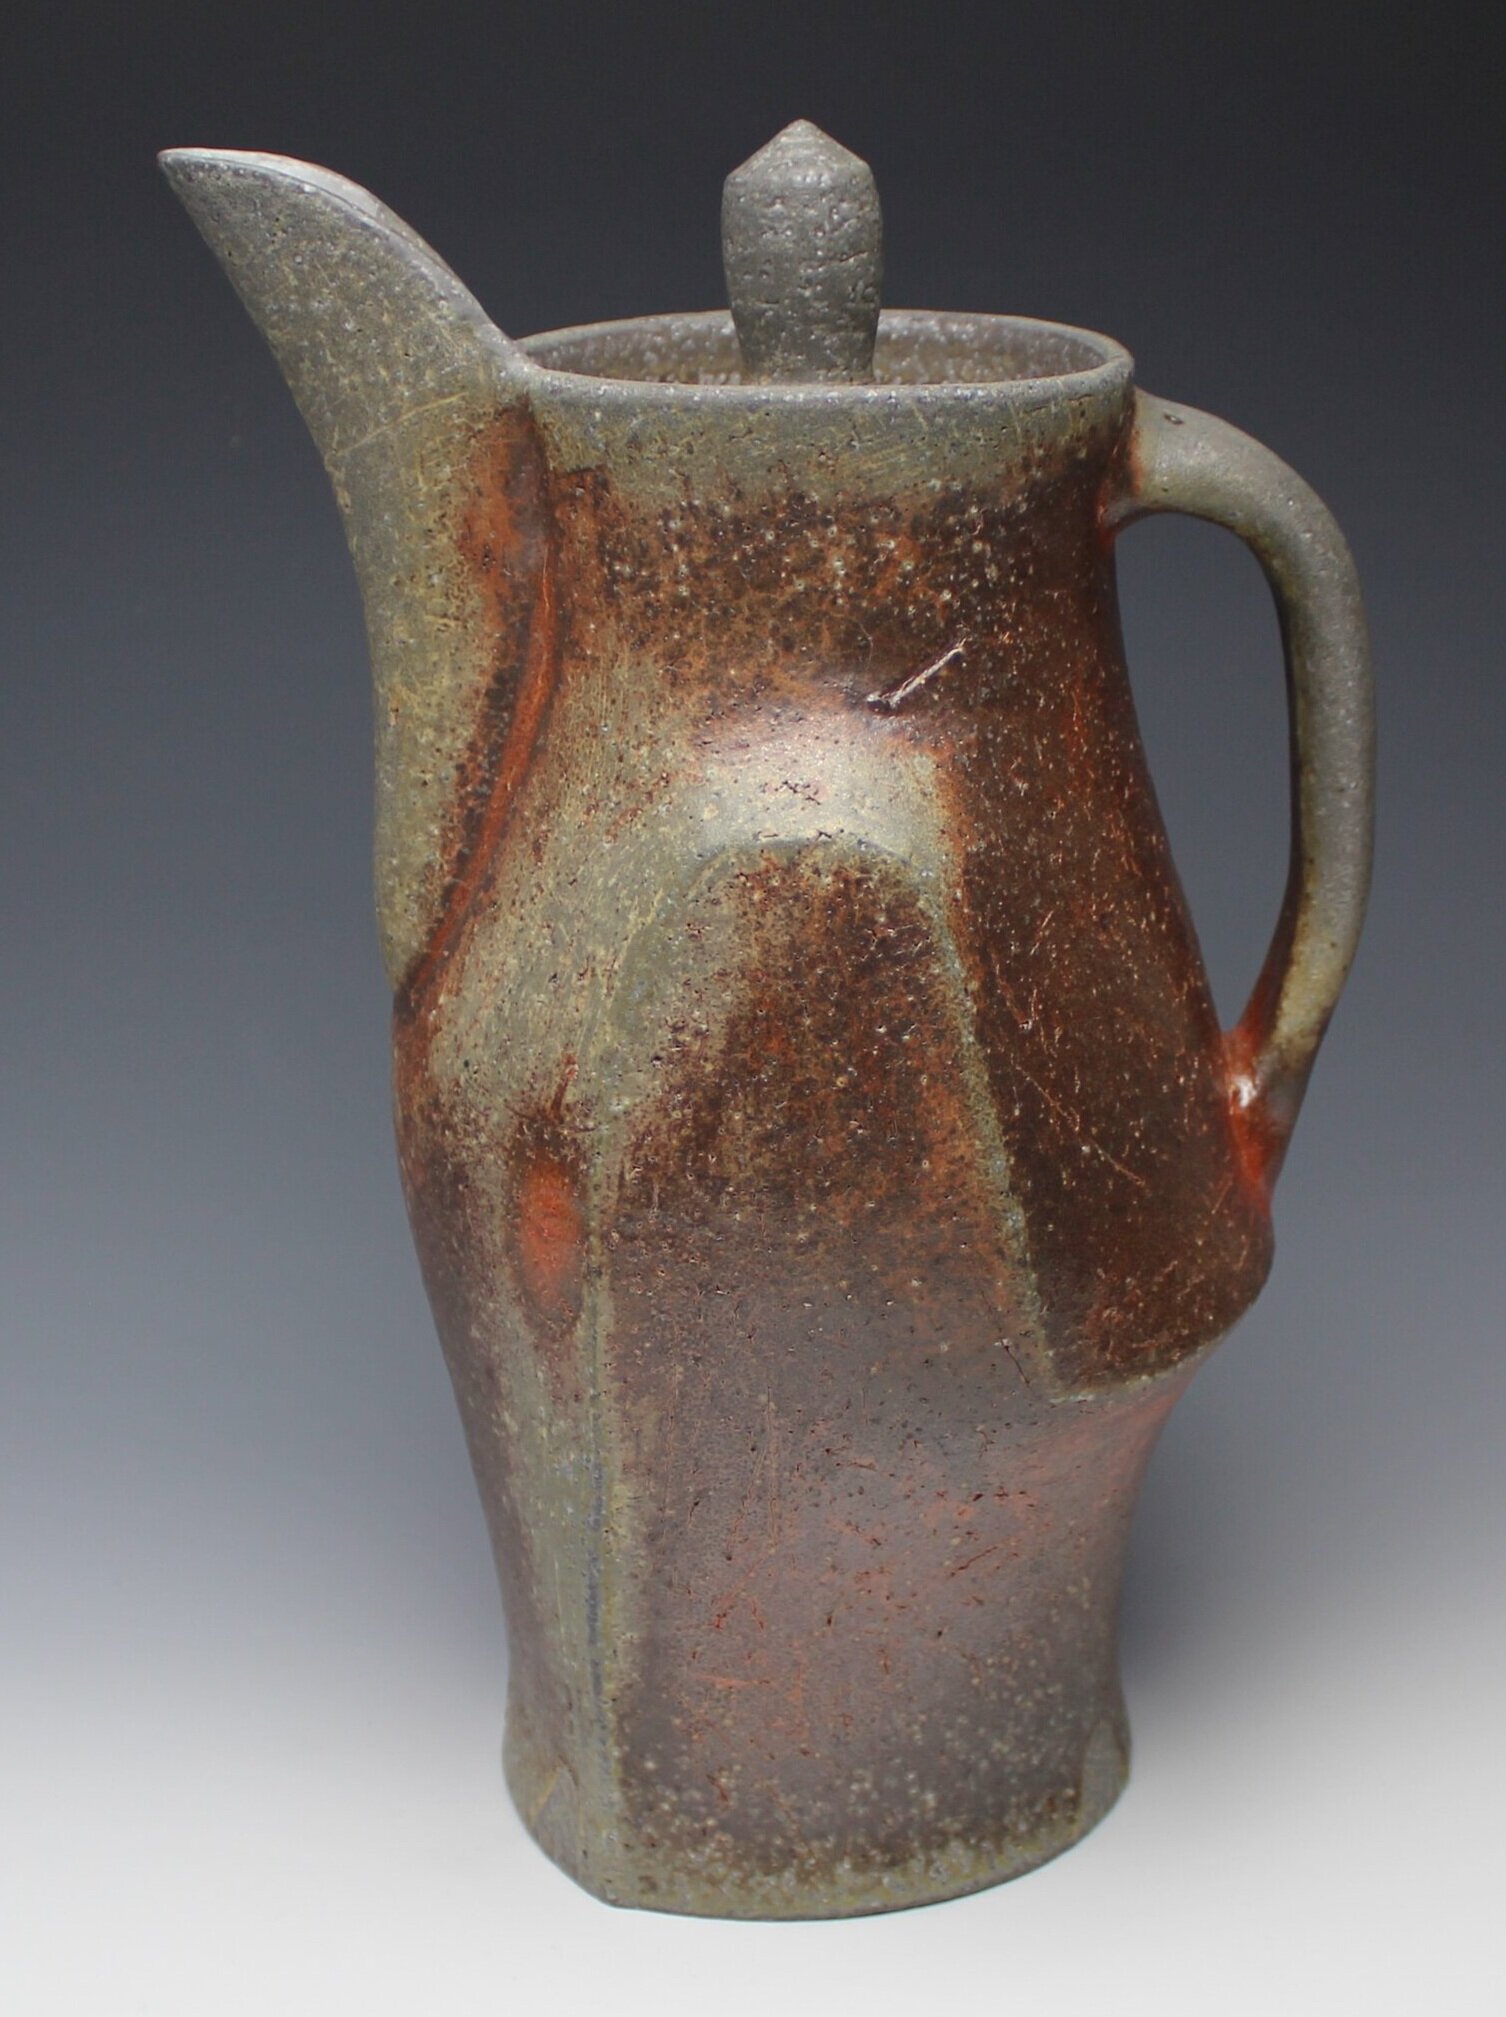
Pitcher, Porcelaneous Stoneware with Applied Slip

Coffee Pot, Porcelaneous Stoneware with Applied Slip
Tumblers, Porcelaneous Stoneware with Applied Slip

Kiln log of active time firing.

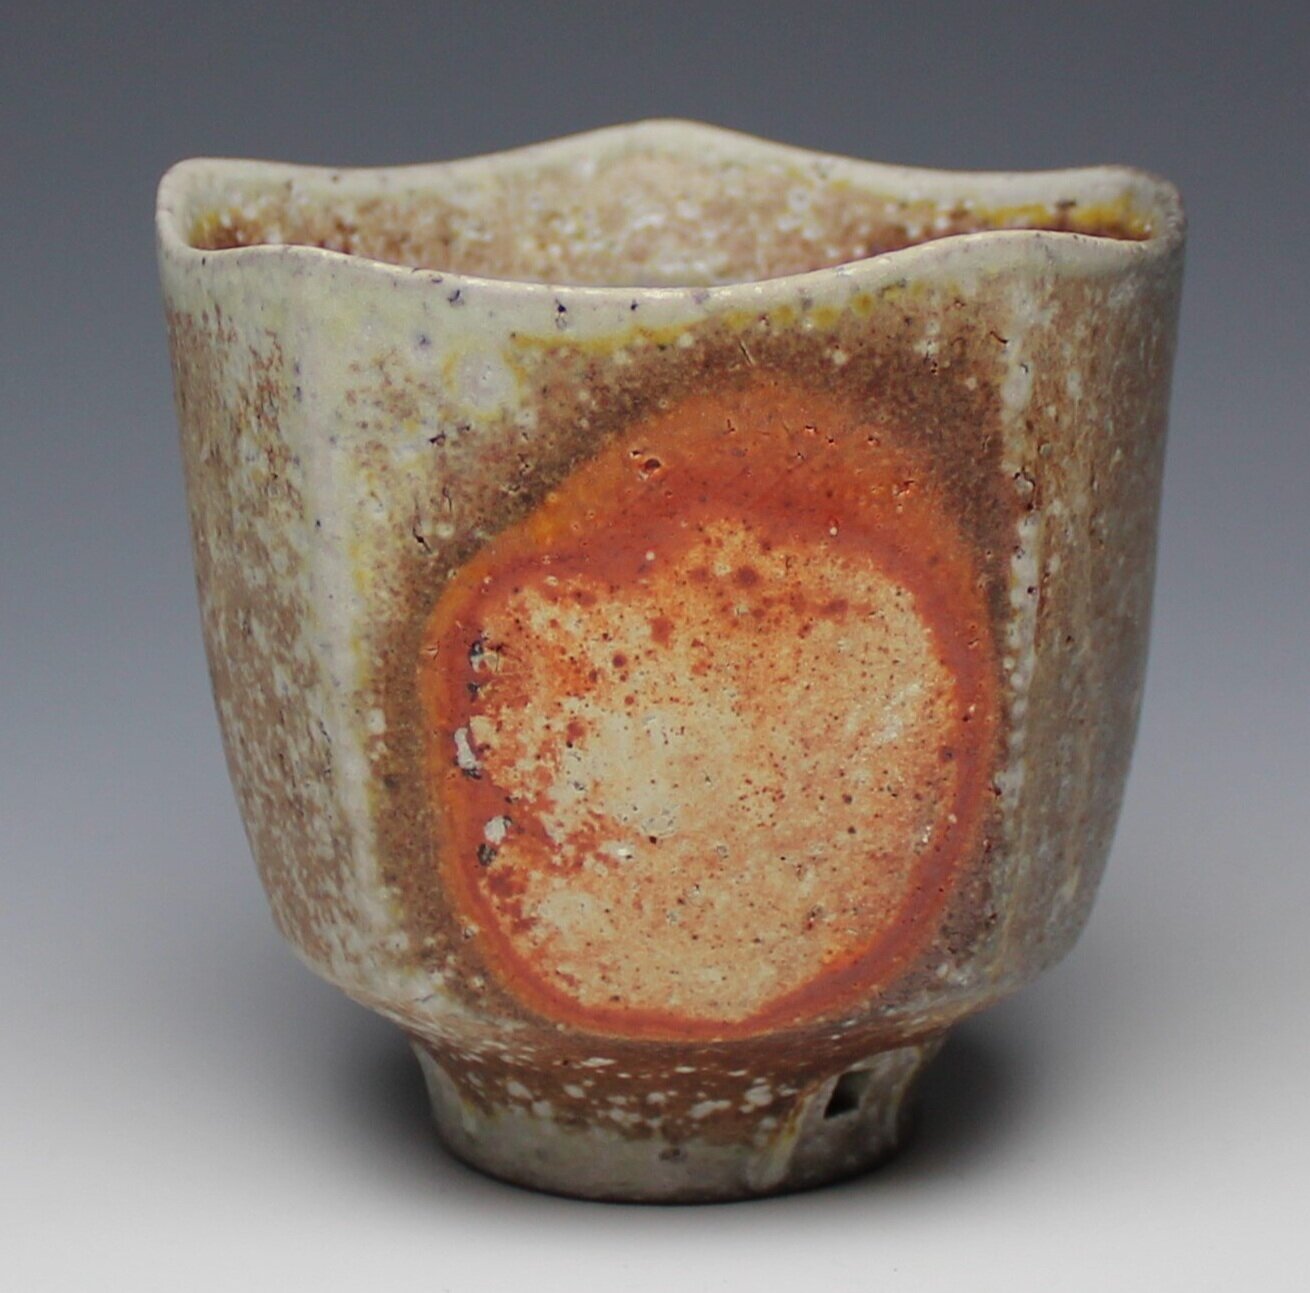
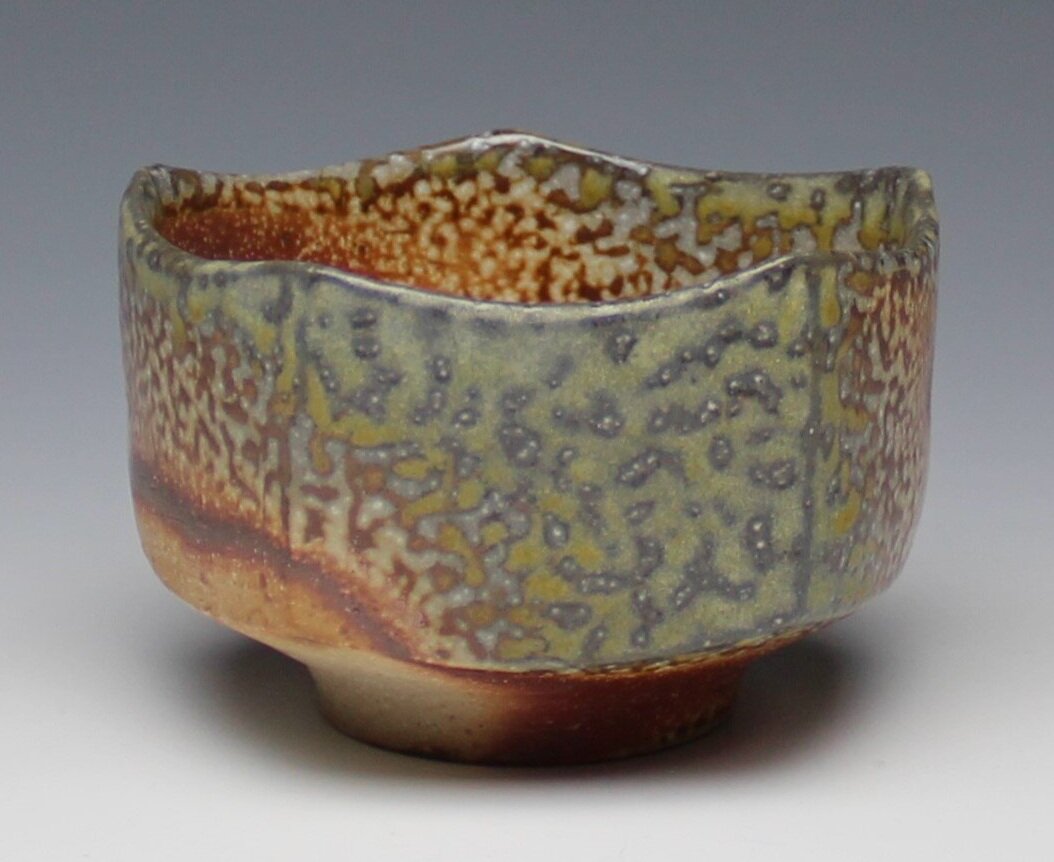
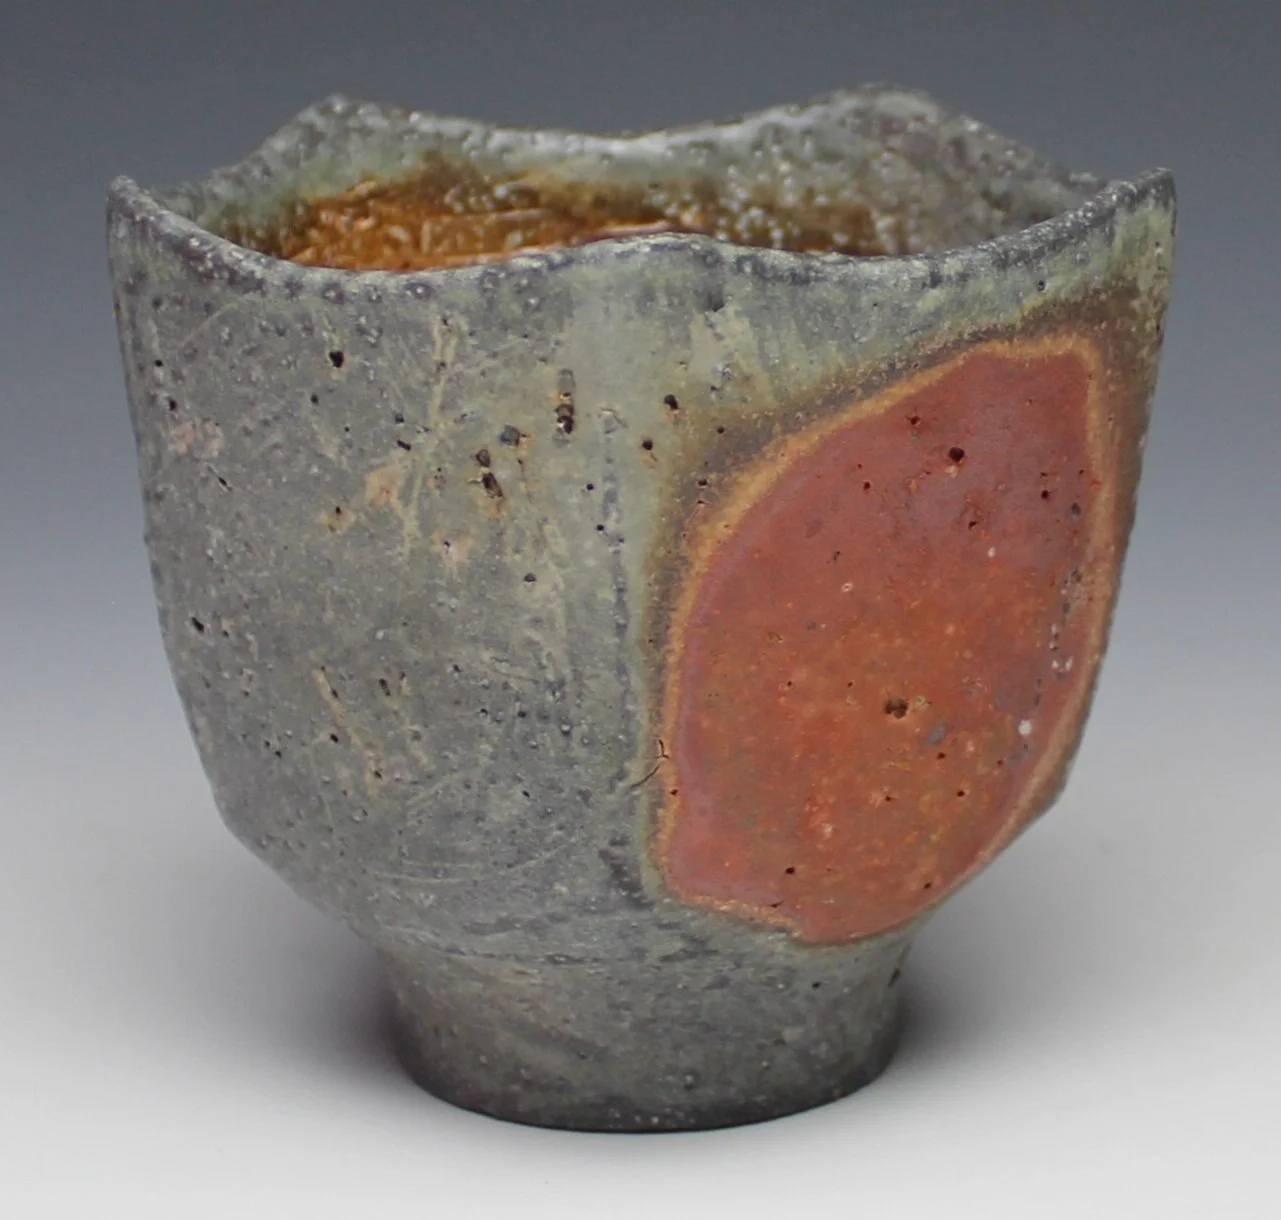
Yunomi, Porcelain with Applied Slip

Around the time of this firing, we were just getting word of COVID-19 here in the U.S. About a week after my March firing, the state of Minnesota had shut down. I was happy to have some fresh pots to sort through and some research to begin working on for this grant as I no longer had access to my studio or the soda kiln. I hunkered down safely at home and began working! I read Robert Tichane’s book Clay Bodies along with Gail Nichols’ Clay Soda and Fire for probably the 7th time…. After all my reading, I set out to begin formulating some new clay bodies. I was interested in looking into high alumina clay bodies; like Gail Nichols research and formulated 28 clay bodies ranging in a silica to alumina ratio of 2.6:1 – 3:1 using glazy.org. I also began working on this new website as a resource for others to learn about soda firing, my process and see my research. Something that is important to me is dissertation. I believe that there is a lack of information on soda firing and hope to help advance the general understanding of soda firing processes and materials interactions.
Pitcher, Porcelaneous Stoneware with Applied Slip
Moving on to May, I was lucky enough to have been back in the studio for some time to make pots and mix my new clay body tests which I then fired in June when I had kiln access again. I conducted this firing very similar to my previous firing except I reduced the kiln less during the end of the firing and down-firing and held the kiln at temperature for longer after spraying. I had also decided that I did not want to keep introducing steam into the kiln by spraying water every 15 minutes. I opted for soaking soft brick in water and introducing those into the spray ports every 45 minutes. I still saw some of the same effects that spraying the water in produced, just less intense. I had also learned a lot from my clay body tests! I was not very excited with the results, but they gave me good information on color and glaze accumulation. I had left the clay bodies too open by putting too much and too large of grog in them. With this information, I would reformulate a couple of the clay bodies that showed promising results to have a finer molochite filler in them. The clay bodies that particularly interested me and yielded some exciting results were ones that had 20-40% Gold Art in them. I believe that this supplied the clay bodies with enough iron to give color while was still fine enough to produce flame marks.
Notes:
Sprayed 1,350 grams of soda into the kiln during two sessions around ^9 / ^10 in reduction.
45-minutes of soaking after spraying.
5 hour long down-firing to 1602°F in reduction with introduction of steam.
Yunomi, Porcelaneous Stoneware with Applied Slip

Yunomi, Porcelaneous Stoneware with Applied Slip

Yunomi, Porcelaneous Stoneware with Applied Slip
Clay Body Tests

Clay Body Tests

Kiln log of active firing time.

Garlic Box, Porcelaneous Stoneware with Applied Slip

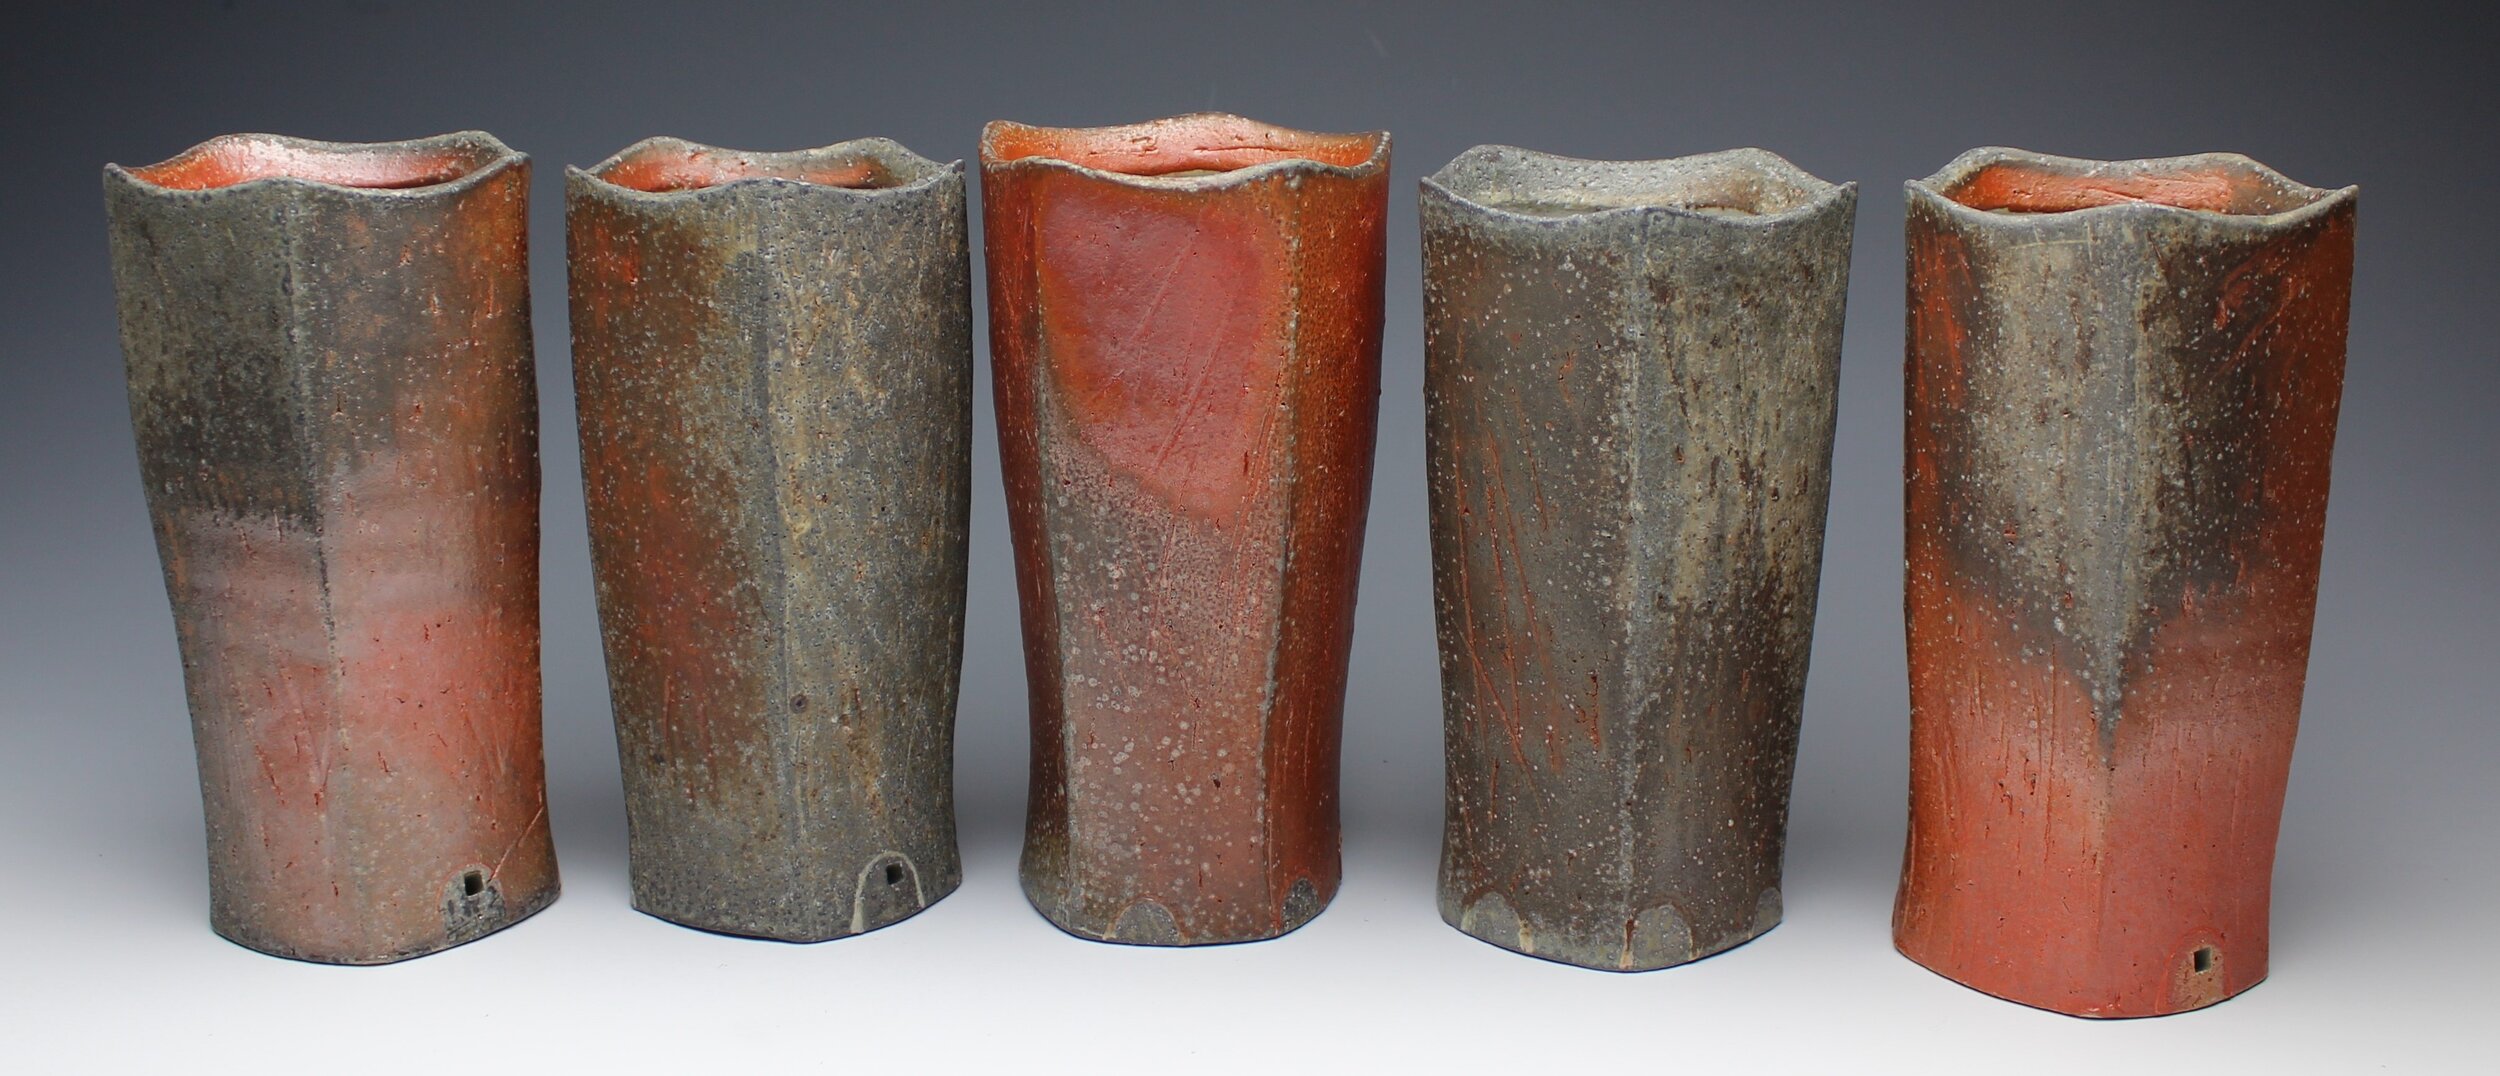
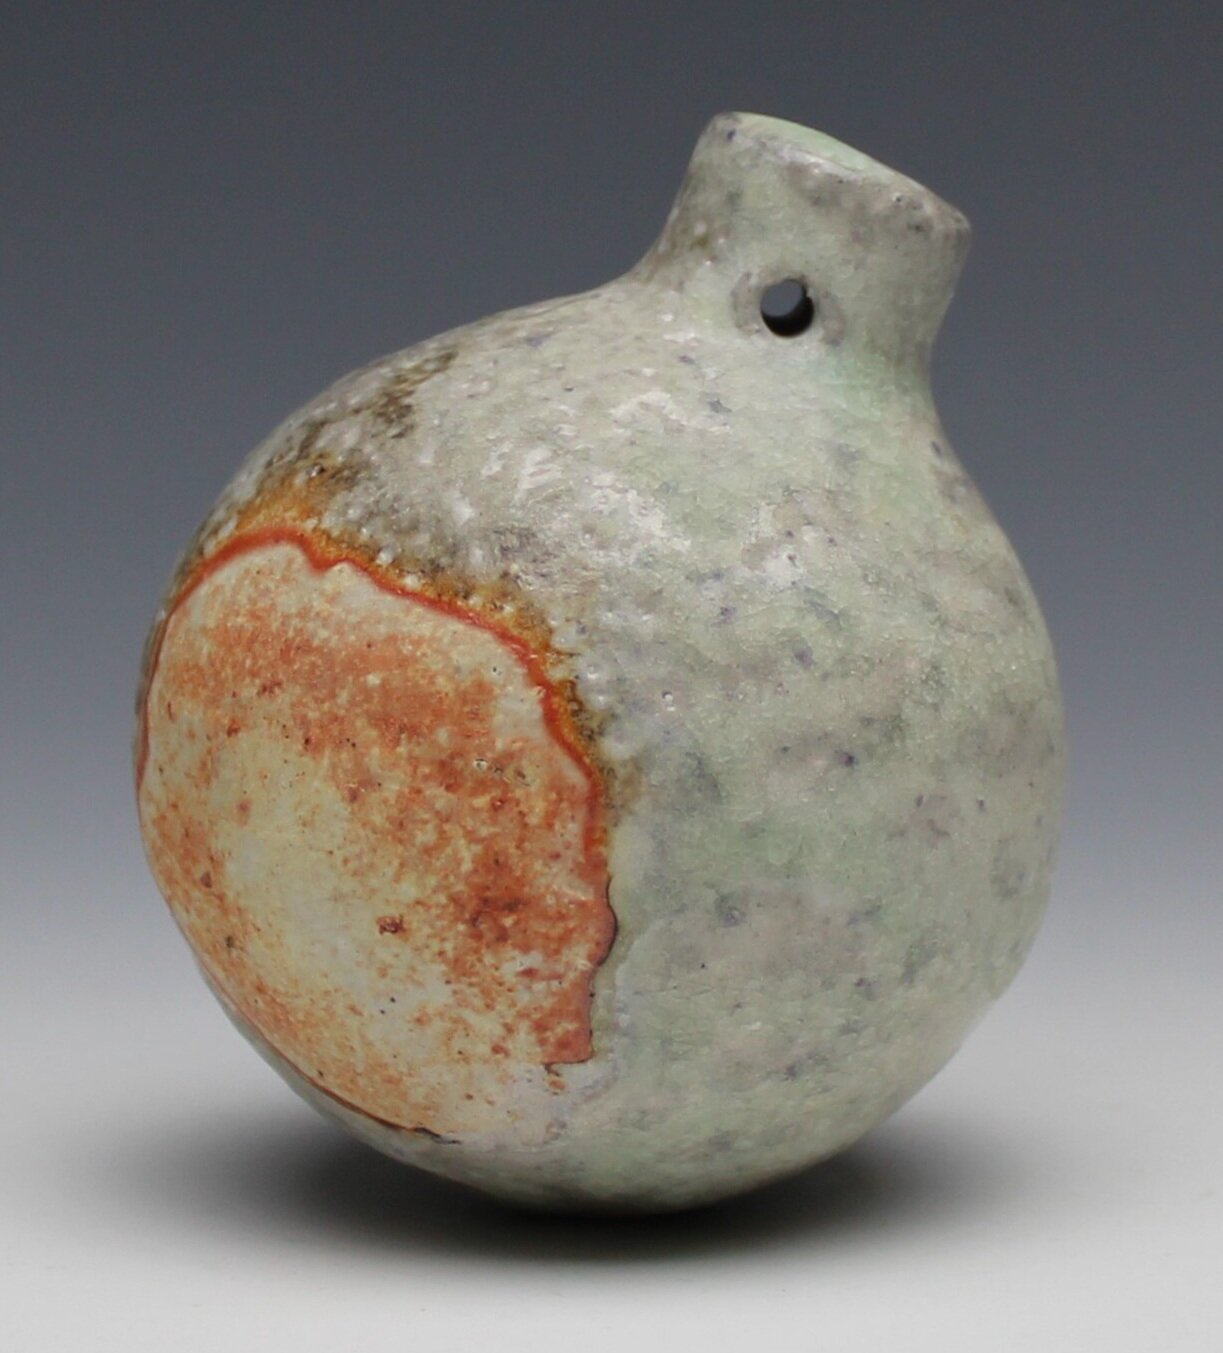
Bottle Vase, Porcelaneous Stoneware with Applied Slip
My next firing would be in July and for this one, I set out to mix up 5 of my new clay bodies but with the finer filler than I had used last time. I made larger batches of these to make more pots with and learn from. These clay bodies with the finer filler were a little less forgiving and harder to work with but ended up showing some really great possibilities! The firing went very smoothly, and I began the down-firing on a good note after soaking the kiln in reduction for some time. Again, I was plugging the spray ports with wet soft brick every 45 minutes. After about three hours of down-firing, the thermocouple failed and there was about an hour that the kiln was off and closed while I replaced this. I didn’t notice too much of a difference but did see a lack of peachy and pink highlights that I have seen from my other firings. Afterwards, I continued my down-firing. My tighter clay body tests yielded an amazing variety of colors and soda glaze accumulation! They reacted well to the flame and showed variation from side to side. This range of alumina to silica seems to allow the clay to flash nicely and for the flame to paint itself on the pots while also accumulated and promoting a nice dense soda glaze.
Notes:
Sprayed 1,350 grams of soda ash into the kiln around ^9 and ^10 in reduction.
45-minute long soak after spraying.
6.5 hour long down-firing to 1587°F in reduction with introduction of steam.
Between 1814° and 1704°F the kiln was on and off and finally out for about 45 minutes.

Mug, Stoneware Clay Body Test - T28

Yunomi, Stoneware Clay Body Test - T28 with Applied Slip
Mug, Stoneware Clay Body Test - T29

Mug, Stoneware Clay Body Test - T29 with Applied Slip

Yunomi, Stoneware Clay Body Test - T30

Yunomi, Stoneware Clay Body Test - T30 with Applied Slip

Yunomi, Stoneware Clay Body Test - T31

Yunomi, Stoneware Clay Body Test - T31 with Applied Slip

Yunomi, Stoneware Clay Body Test - T32

Yunomi, Stoneware Clay Body Test - T32 with Applied Slip

Kiln log of active firing time.
Yunomi, Porcelaneous Stoneware with Applied Slip

Berry Bowl, Porcelaneous Stoneware with Applied Slip
Lidded Pitcher, Porcelaneous Stoneware with Applied Slip
For my next firing in September, I continued to test my new clay bodies and used my usual porcelaneous stoneware and slip. This firing went pretty smoothly and for the down-firing, I decided to not introduce steam into the kiln. I was curious to see the difference again as I have become more comfortable on what I was going for with the down-firing. The lack of water reduction during this firing was certainly apparent and I did not see as intense of surfaces and saw less of the browns that I was talking about previously. This firing was still a good one but was a different direction in which I did not want to take at the moment. My new clay bodies resulted in some really wonderful surfaces and produced a more dynamic soda glaze with more depth to it. I would attribute this to a longer down-firing.
Notes:
Sprayed 1,350 grams of soda ash into the kiln around ^9 and ^10 in reduction.
About an hour of soaking after spraying soda into the kiln.
About 6 hours of down-firing to 1591°F in reduction.

Yunomi, Stoneware Clay Body Test - T29
Whiskey Sipper, Stoneware Clay Body Test - T30

Diner Mug, Stoneware Clay Body Test - T31

Mug, Stoneware Clay Body Test - T32

Kiln log of active firing time.

Liquor Bottle with Funnel, Porcelaneous Stoneware with Applied Slip

Pitcher, Porcelaneous Stoneware with Applied Slip
I was particularly excited for my next firing in October because my oxygen probe had just arrived from Econox in Switzerland. The folks at Econox were kind enough to give me an oxygen probe to test out as they did not have any information regarding the use of their probes in the soda kiln. I will send it back for analysis if or once it poops out. Part of this project grant was to utilize an oxygen probe to collect more data on the firings. The oxygen probe worked great and told me a lot of information as I fired up in temperature. It helped me realize that I have been firing in heavier reduction than needed, so I toned it down a bit which helped me fire the kiln more efficiently and quicker. However, the probe did not give me much information during the down-firing as it was placed in a less violent part of the kiln which did not receive much atmosphere.
After working with my new clay bodies I decided on one to reformulate further and mix a larger batch of; I would call this one T33! I also decided to try formulating some slips based on my clay body tests which would each be made up of 10-40 percent Gold Art. Some of these slips are less refractory than my normal slip that I use provided a surface richer in soda glaze accumulation.
Up until now I have typically down-fired down to 1600°F over the course of about 5 or 6 hours but this time I was able to go for about 7 hours. I also used wet soft brick once again to plug up the spray ports every 45 minutes. I feel like this firing was an accumulation of everything that I have learned throughout my time firing this kiln. I got a variety of surfaces that related to most of my previous firings. There was great carbon trapping, nice areas of depth in the soda glaze, intense flame marks and color, and the mysterious pinks and peachy colors. One new thing that I did notice from this firing was what I believe to be an iron crystalline structure which take form as small metallic spots among purples and deep reds. I would attribute most of these surface qualities to the longer cooling in reduction but it is hard for my to pinpoint at this time what mechanisms are causing what surfaces.
Notes:
Sprayed 1,360 grams of soda ash into the kiln at about ^10 in reduction.
About an hour and a half of soaking after spraying. There was much less soda glaze blistering because of this!
7 hours of down-firing to 1580°F in reduction with introduction of steam.

Ornament, Porcelaneous Stoneware with Applied Test Slip
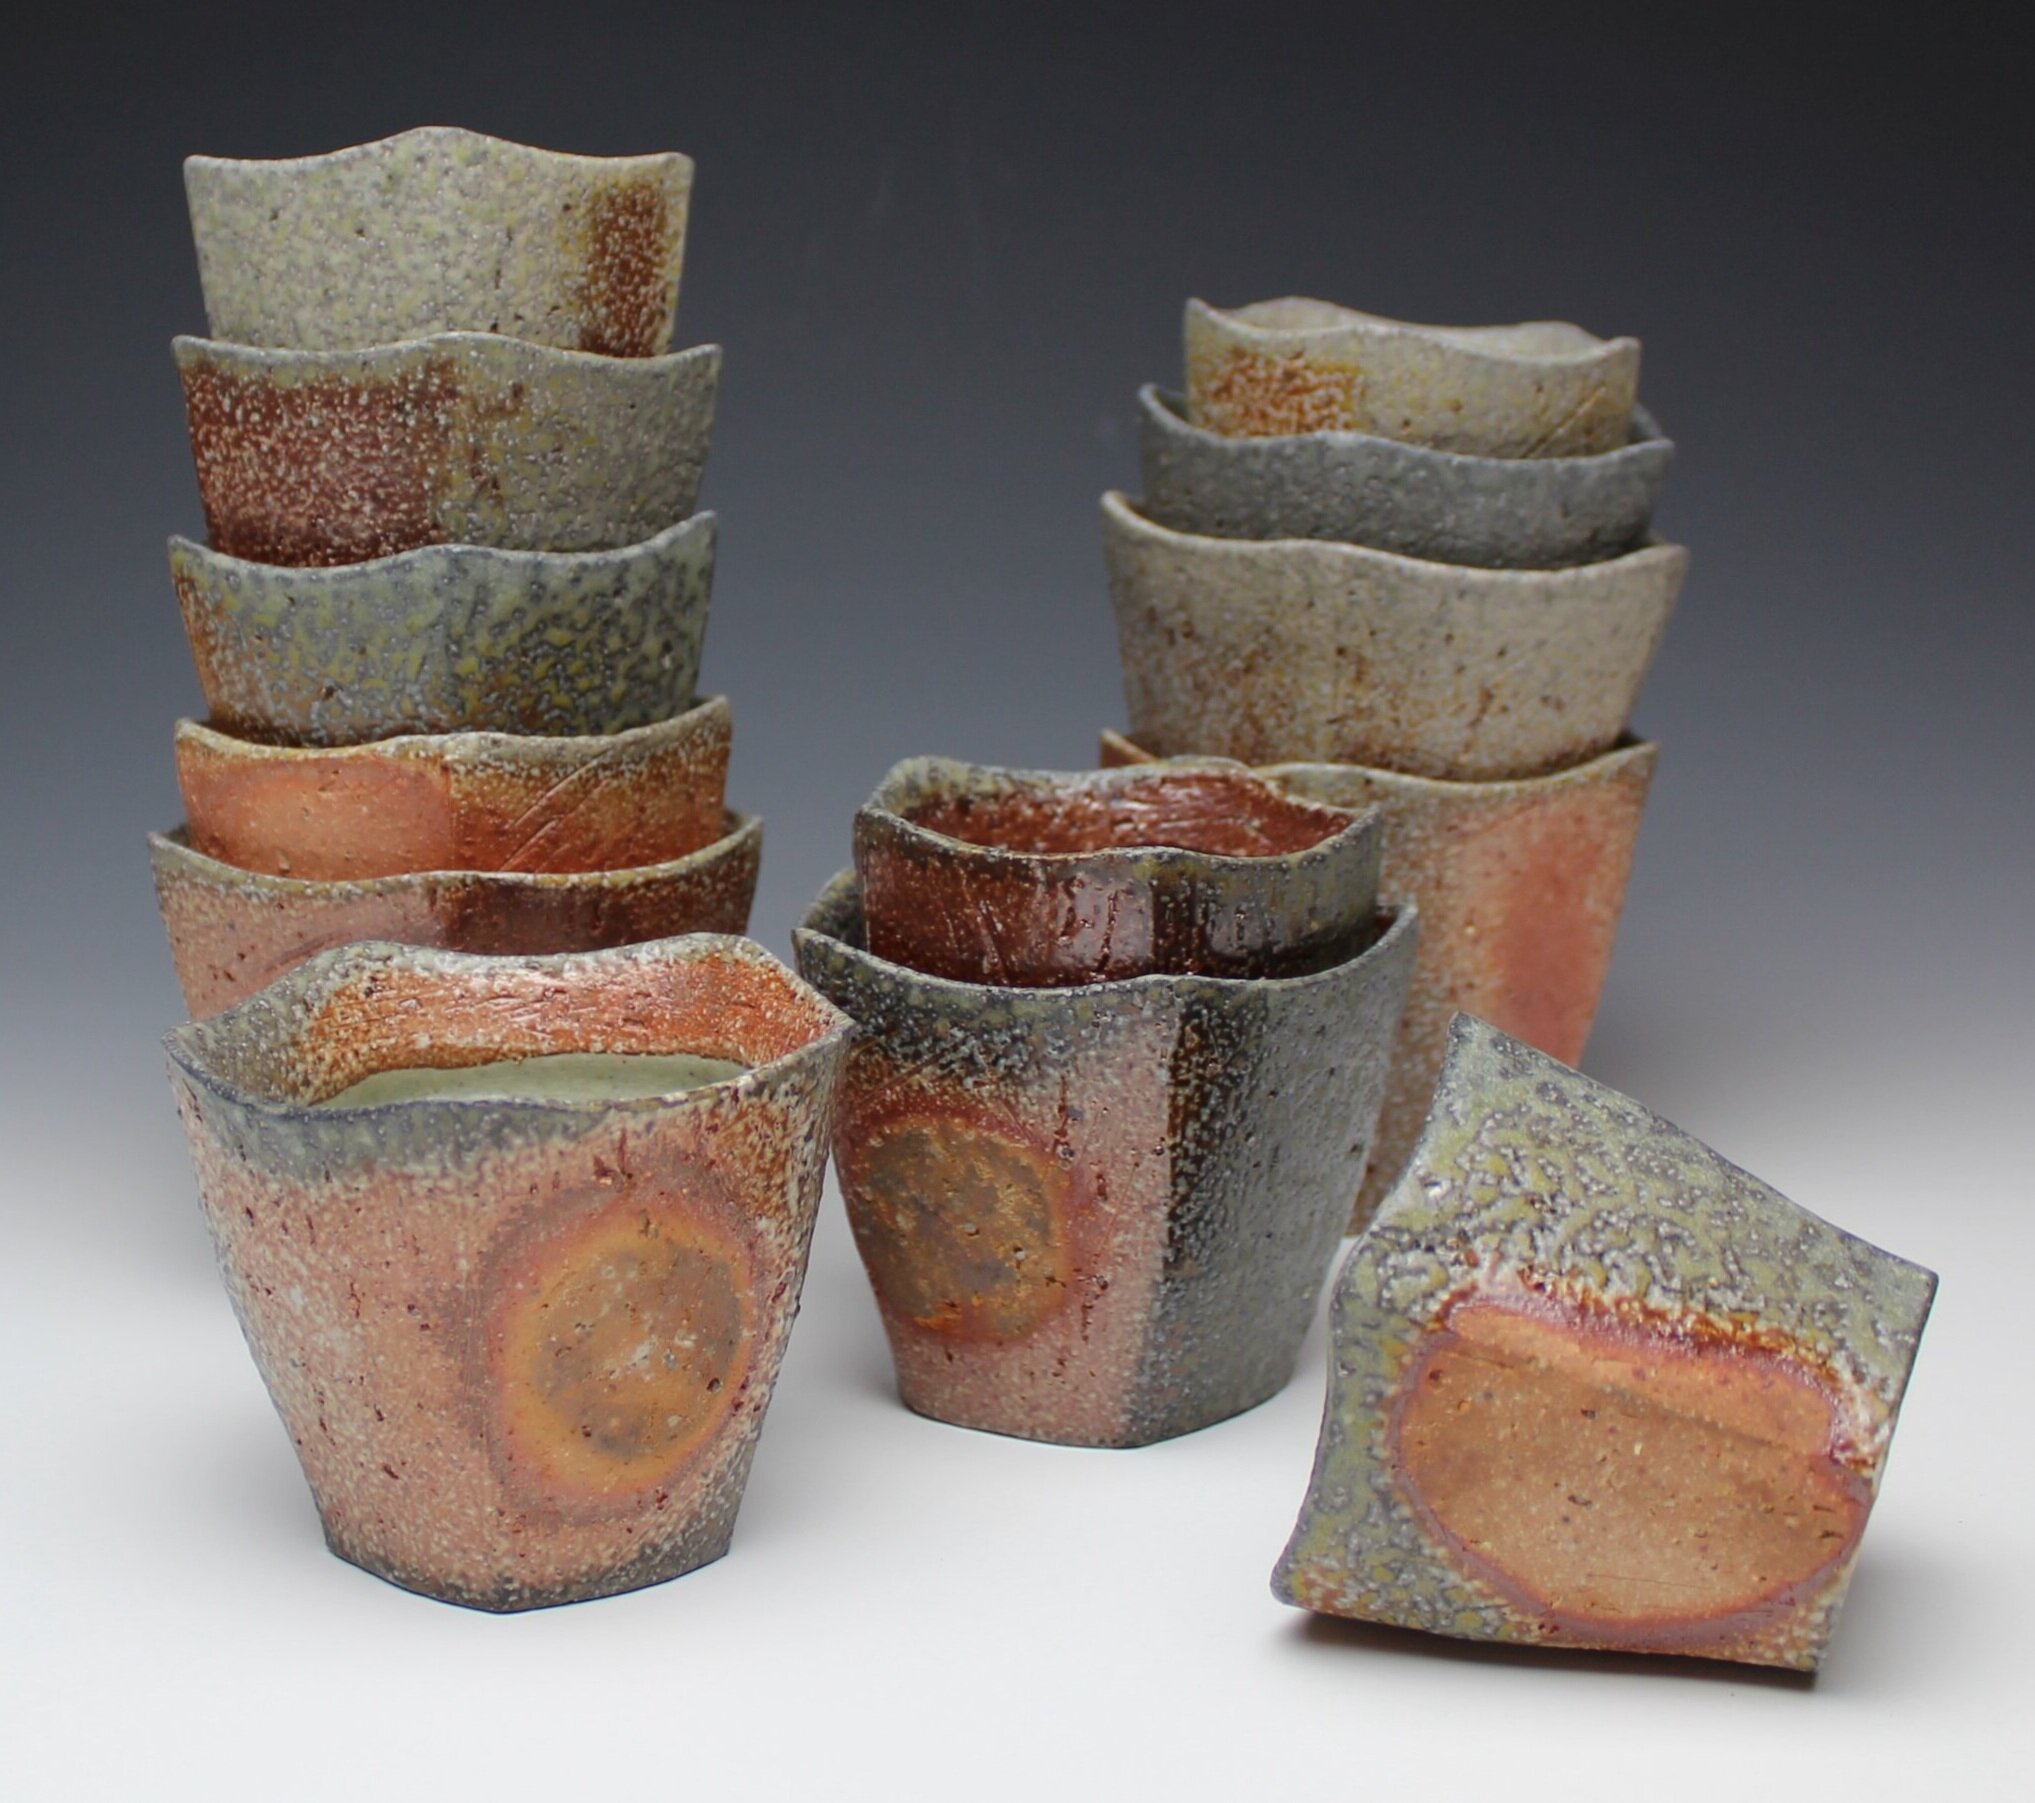
Yunomi, Porcelaneous Stoneware with Applied Test Slip

Yunomi, Porcelaneous Stoneware with Applied Test Slip
Ornament, Porcelaneous Stoneware with Applied Test Slip

Tumblers, Stoneware
Diner Mug, Stoneware

Yunomi, Stoneware

Log of active firing time. Blue is temperature provided by pyrometer and orange is oxygen provided by oxygen probe
Stein, Porcelaneous Stoneware with Applied Slip

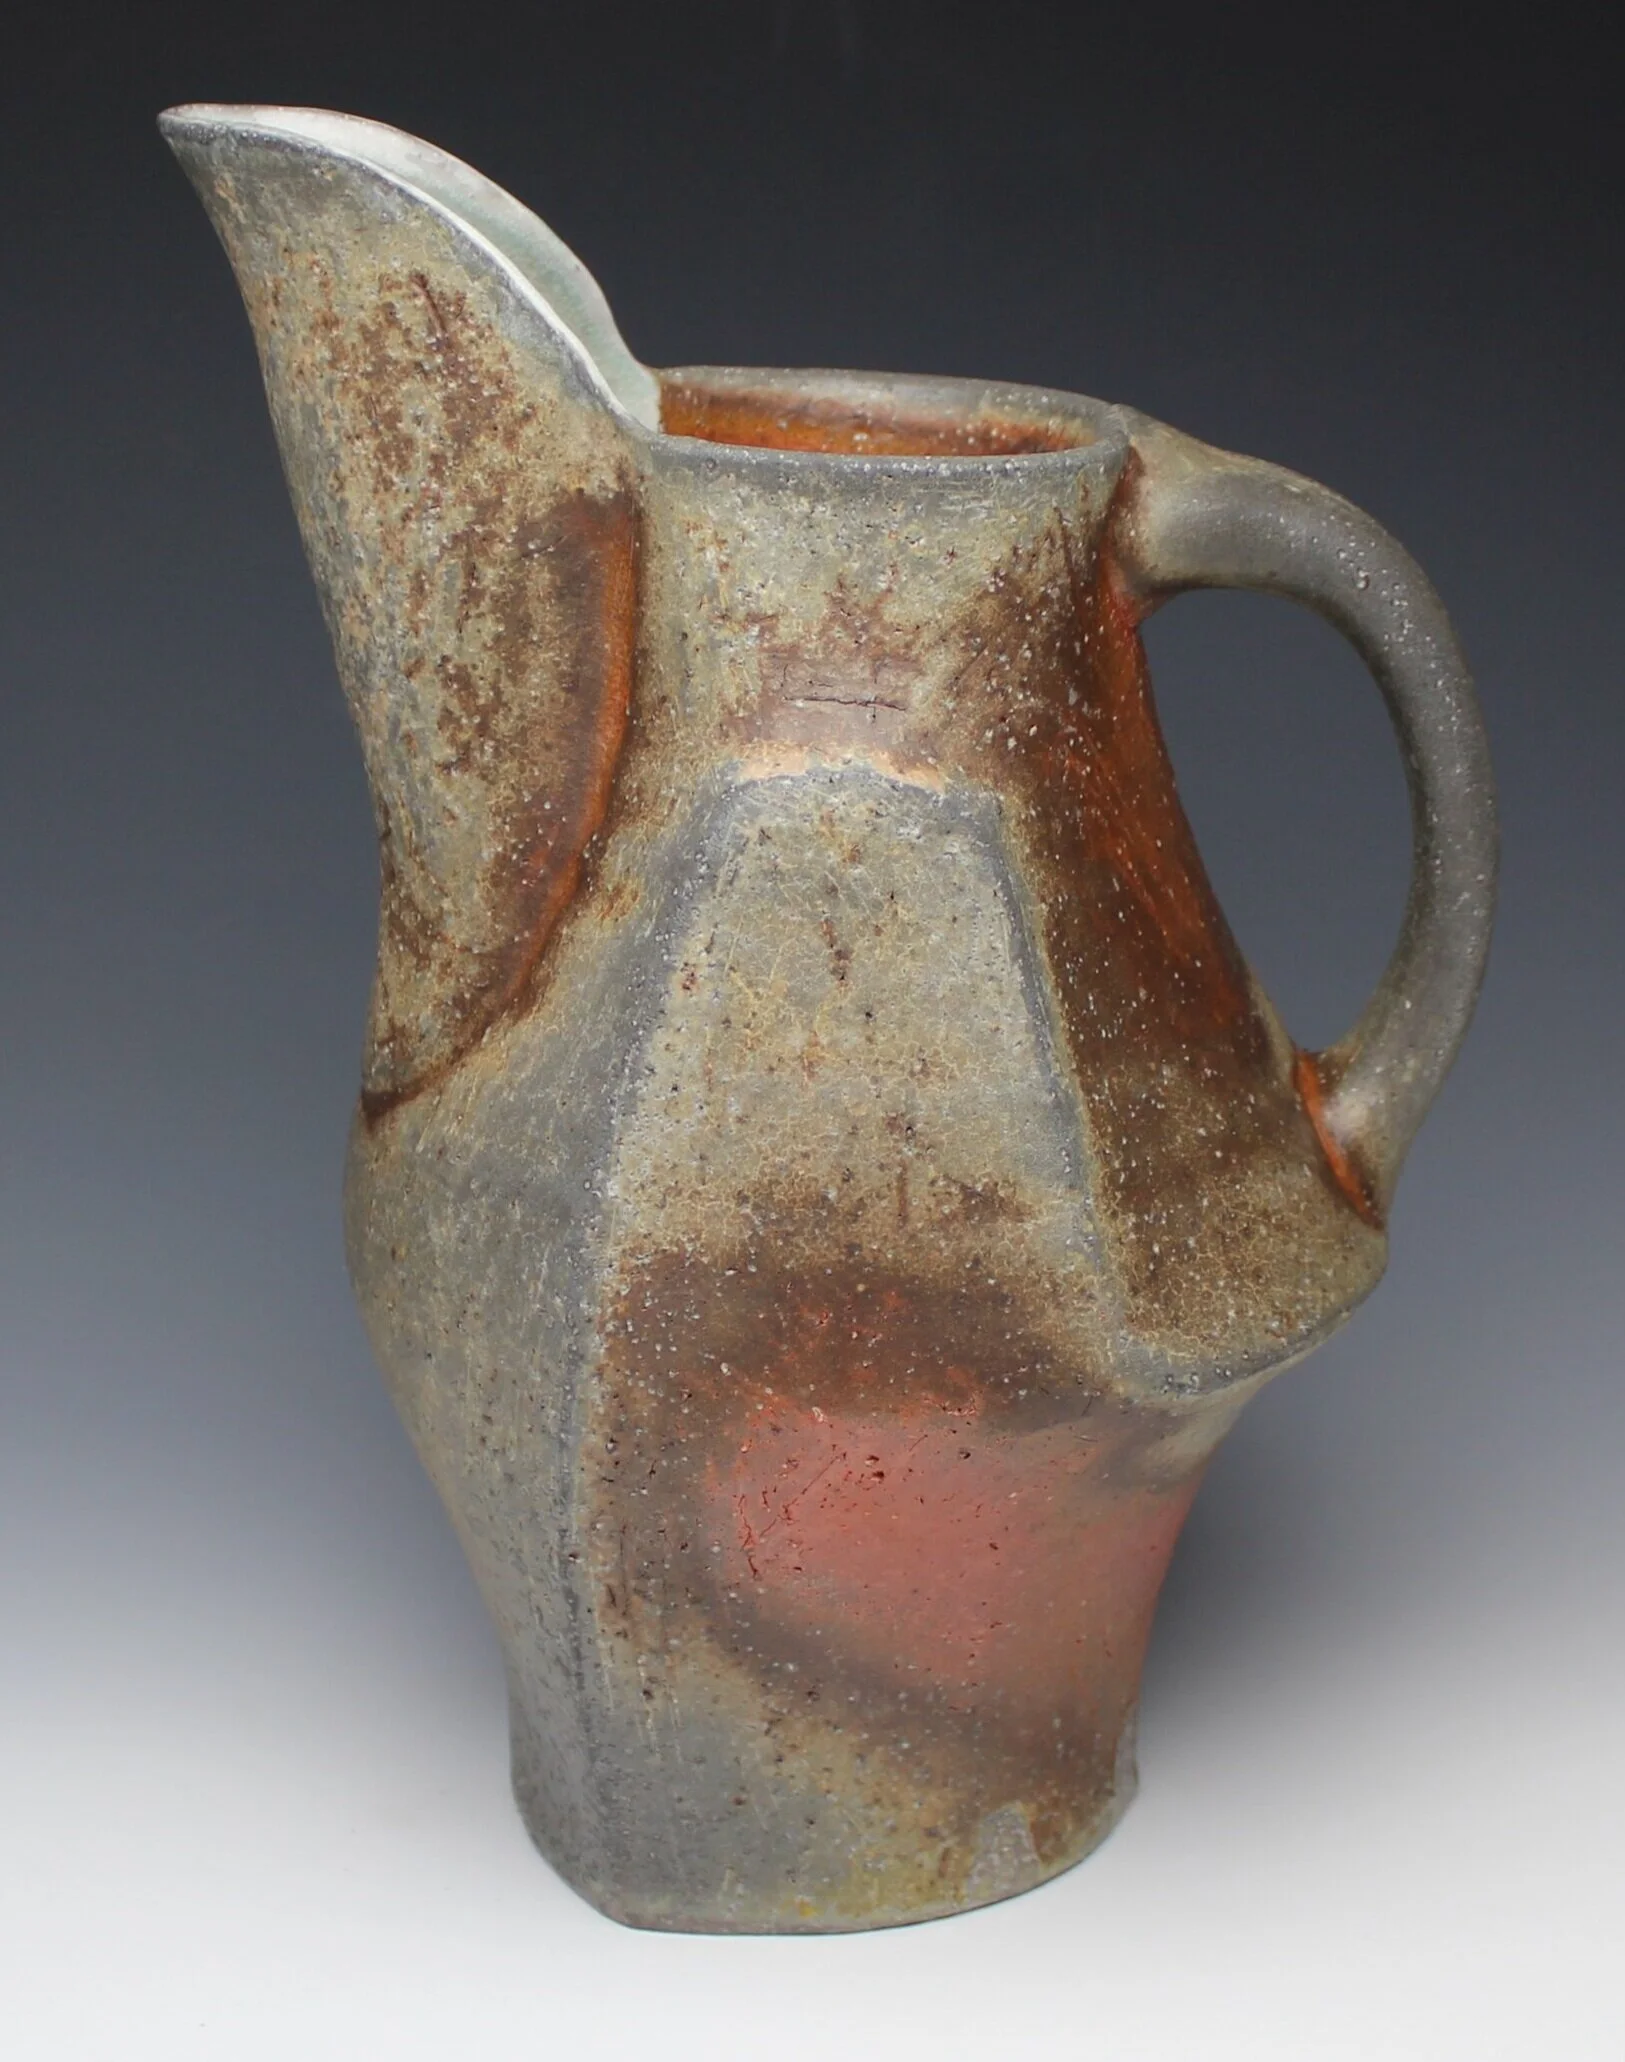
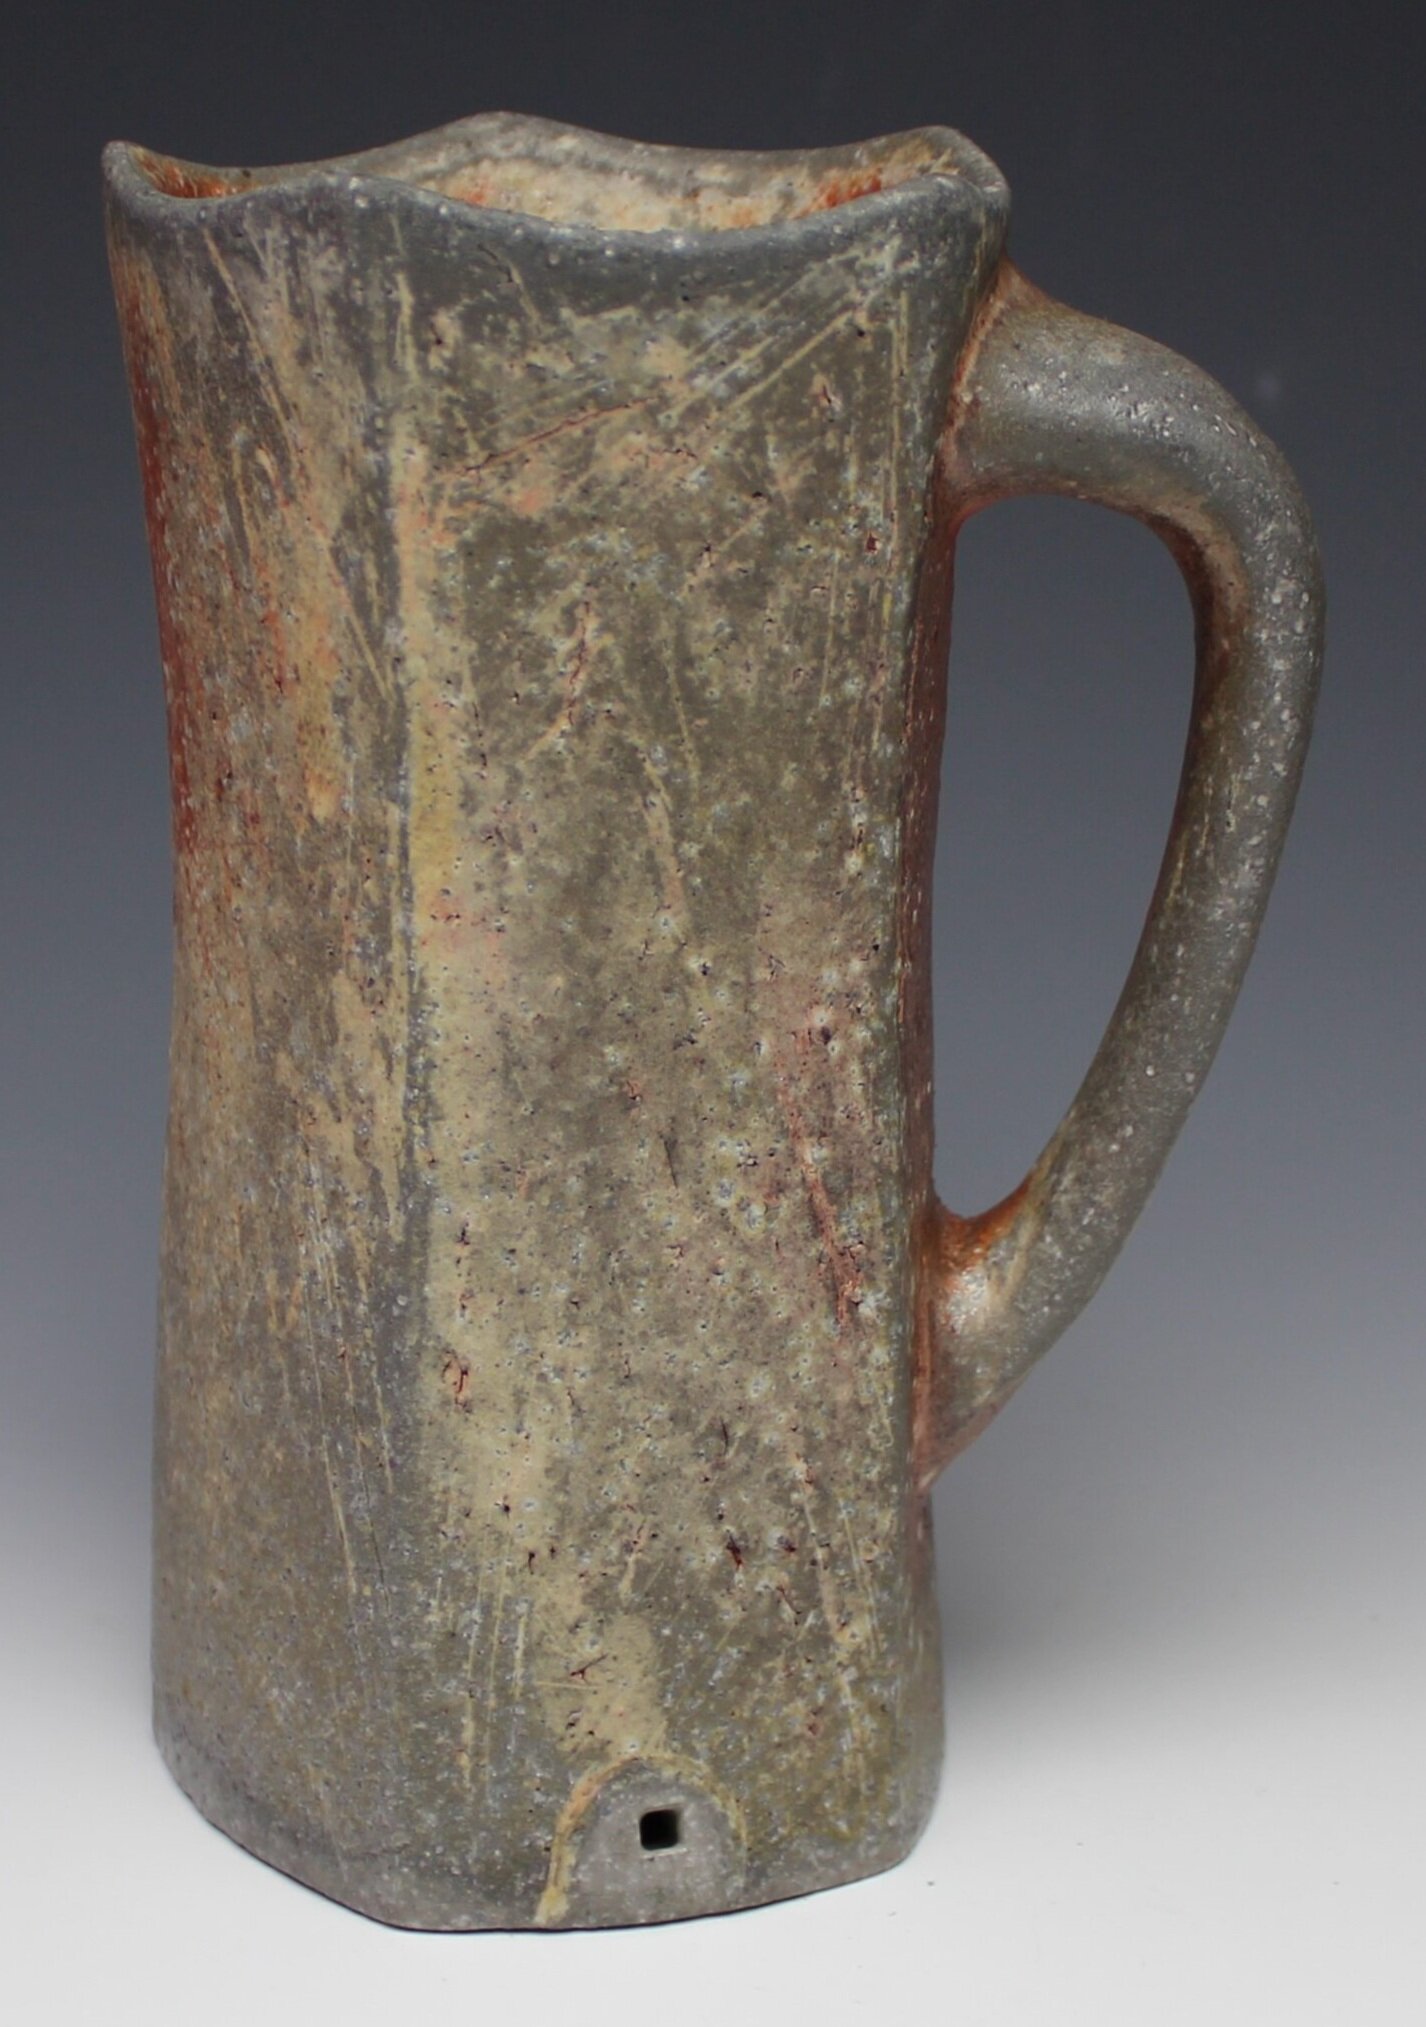
Pitcher, Porcelaneous Stoneware with Applied Slip
My December firing will be the last firing in this series of research for my Jerome Project Grant. Much like the last firing, I feel like this firing shows an accumulation of all my knowledge of firing this kiln. With the help of the oxygen probe again, I was able to fire this kiln in a more efficient atmosphere and much quicker. This allowed for more time to down-fire. I placed the oxygen probe in a different area of the kiln this time where I was hoping it would pick up more on the atmosphere during the down-firing. It was a little more reactive but due to the design of the kiln it has been very hard to create a homogenous atmosphere that reaches where I have put it. I did not get as great of a reading on the down-firing as I did on the up-firing again.
This firing left me with lots of dynamic surfaces and most pieces had areas of flashing and soda glaze. My slip showed extraordinary variation with peachy tones in the thicker areas and more carbon trapped dark tones in the thinner areas. All around, my slip was a little too thick on my pieces leaving them to have more flashing than previous firings, but I am not complaining about that! I got some nice stony greys on my plates and there was not too much blistering in the soda glaze – less sanding!! Some pots had some interesting reds or yellows appear in the soda glaze matrix near rims or feet. This was my first time seeing this – it is almost like iron was caught in the soda glaze and crystalized.
Notes:
Sprayed 1,360 grams of soda ash in around ^9 / ^10 in reduction.
About and hour and 40 minutes of soaking after spraying.
Just about 8 hours of down-firing to 1540°F in reduction with introduction of steam.

Yunomi, Stoneware Clay Body Test - T28

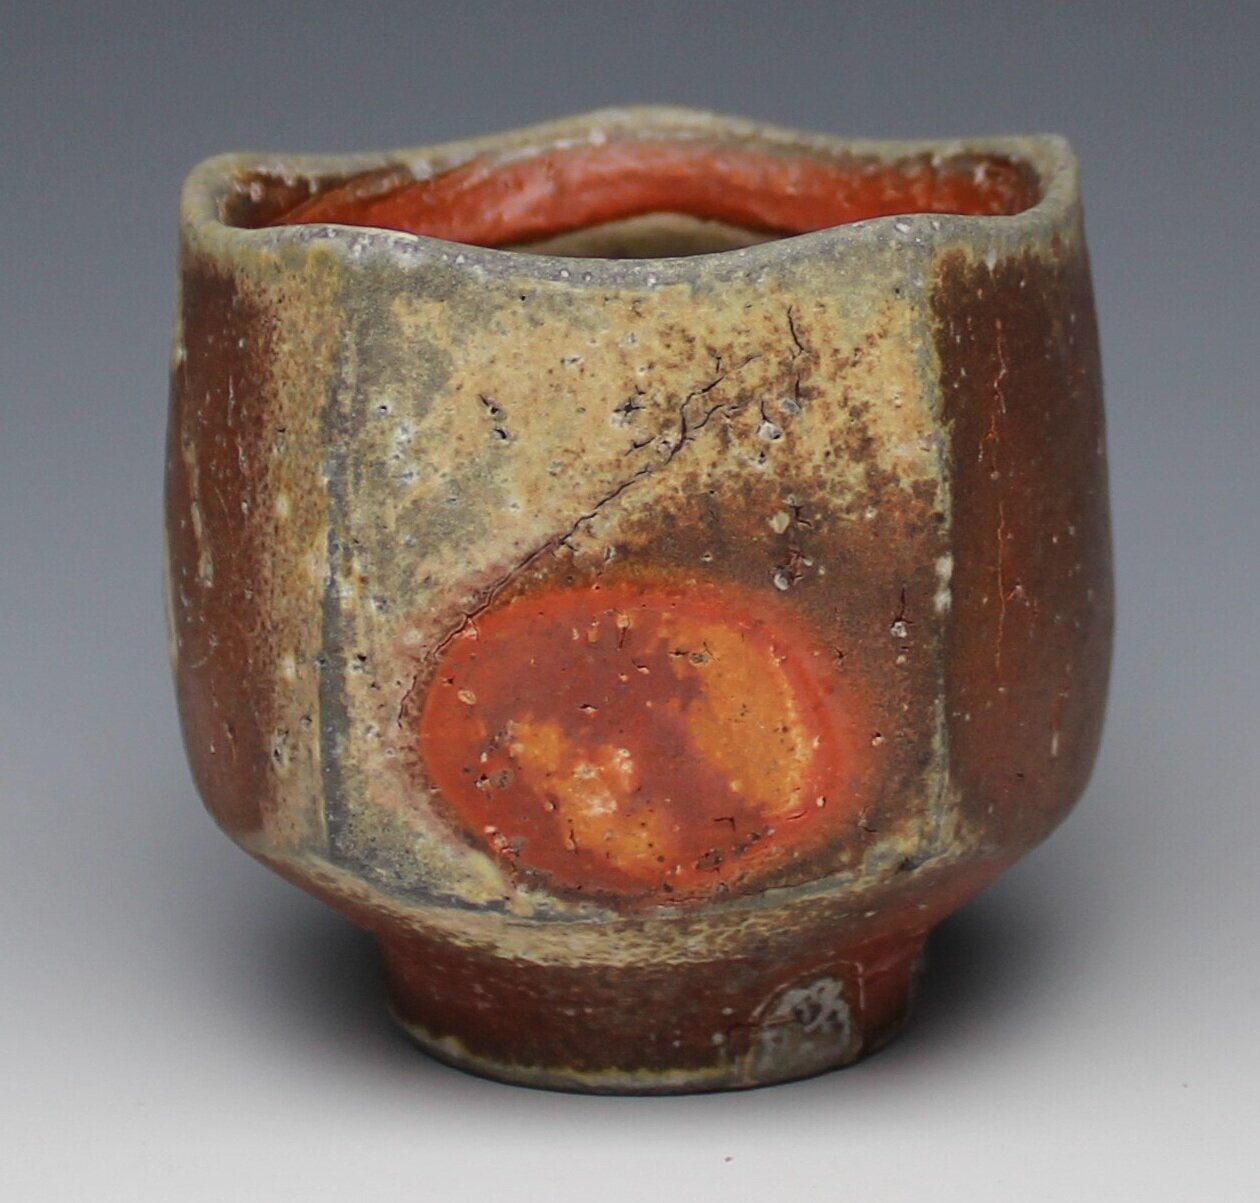
Yunomi, Porcelaneous Stoneware with Applied Slip

Yunomi, Stoneware

Jar, Porcelaneous Stoneware with Applied Slip

Garlic Box, Porcelaneous Stoneware with Applied Slip

Log of active firing time. Blue is temperature provided by pyrometer and orange is oxygen provided by oxygen probe

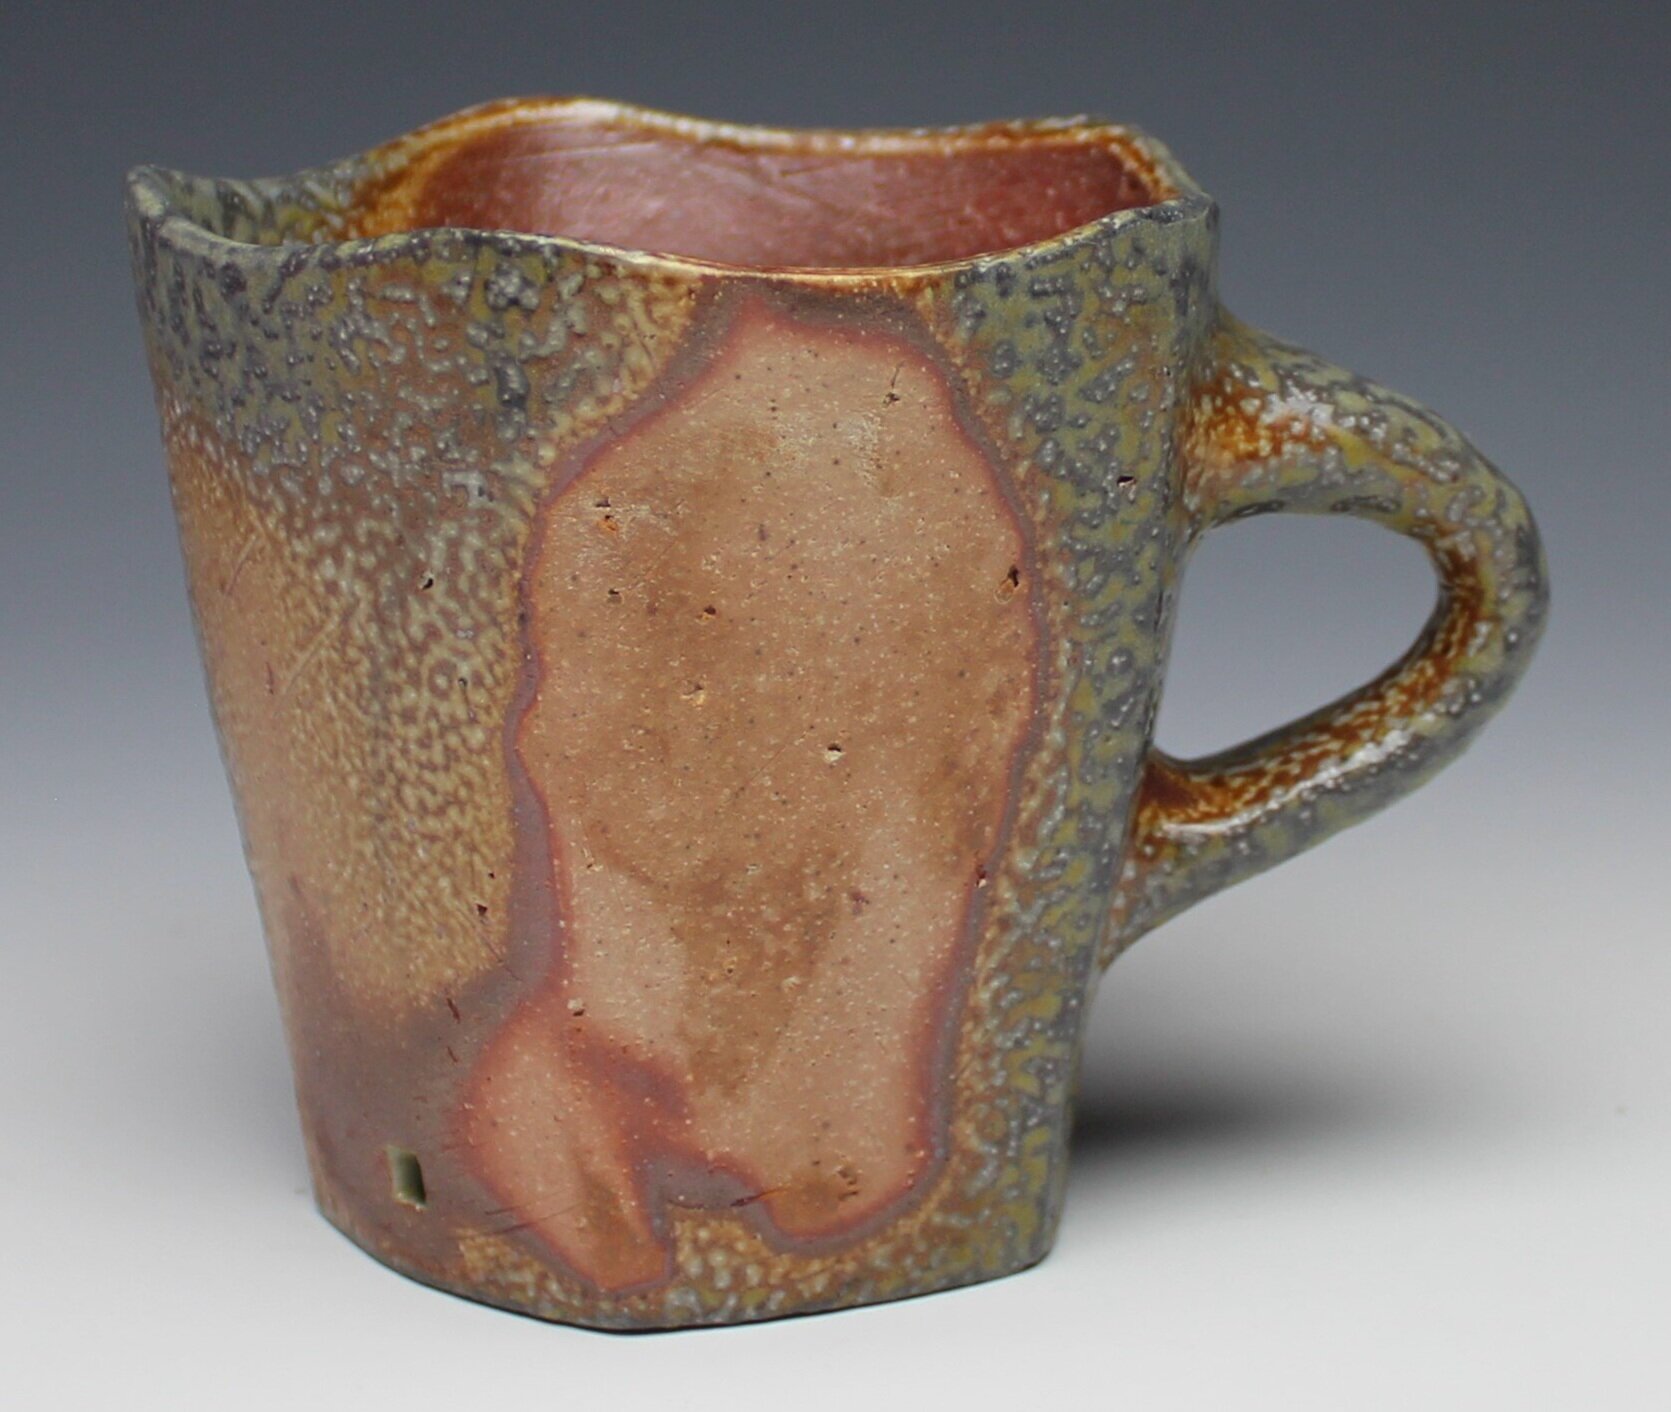
One Finger Mug, Porcelaneous Stoneware with Applied Slip
I have learned so much over the past year of firing this soda kiln and feel confident in my understanding of firing it to fulfil my research interests. It has been interesting switching from reduction cooling with wood to utilizing forced air burners for down-firing. It has made me think much more about what I am doing and be so much more intentional with my actions during the cooling. This research has brought to me so much good information on soda firing and has left me with an expanse of new questions to keep me busy for the foreseeable future.
Thank you for taking the time to read through my research. If you find anything odd, have questions or want to chat about soda firing please reach out to me!
- Casey
Acknowledgements:
Many thanks to Northern Clay Center for the endless support in my artistic pursuits and research. Thank you to my partner, Laura Lusardi for supporting me personally, scientifically and artistically. She has helped me understand the physics of what I am doing and create graphs to contain my data. I am also thankful for my many conversations with Harry Hevenstein (https://www.harrylevensteinpottery.com/) and Isaac Howard (http://www.iehoward.com/) about soda firing technically and conceptually.
A couple more images of work from my December firing:

Envelope Vase, Porcelaneous Stoneware with Applied Slip

Envelope Vase, Porcelaneous Stoneware with Applied Slip

Dinner Plate, Porcelaneous Stoneware with Applied Slip

Plate, Porcelaneous Stoneware with Applied Slip

Treat Plate, Porcelaneous Stoneware with Applied Slip

Dog Dish, Porcelaneous Stoneware with Applied Slip

Dog Dish, Porcelaneous Stoneware with Applied Slip